
Using public forms to capture external data in Boards
Have you ever wanted to collect information from external users, like feedback or service requests, and have it appear directly as an item in your Kissflow Board? You might have noticed that Boards are great for managing workflows but don't have a native public-facing form.
Here’s a simple workaround that uses the combined Kissflow Process and Integrations to achieve this seamlessly.
The goal
To automatically create a new item in a Kissflow Board whenever an anonymous or external user submits a public form.
Use cases
Collecting job applications from a public link.
Receiving IT support tickets from anyone in the organization.
Gathering customer feedback or bug reports.
Accepting registrations for an event.
The solution: A Process-to-Board integration
Use a Kissflow Process to act as the public form. Then use Kissflow Integration to instantly pass the submitted data from the Process to create an item in your desired Board.
Prerequisite
A Kissflow Board: Have your destination Board ready. Make sure it has the fields needed to capture the information you want. For example, if you're collecting applications, you might have columns for Applicant Name, Email, Phone Number, and Resume.
Create a Process
This Process is our public form. It doesn't need any complex workflow steps; its only job is to capture the data.
Navigate to Process on the Kissflow left navigation bar.
Design the form. Add fields that match the information you want to collect for your Board. For easy mapping later, it's a good idea to name these fields similarly to your Board column names. For example, if your Board has a column named Contact email, name the field in your process form Contact Email.
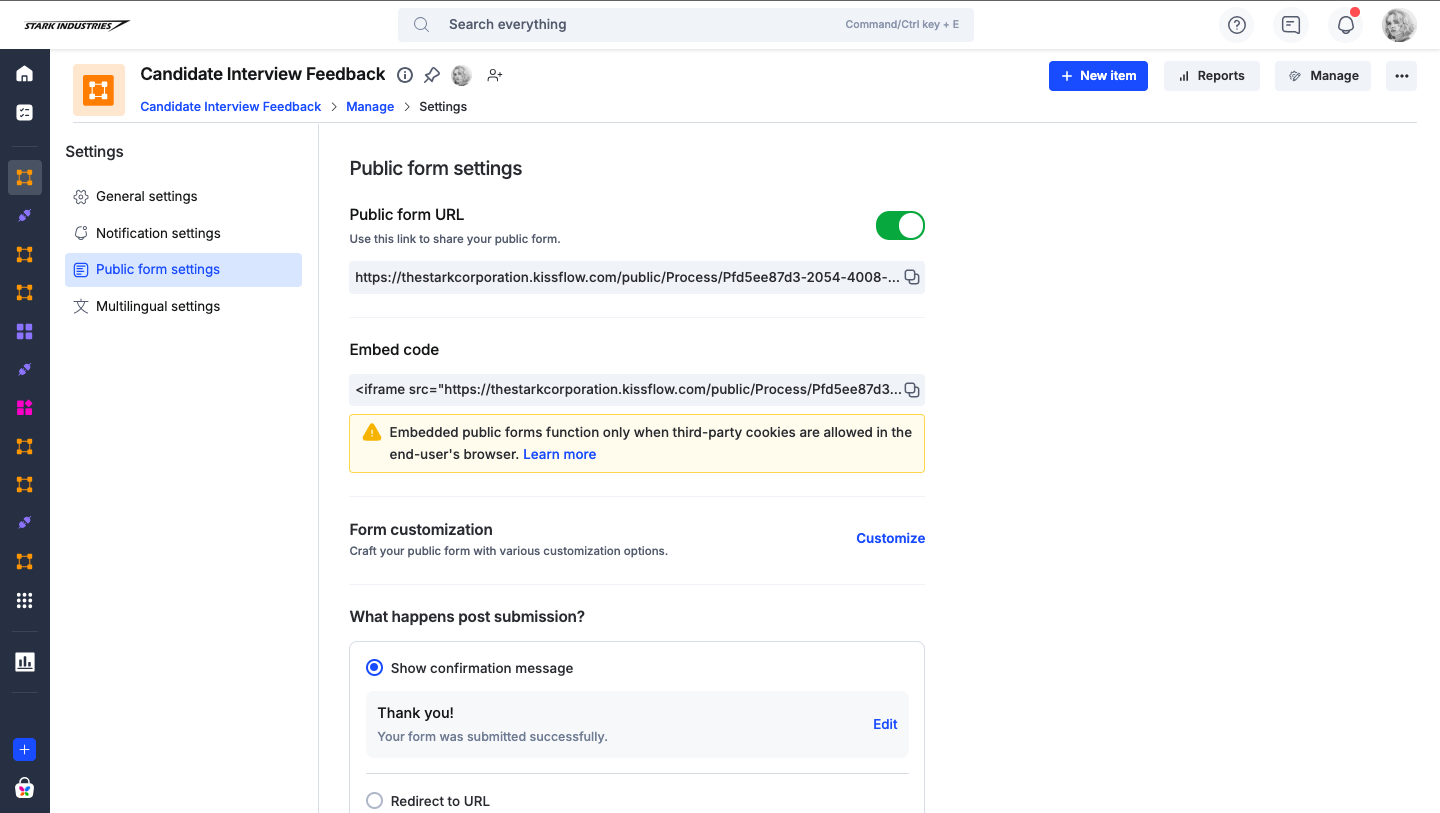
Publish the form.
In Manage > Settings, and turn on the Public form URL.
Copy the public form link and save it somewhere handy. This is the link you'll share with your users.
Build the Integration
This is where we connect the Process to the Board.
Navigate to Integrations from the left navigation bar.
Configure the trigger: This is what starts the integration.
Connector: Select Kissflow Process.
Trigger: Choose When a draft item is submitted.
Process: Select the process you just created.
Test your trigger to fetch the latest submission data. It’s helpful to submit a test entry through your public form first.

Configure the Action: This is what the integration does.
Connector: Select Kissflow Board.
Action: Choose Create an item.
Board: Select your destination Board.
After mapping all the fields, test the action and turn on your integration!
Test the end-to-end flow
Open the public form link.
Fill out the form with some test data and click Submit.
Go to your Kissflow Board. Within a few moments, you should see a new item with the exact data you just submitted.
And that's it! A simple way to extend the functionality of your Kissflow Boards.
Have you tried this? What other cool workarounds have you discovered? Share your thoughts and questions in the comments below!
Content aside
-
1
Likes
- 11 mths agoLast active
- 77Views
-
2
Following