
Creating and managing a dataset view
Views help you share a filtered version of your dataset with others, allowing access to only the necessary data without exposing the full dataset. In this article, you’ll learn how to create, configure, share, and manage dataset views effectively.
Who can create views?
You can share a confined version of your dataset with others using views. For example, you may have an employee dataset with the employees' details and payroll information across all the verticals in your organization. Say a marketing team manager requests access to the dataset to access the details of all the marketing analysts in the company. You can create a view from the main dataset that contains only the marketing department's data instead of granting access to the main dataset. This way, you do not expose the details of the other departments unless there is a need.
Note
Only Dataset admins can create views from the main dataset.
Creating a view
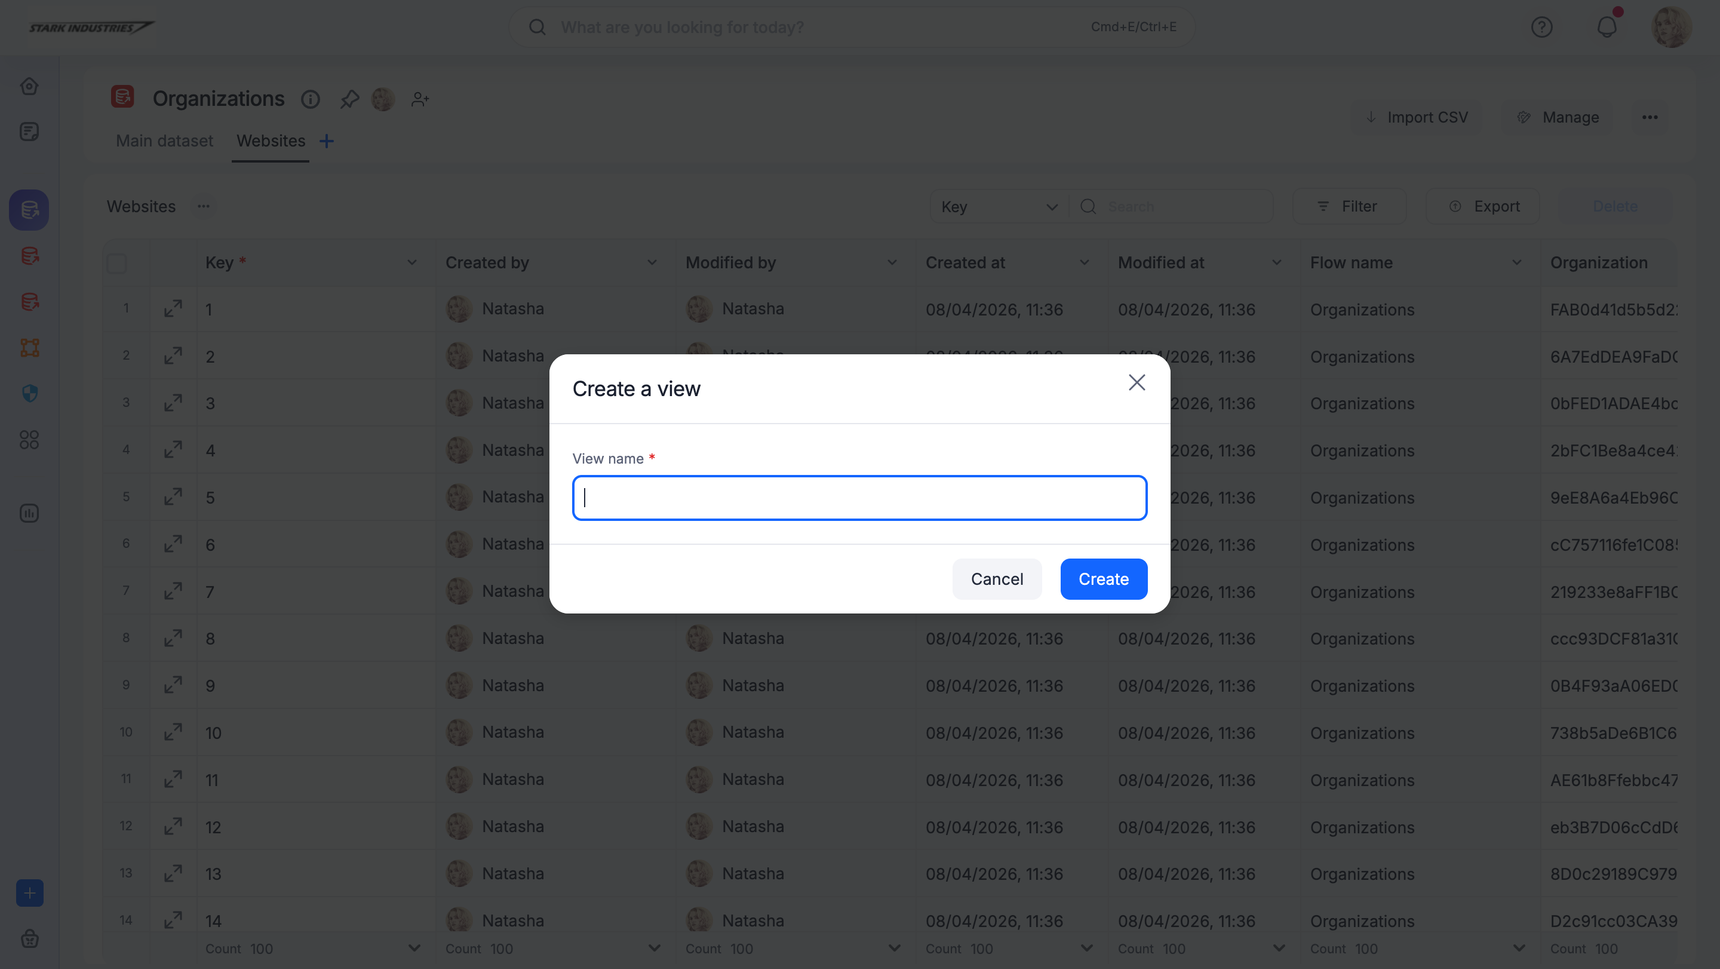
To create a new view, click the plus icon ( ) next to the Main dataset. Enter the name of the view and click Create.
Next, update the view configuration, where you can change the view's default visualization. You can customize the data that has to be shown in a view by configuring it.
- Modify the view's name
- Either display All fields or a restricted set of fields by choosing Specific fields under Select fields.
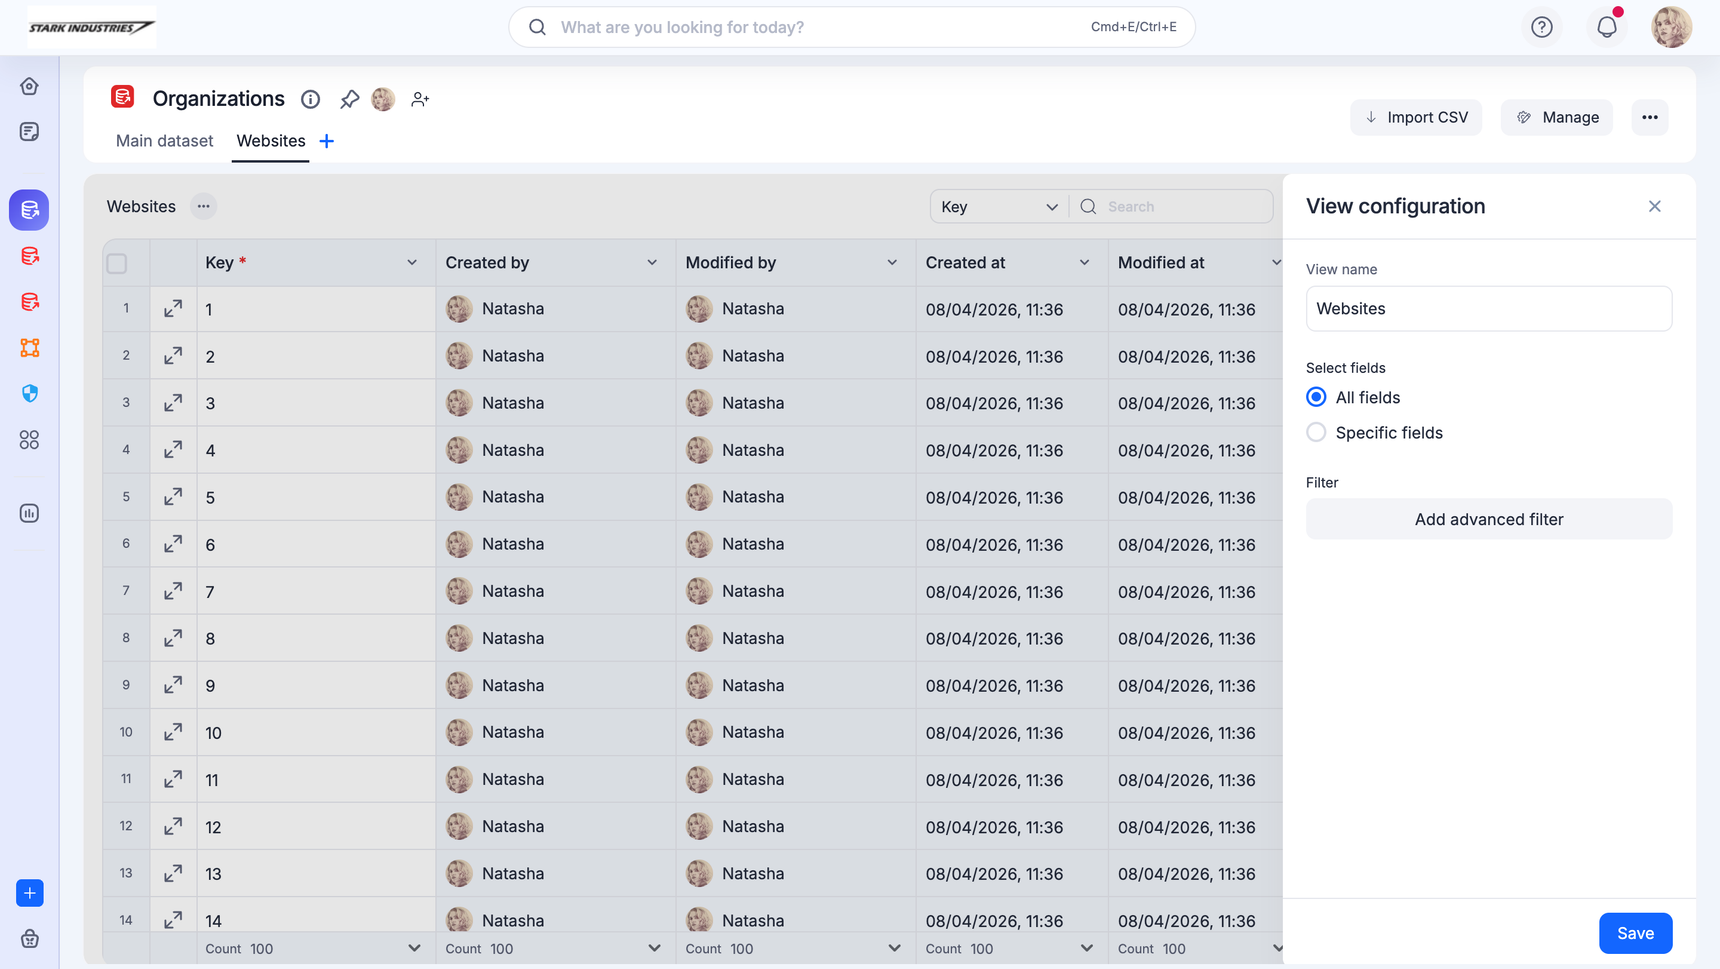
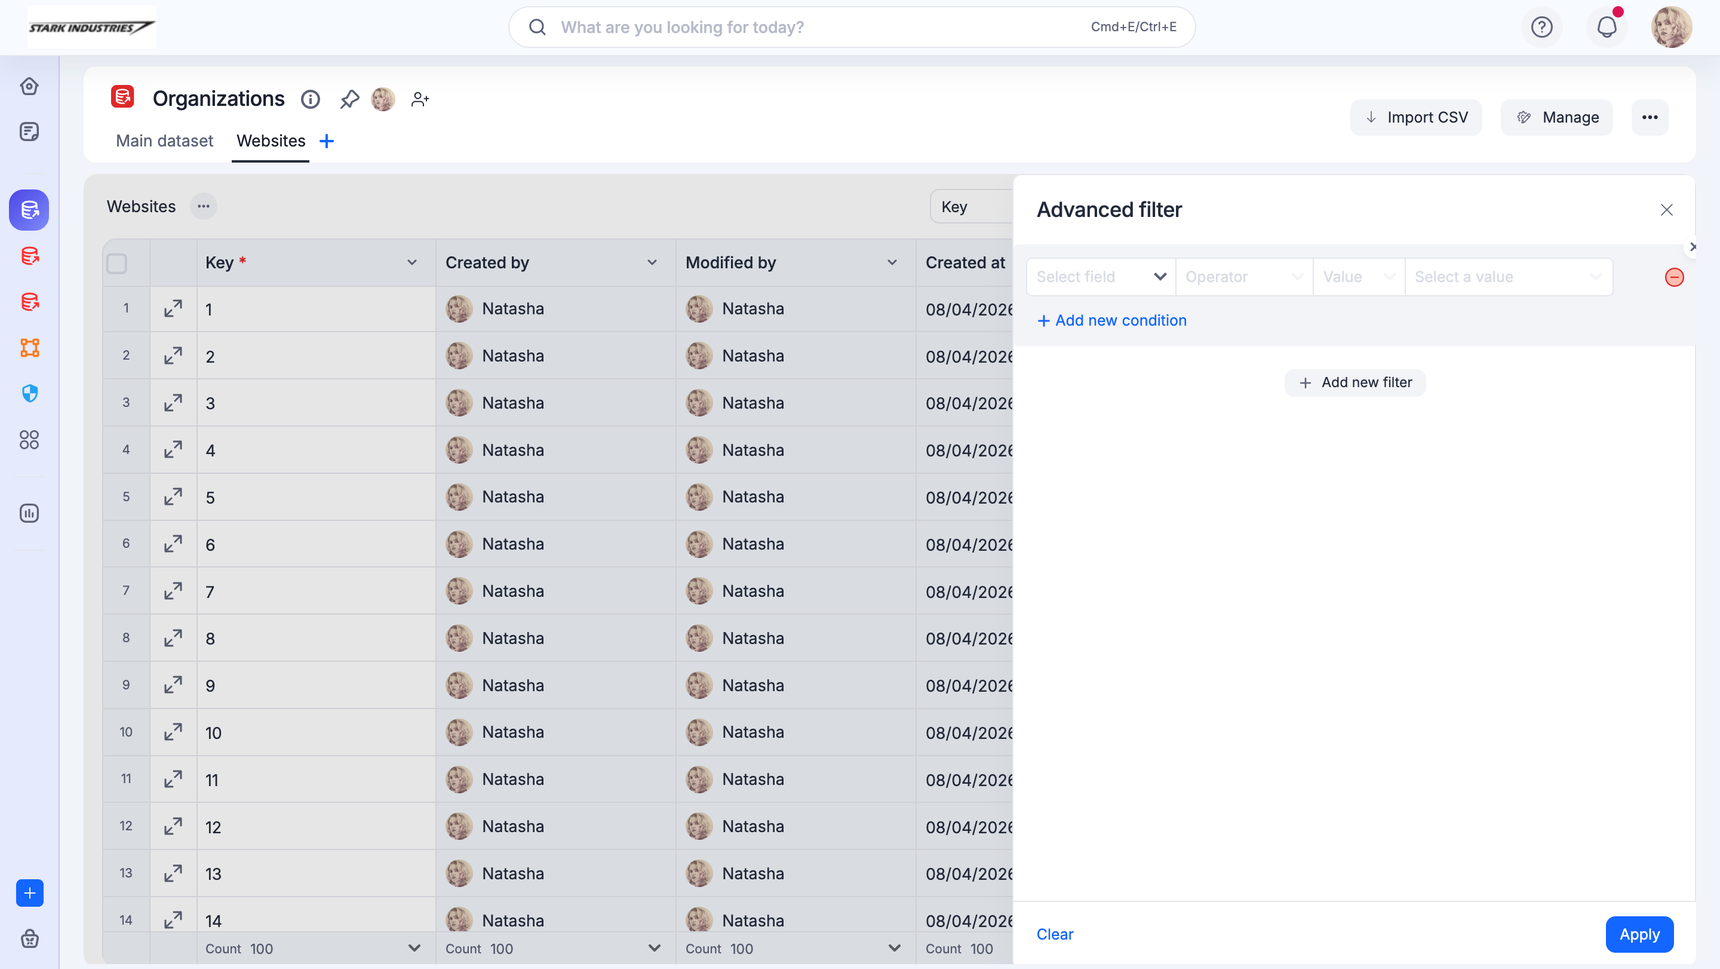
- You can use the advanced filters to view a confined set of data matching certain conditions. Learn more about how filters work.
Configuring a view
If you want to make further changes to a view after its initial configuration, you can always go to More options beside a view name and click Configure.

All other views for that dataset reflect the changes made to a view.
Deleting a view
You can delete a view from the same place where you configure it. You can refer to the screenshot above for your understanding. Click More options ( ) beside a view name and click Delete.

Sharing a view
Sharing a view is similar to sharing a dataset. Click Share in the upper-right corner of the page to manage who can access or modify the view.
Under Dataset views to your left, choose the view for which you would like to configure its members and permissions.
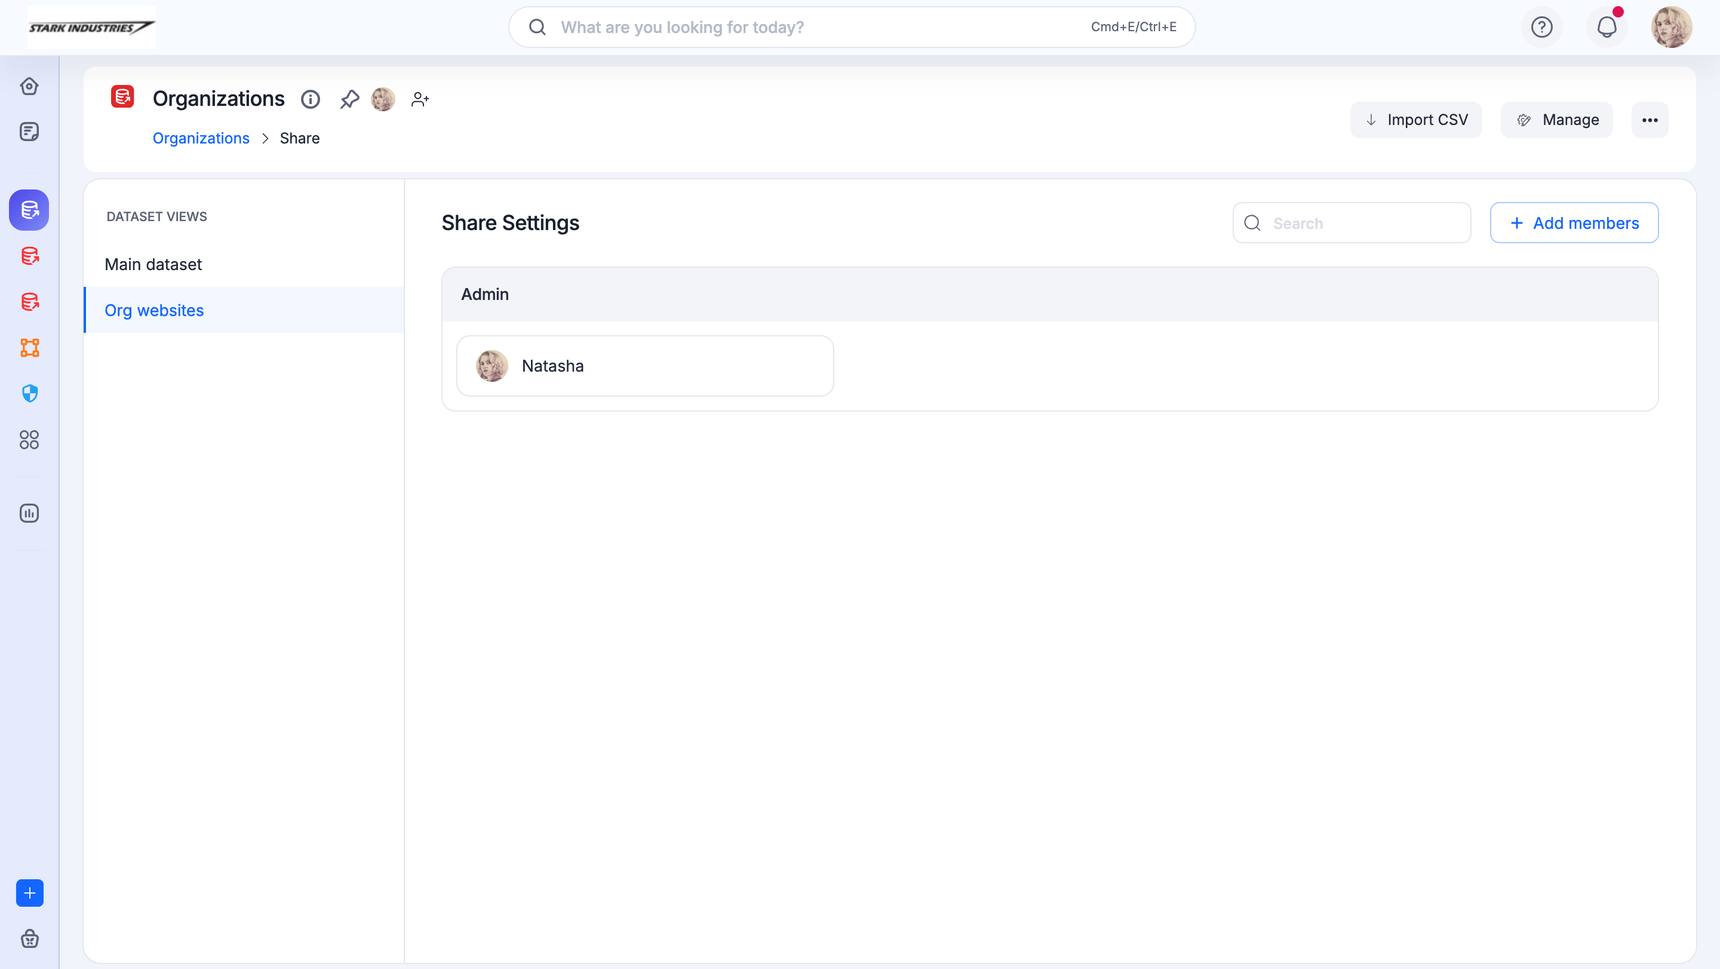
Click +Add members to add more members to manage this view. You can make an admin a member and make a member an admin by clicking the More actions icon beside a member's name. You can also remove a member from a view that refrains them from accessing the view in the future.
Viewing dataset view ID
You might want to fetch and use the dataset view ID while making API calls related to a specific dataset view in Kissflow.
Navigate to the main dataset and click the specific dataset view upon which you would like to make an API call and copy the last string that follows '../view/' from its URL. The string 'View_w54o1gOKO' in the following URL is the view ID for a view created from the dataset Employee_Master.
Note:
Sample URL: https://stark-corporation.kissflow.com/view/dataset/Employee_master/view/View_w54o1gOKO/
Dataset view ID: "View_w54o1gOKO"