2
Setting up SAML-based Single Sign-on for Microsoft Entra ID
SAML is an acronym for Security Assertion Markup Language (SAML). Its primary function in online security is to allow you to access multiple web applications with a single set of sign in credentials. Setting up SAML-based SSO requires uploading files in Entra ID and Kissflow.
You must be a Super Admin or an IAM Admin to access Account security and set up SAML-based SSO in Kissflow.
To set up SAML-based SSO,
- Navigate to Account Administration > Account settings. Under Account security, click the Configure SAML button beside Sign in with SAML.

- The first step is to download the metadata file from Kissflow and upload it to your Entra ID account. Under Service Provider URLs, click Download metadata to download the metadata from your Kissflow account.

- Sign in to your Entra ID account. Then, navigate to your homepage to create your application. Provide a name for your application and select Integrate any other application you don't find in the gallery (Non-gallery).

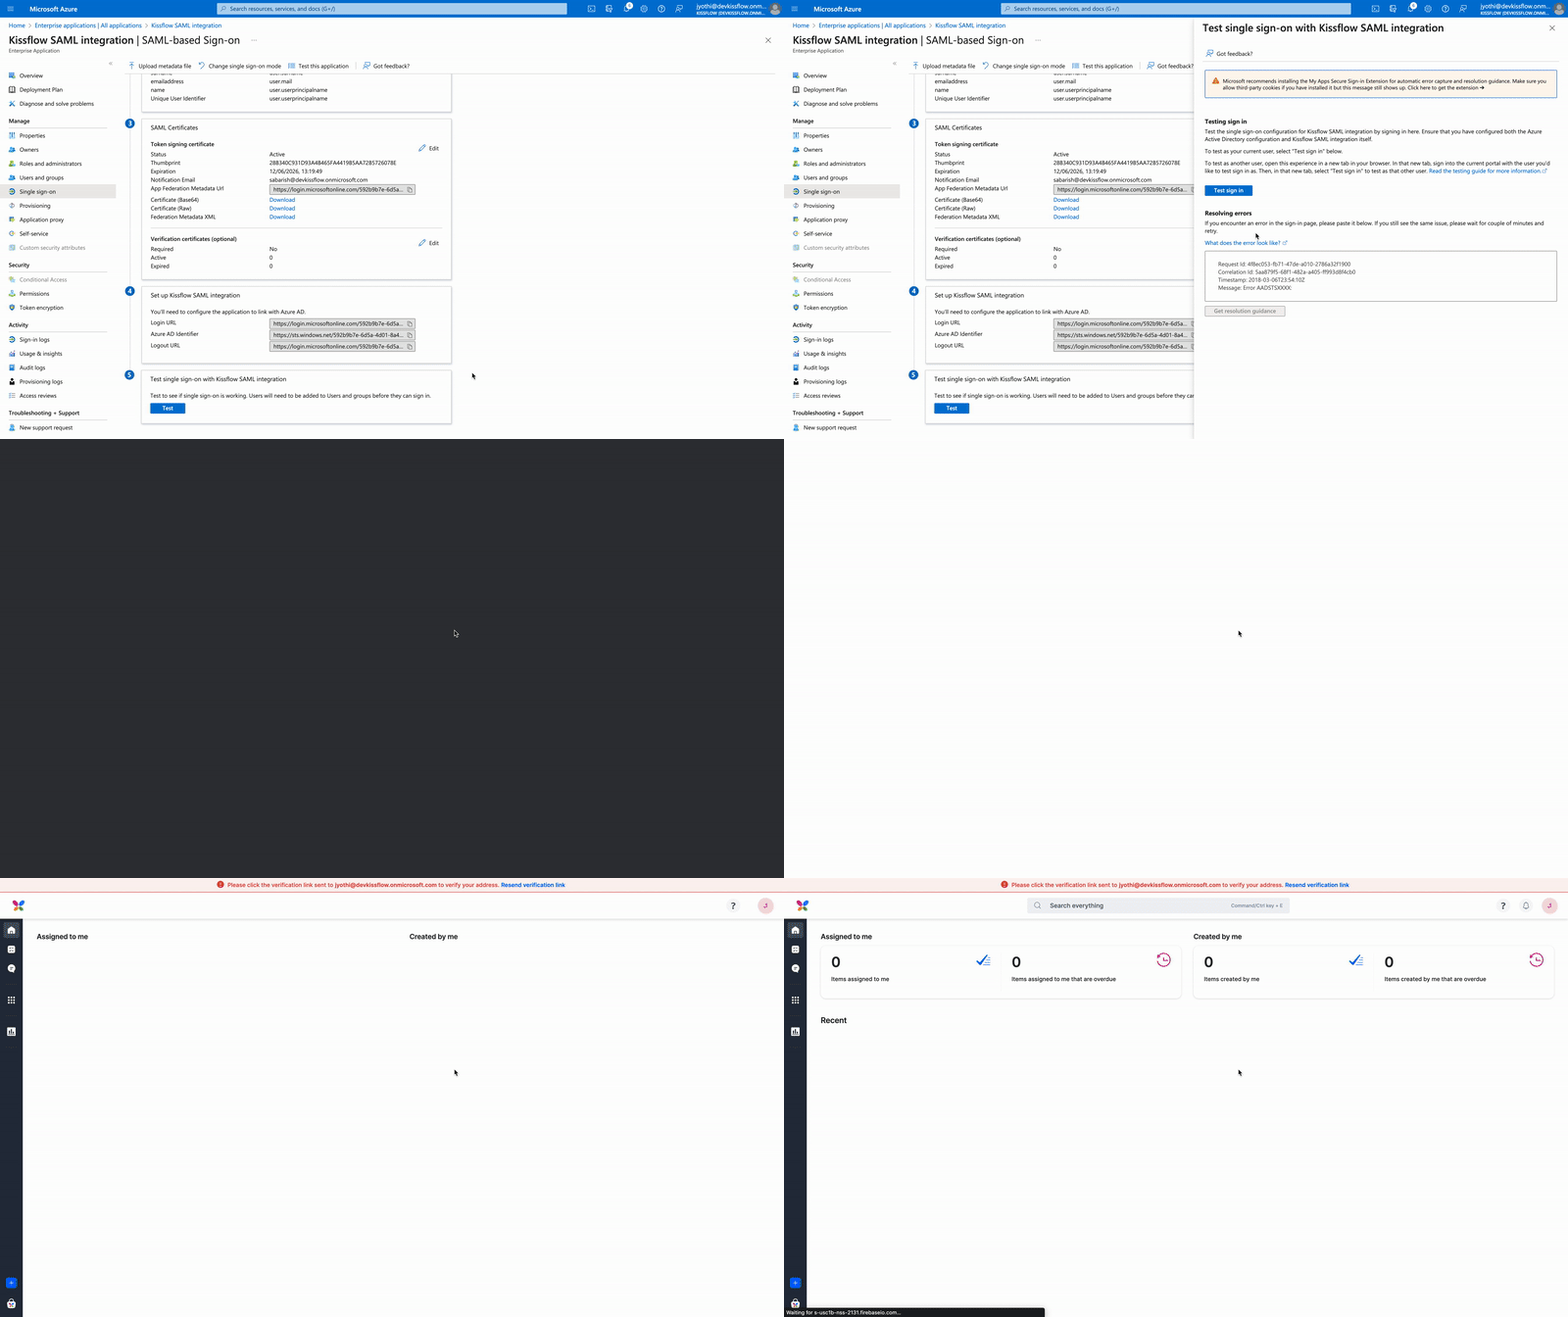
- Now, you can create a Single Sign-on method using SAML. Click Upload metadata file to upload the metadata file downloaded from Kissflow. Click Save once the file has been uploaded.

- Scroll down to Federation Metadata XML and click Download. The downloaded file should be uploaded inside Kissflow.

- Inside Kissflow, click the Upload XML file to upload the Federation Metadata XML file downloaded from Entra ID. All the fields under the IdP configuration will be populated automatically after the XML file has been uploaded successfully.

- You can make changes under Advanced settings to determine the unique identifier for users. Email address is the default unique identifier.
Note:
Check the box if you want Kissflow to automatically create new accounts when a new user signs in via SAML-SSO. - Click Save to save your SAML configuration in Kissflow.
- Go back to Entra ID to test if your configuration works by clicking Test this application on the top navigation bar. If the configuration is successful, Entra ID will lead you to the homepage of your Kissflow account.

Once the configuration is completed, toggle the button inside Account Security to enable SAML. You can now add users and groups in Entra ID to be authenticated in Kissflow via SAML.

