Using a decision table inside apps
It is necessary to use Kissflow’s SDK to use a decision table inside apps. Consider a simple use case where a bank needs to approve a loan application based on the applicant’s income. Here’s a step-by-step guide to use a decision table inside apps:
Create a decision table and update it with the following conditions, results, and values.
Conditions
Results
Income
Eligibility
>=
<
15000
Approved
10000
15000
Further review
0
10000
Denied
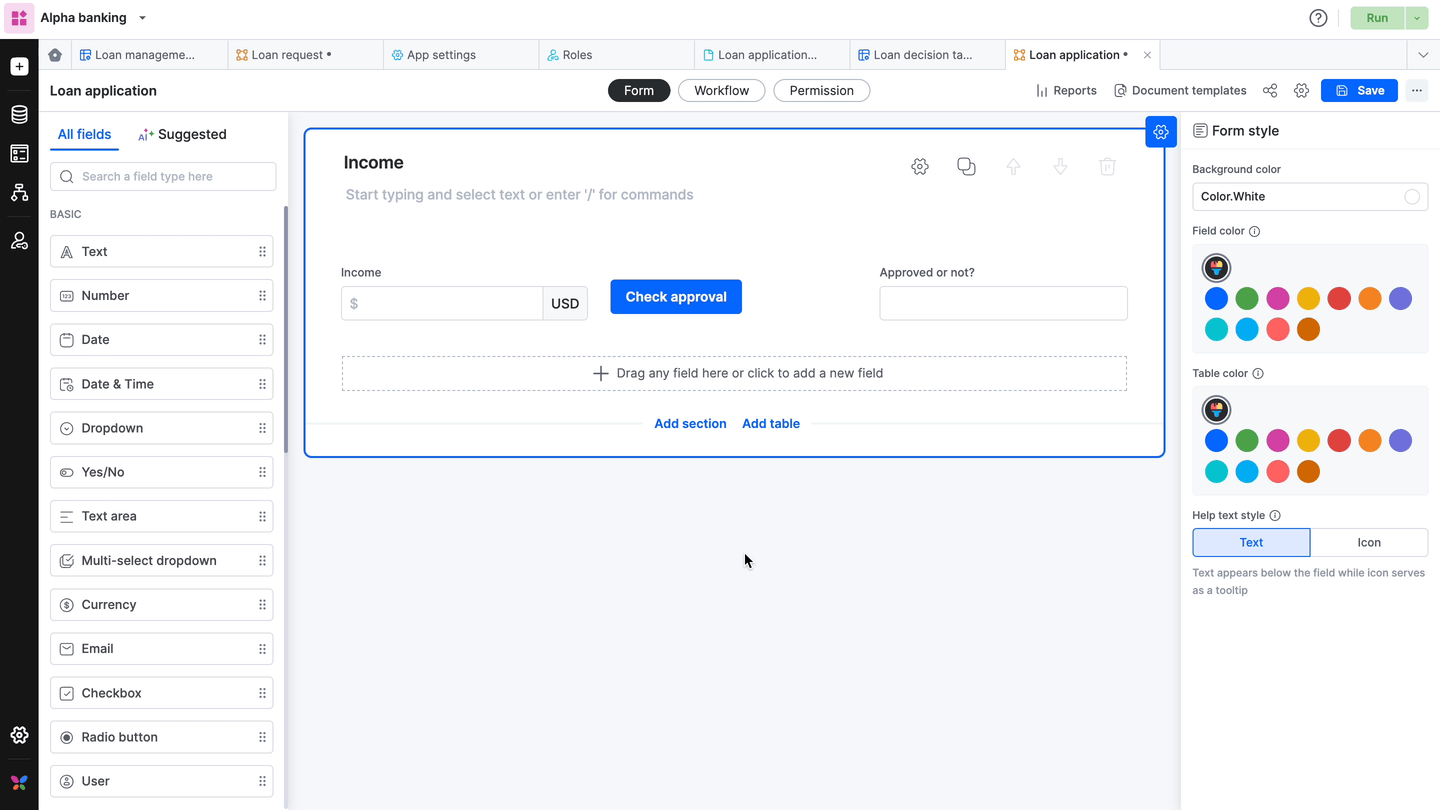
Create a form: Create a process and add the following fields in the form.
Field name
Data type
Income
Currency
Check approval
Button
Approved or not?
Text
Event configuration:
Select the Check approval button, click the Event tab, and click the Add an event button.
In the code editor that pops up,
Copy and paste the SDK syntax of getField() from the Kissflow Forms SDK to send the input value to your decision table for evaluation. You can also enter the syntax by typing “get field value” in the code editor and clicking Enter.
let fieldValue = await kf.context.getField("fieldId");
Replace “fieldValue” with a custom name of yours (For example, IncomeInput) and “fieldID” with the ID of the Income input field.
let IncomeInput = await kf.context.getField("Income_process");
- Copy and paste the SDK syntax of evaluatedecisiontable() from the SDK page.
let decisionTableInstance = kf.app.getDecisionTable("flowId");
let decisionOutput = await decisionTableInstance.evaluate({ conditionField1: "value", conditionField2: "value" });
Replace:let LoanDecisionTable = kf.app.getDecisionTable("Loan_decision_table_A00");
let Output_of_the_decisiontable = await LoanDecisionTable.evaluate({ Income_decision_table: IncomeInput});“decisionTableInstance” with a custom name - optional.
"flowId" with the actual ID of your decision table. You can find this ID after the last slash (/) in the decision table’s URL.
“decisionOutput” with a custom name.
“conditionField” with the ID of the decision table’s condition.
“value” with IncomeInput.
Enter the below line of code to get the results from the decision table.
let outputValue = decisionOutput.Data.at(0);
Replace “outputValue” with a custom name - optional.
Copy and paste the SDK syntax of updateField() from the Kissflow Forms SDK to update the result in a field. You can also enter the syntax by typing “set field value” in the code editor and clicking Enter.
kf.context.updateField({"fieldId": "value"});
Replace:“fieldId” with the field ID of the Approved or not? field.
“Value” with “outputValue?.Eligibility_decision_table”.
kf.context.updateField({Approved_or_not: outputValue?.Eligibility});
Click Save.
Deploy the app: Deploy the app to the production environment. In the process form, enter a value in the Income input field and click the Check approval button in the process form. The result from the decision table will be shown in the Approved or not? field.