
Creating triggers
A trigger is an event or condition that starts an integration. It acts as an integration's listener or catalyst, waiting for a specific change to happen in one application so it can automatically kick off a series of actions in another.
For example, a trigger could be When a new lead is created in Salesforce or When an email attachment is received in Gmail.
Configure a trigger
In your Connector builder, Click Edit connector and navigate to Triggers. Click + New trigger and you'll be taken to the Settings page.
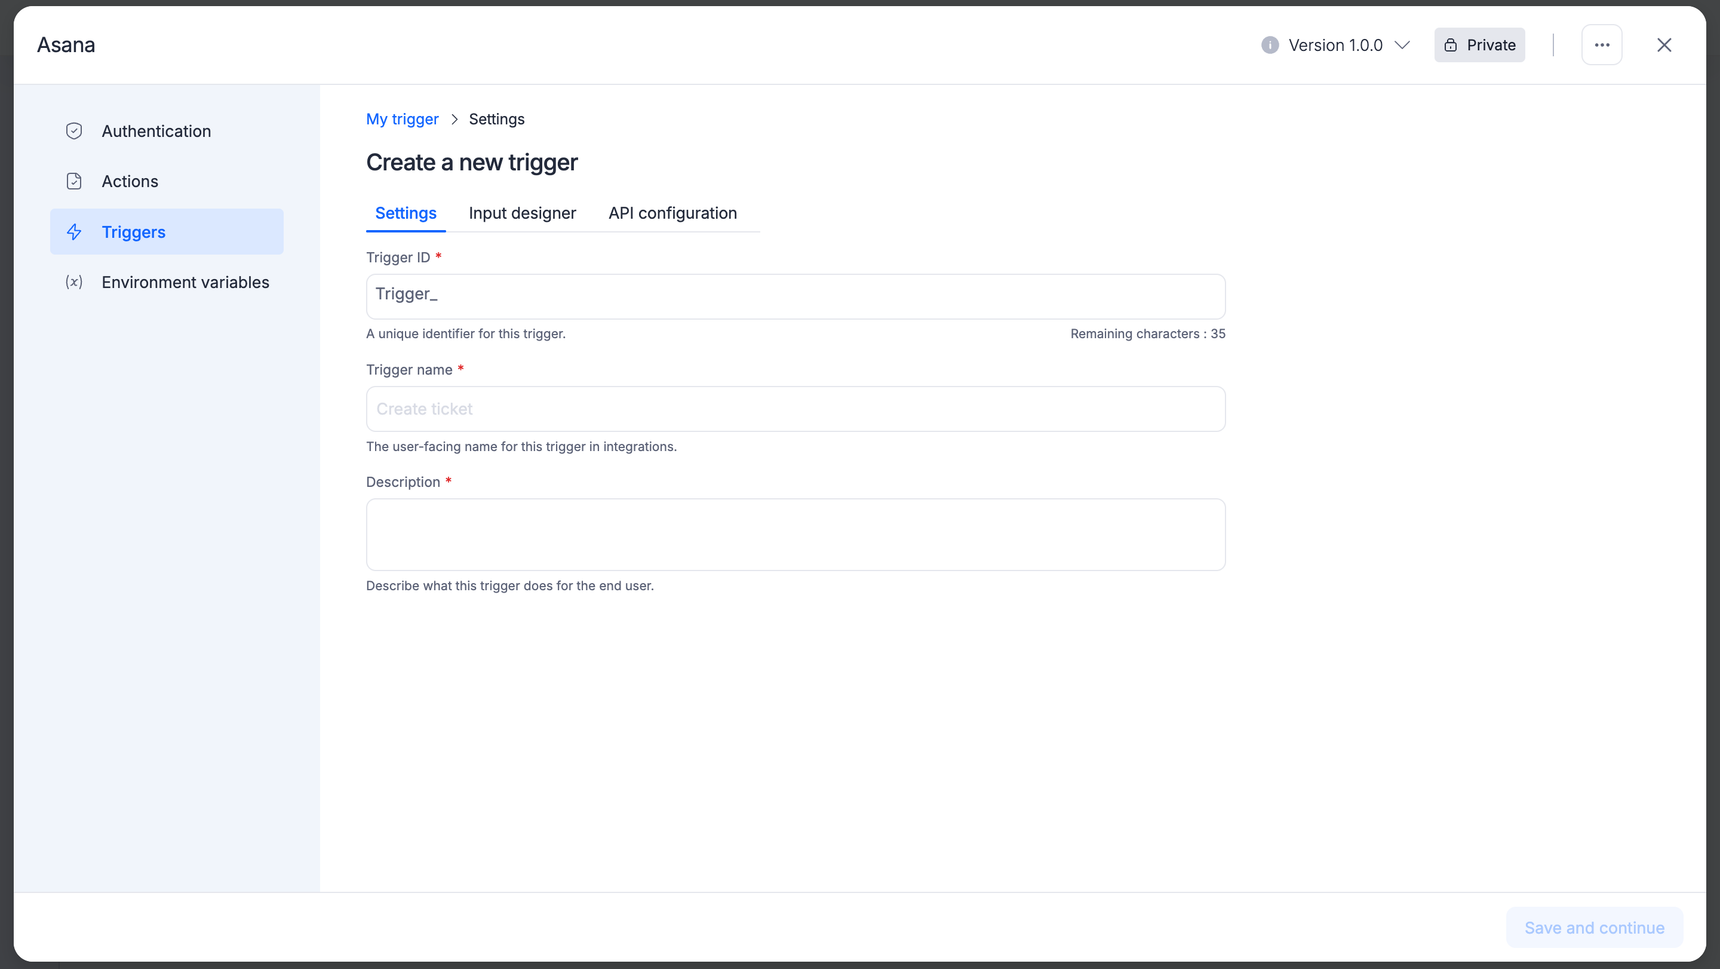
Trigger ID: A unique identifier for this trigger.
Trigger name: This trigger should be named using plain text, typically with an adjective such as New or Updated, followed by the name of the item this watches for in your app. The trigger name will be displayed inside the Kissflow connector and on Kissflow integration marketing pages.
Description: A sentence that describes what the trigger does and when it should be used. Shown inside the Kissflow integration and on Kissflow integration marketing pages.
Build trigger input form
The process for constructing input forms for a trigger is comparable to the steps used to create input forms for actions. The input designer stage allows you to define the data fields that users must provide when setting up this trigger in their workflows.
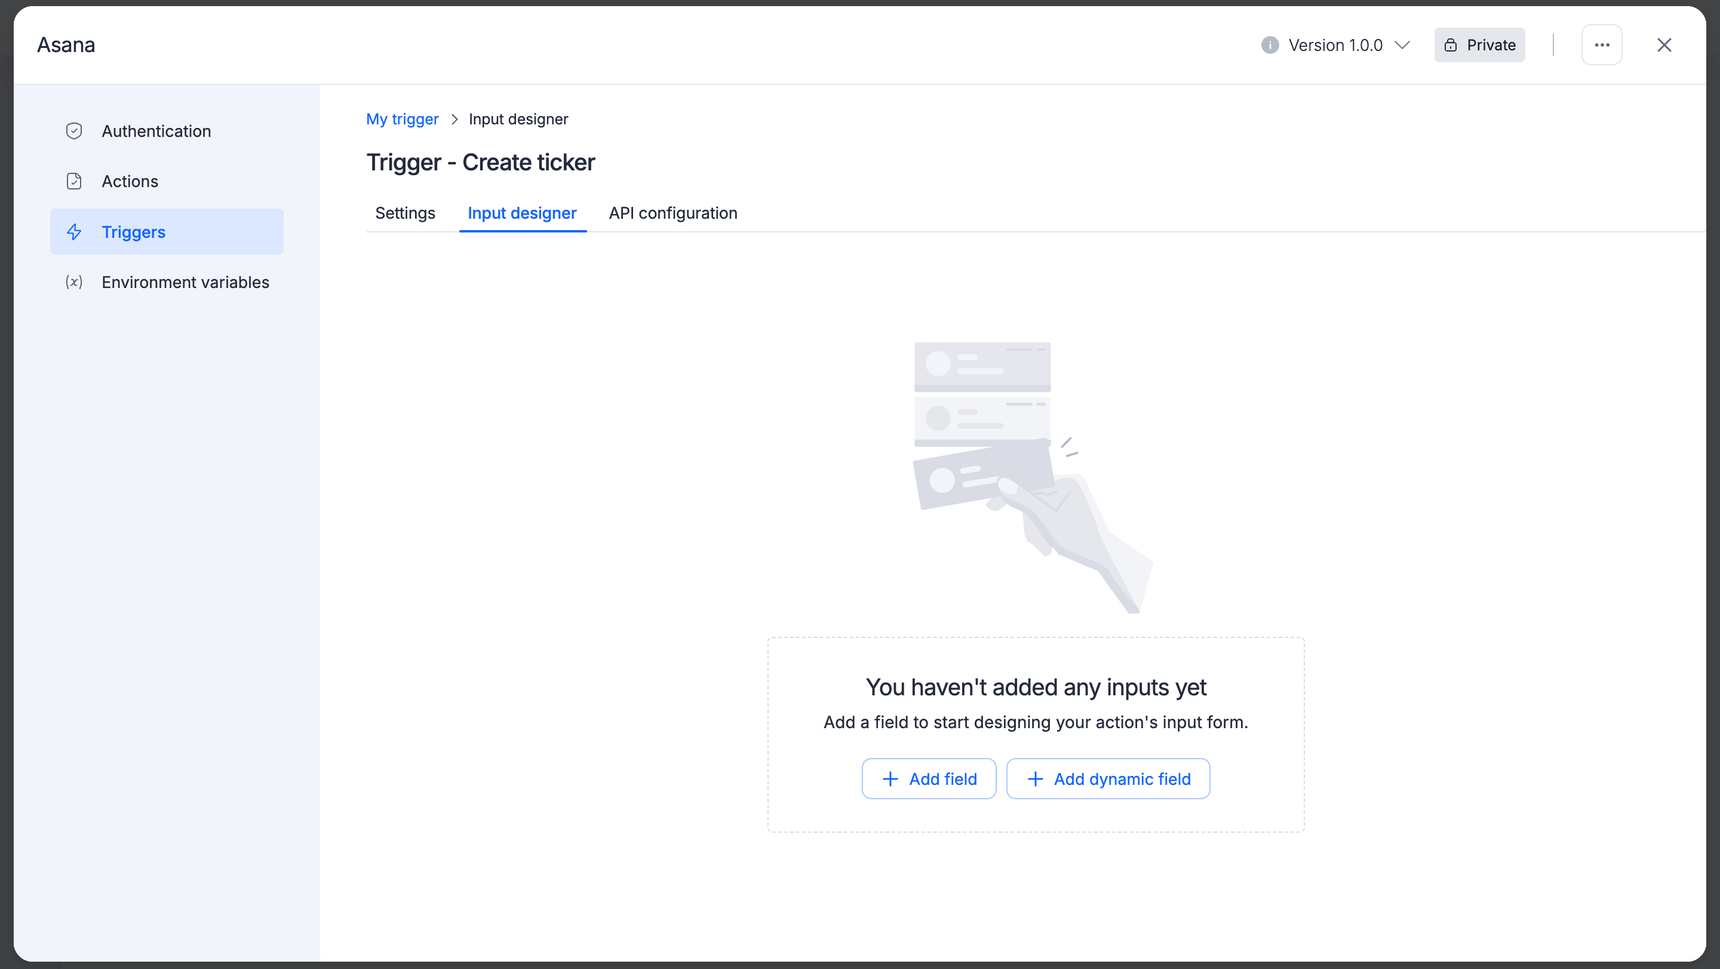
You can click Add field or Add dynamic field to begin building your form. Within this builder, you can define your field parameters, including:
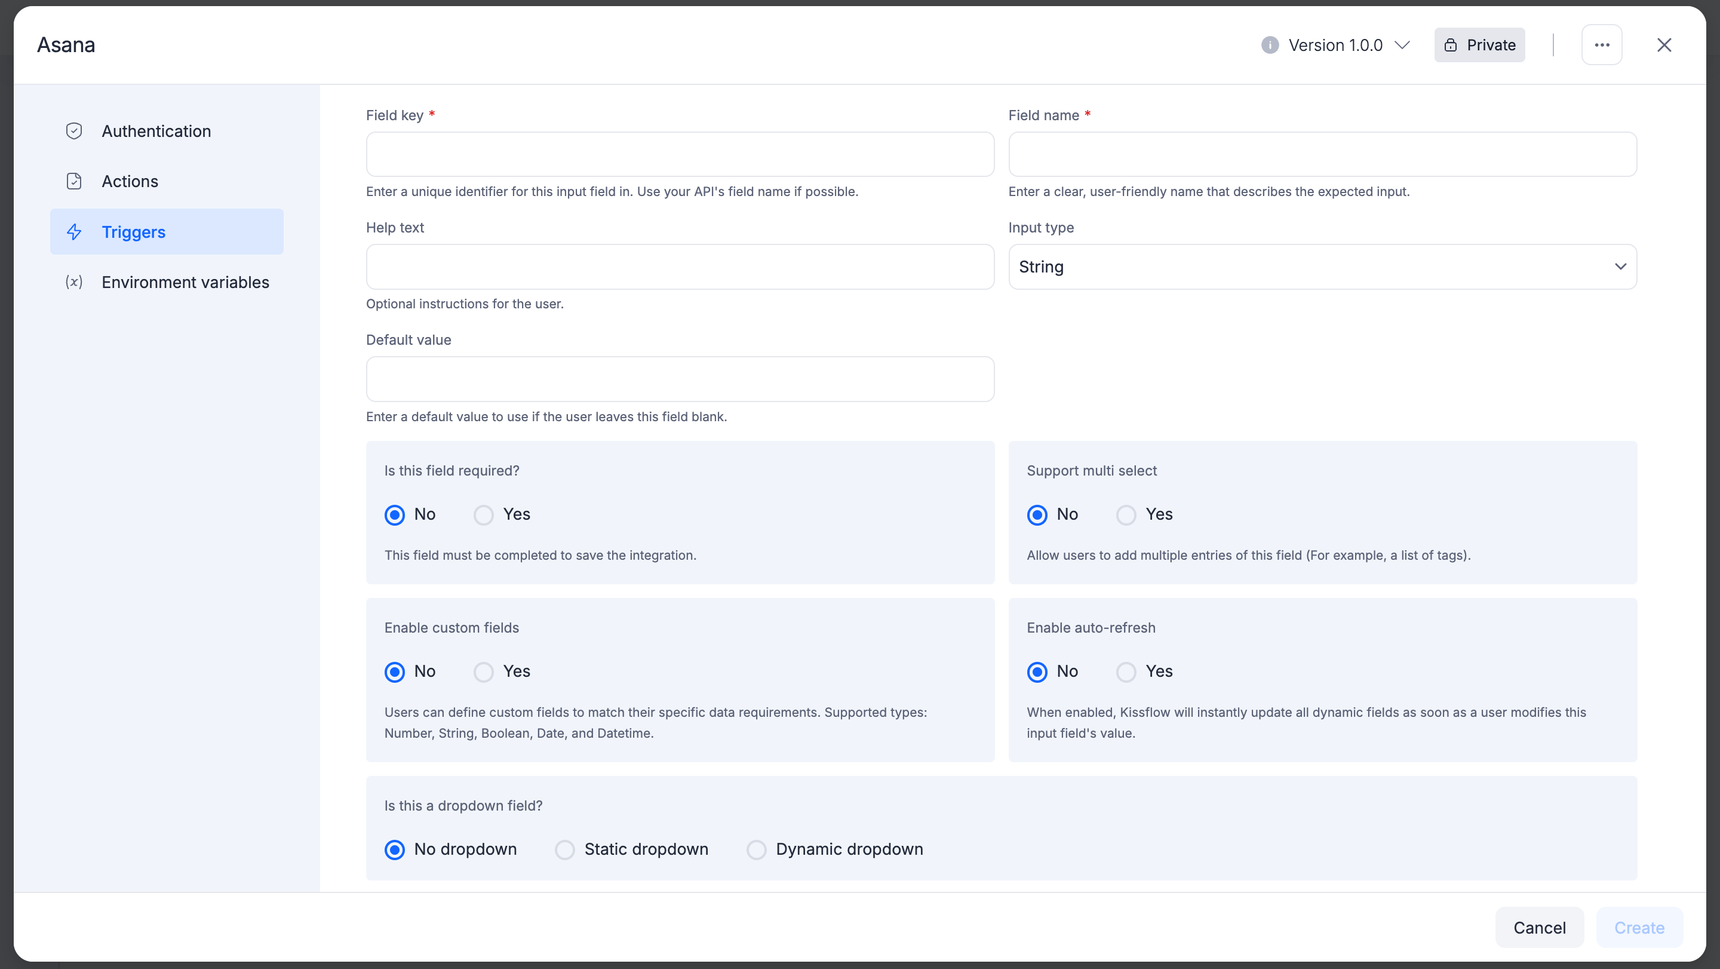
Field key and name: Define unique API identifiers and user-friendly labels.
Input type: Choose data structures such as Strings, Numbers, or Booleans.
Field requirements: Configure conditional properties like mandatory fields, multi-select support, or static and dynamic dropdown menus.
The underlying layout mechanics and property behaviors for creating a trigger input form follow the exact same conventions as an action input form. For a detailed breakdown of field types, drop-down configurations, and validation rules, please refer to our complete Input designer documentation.
API Configuration
The API configuration must be set to complete the process of adding a trigger.
Your connector can use a polling API call to periodically check for new or updated data or a REST Hook with a subscription URL to receive new or updated data automatically.
Polling trigger
The Kissflow connector sends a request to an API endpoint URL to obtain new data. With live integration, the connector will automatically remove any duplicate data and sort for the most recent information from the API. The live integration process will also regularly check the URL for new data, polling every 1 to 15 minutes.
To set up a polling trigger, go to the settings page and click Polling. Then, in the API Endpoint field, enter your API URL. If your API URL requires specific data in the URL path, include the key with the relevant data from the input form you created in the previous step. To include input field data with the API call, use URL parameters for GET requests or JSON in the request body for POST requests.
If you need to provide extra information for your API, click the Show Options button to reveal a more detailed request configuration. Alternatively, if required, you can switch to Code Mode and write a custom API call in JavaScript code. After making changes, remember to save your trigger settings by clicking on the Save API Request and Continue button.
Resthook trigger
If your app supports REST Hooks, select REST Hook as your trigger. Please note that the Kissflow connector will support identity confirmation. This will allow your trigger to run almost immediately, with your app sending data to the Kissflow connector and triggering integrations as soon as new data is received.
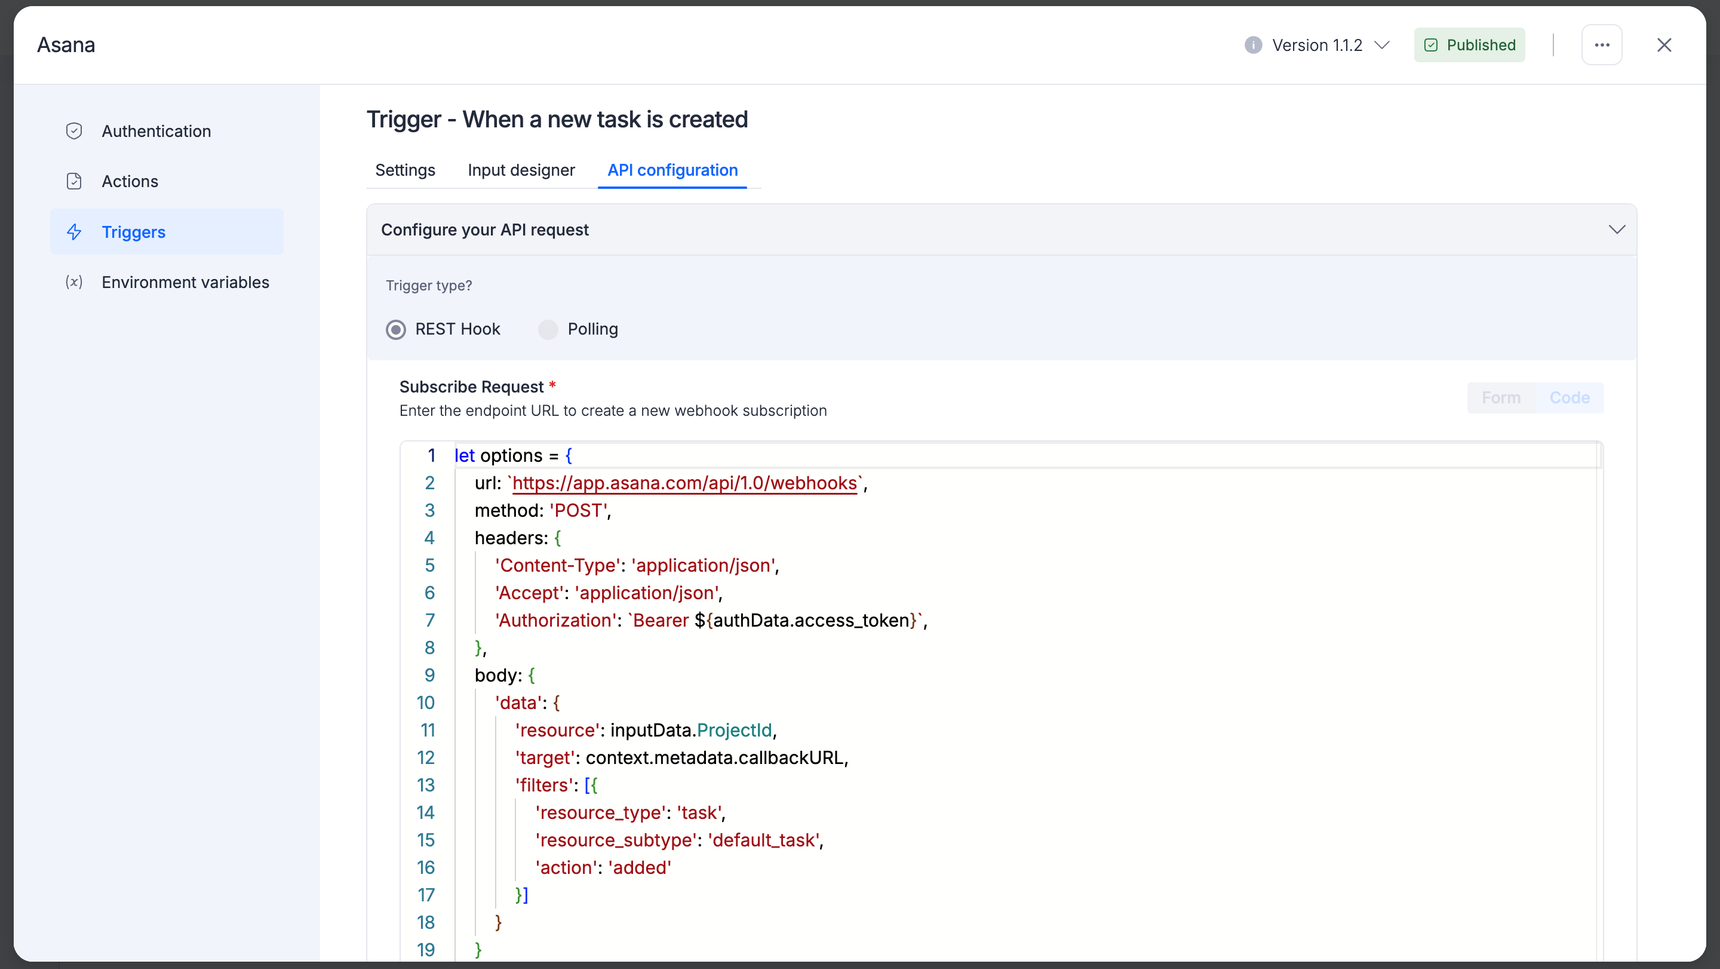
Kissflow Connector requires Subscribe and Unsubscribe API requests for a REST hook trigger to establish and remove the hook subscription.
Unverified webhook origins can pose a serious threat to the security and integrity of Kissflow integrations. This can lead to inaccurate data processing and system vulnerabilities, which can compromise the overall security of the system. To address this issue, you can enable webhook verification which enhances the security and reliability of webhook integrations. You can also ensure that webhook events are only received from trusted sources, reducing the risk of unauthorized access and data breaches.
Setting up webhook verification:
To enable webhook verification for a particular trigger follow the below steps:
1. Choose the connector and the trigger for which you want to enable webhook verification.
2. Toggle the status of Is webhook verification required? To ON.
3. Configure validation token extraction and transmission methods based on the third-party connector’s requirements. Choose how you would like to capture the data sent from the external system. It can be in the form of HTTP headers, URL parameters, and Request body.
4. Configure how you would like the response body to respond to a particular request. It can be either in the form of HTTP headers or a Request body.
5. Click Save to save the configuration.
Upon successful validation, the webhook is established, allowing real-time data updates to flow securely.
Setting up API configuration for downloading attachment
At present there is limited functionality of attachments in an integration, hindering the seamless flow of data between Kissflow and third-party connectors, particularly in mapping attachments between different applications and handling attachment flows effectively. You can overcome this by configuring API configurations to seamlessly download attachments in triggers and actions, enabling efficient data transfer between applications.
To begin integrating attachments into your workflows, follow these simple steps:
- Access the Integration Builder platform within Kissflow.
- Create or edit integration: Create a new integration or edit an existing one to incorporate attachment handling.
- Specify triggers and actions: Define triggers and actions relevant to your workflow, ensuring attachment support.
- Select attachment source: Choose the source of attachments, such as local files, Google Drive, Dropbox, OneDrive, or Box, based on your integration requirements.
Why solve this problem now?
Attachments play a crucial role in complementing textual data, and efficient attachment handling ensures seamless data transfer across applications, enhancing productivity and collaboration.
Currently, users manually upload attachments within applications, leading to inefficiencies and potential errors in data transfer.
Note:
Each attachment should not exceed 100 MB in size.
Provide options to modify attachments during integration, such as format conversion or image compression.