1

Generating document templates

Kissflow plans:
 
Basic Enterprise


You can use a document template to automate the generation of your process form PDFs. App developers create document templates in the development environment.

Creating a document template

  1. Navigate to the process form you want to generate a document for.
  2. Click Document templates at the top right of the process form.

    The Document templates button at the top right of a process form in the app builder

  3. Click Create template > Create from scratch. On a process form with no templates yet, the button reads + New template.
  4. Enter a name and an optional description for the document template.
  5. Click Create.

    Creating a document template from scratch in the app builder

Generate using AI

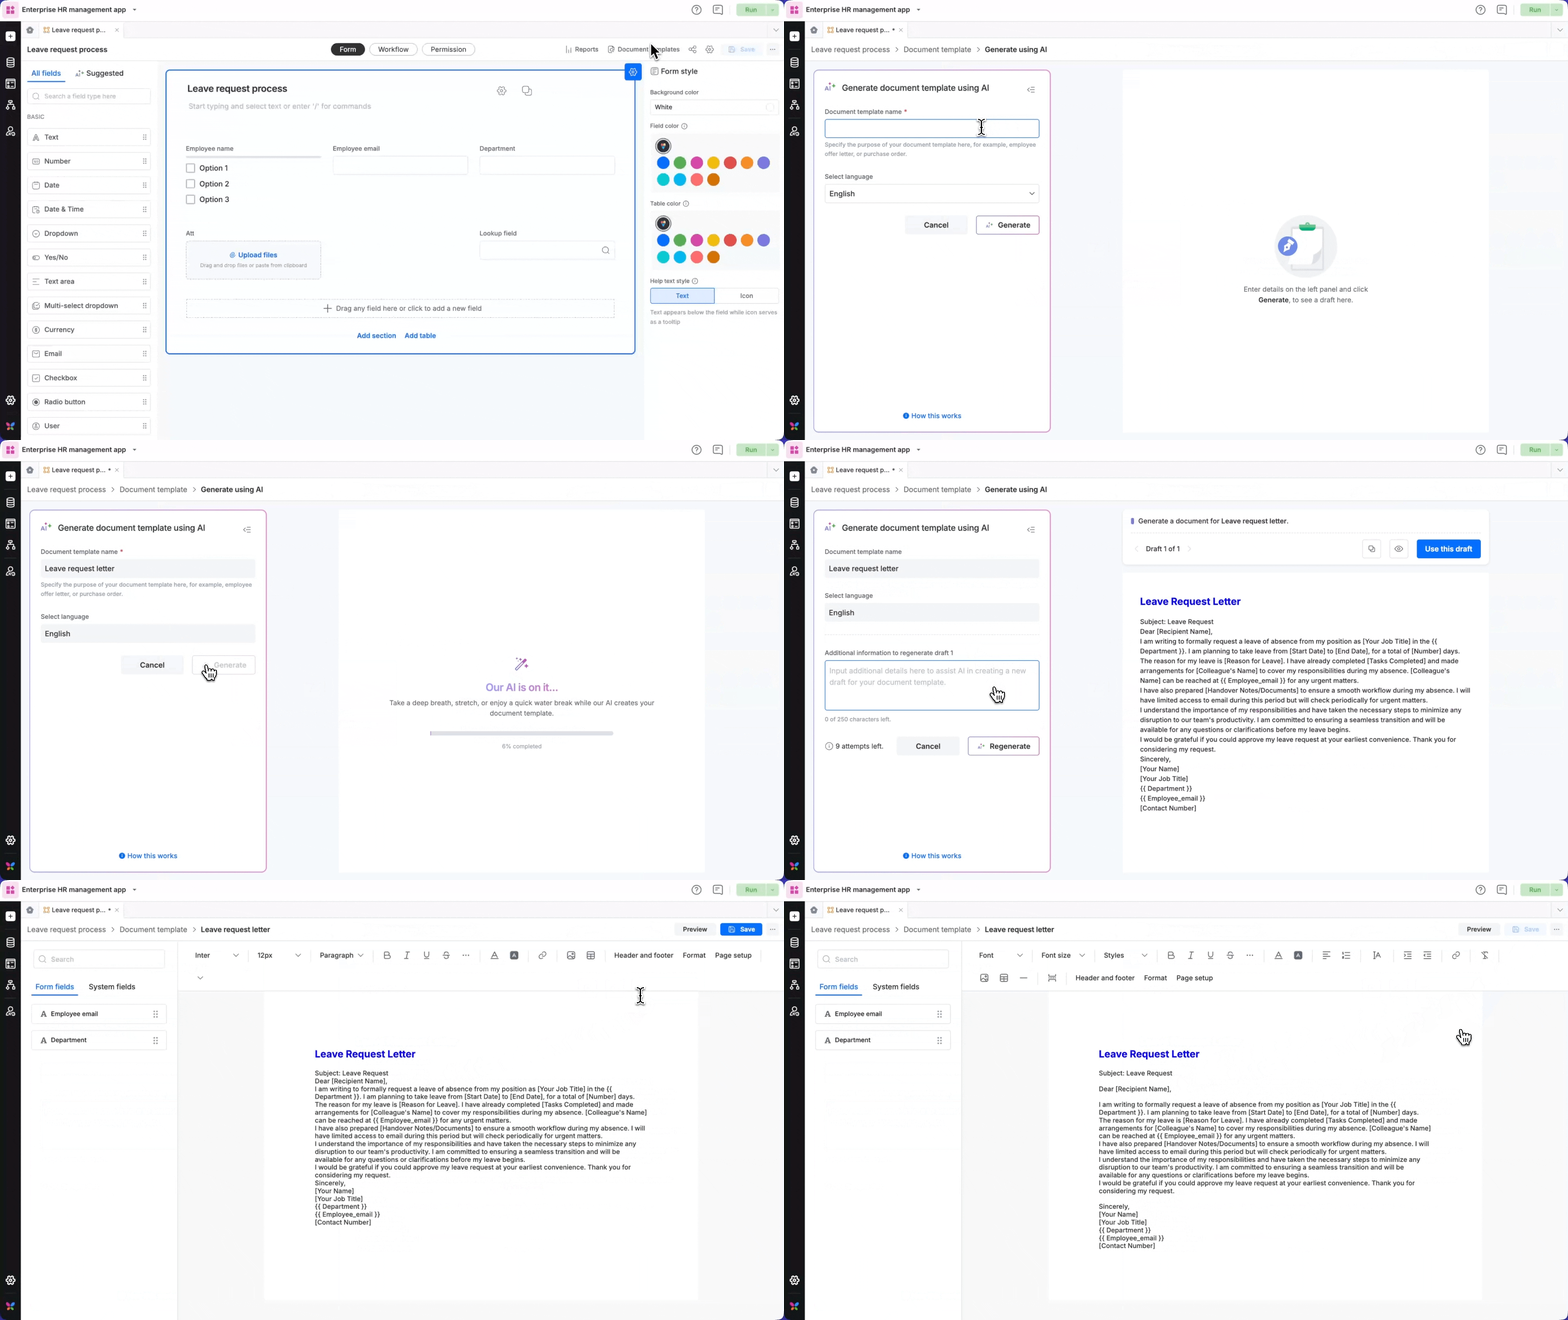
Use Kissflow AI to draft your document template instantly. From the process form, click Document templates > Create template > Generate using AI.

Enter the document template name, for example Employee Offer Letter or Purchase Order, select a language for the template, and click Generate to create the first draft, called Draft 1.

Generate using AI: entering a template name and language, then clicking Generate

Note: Along with the name you provide, the AI uses the process name and the form fields in the process form as context.

AI regeneration to enhance drafts

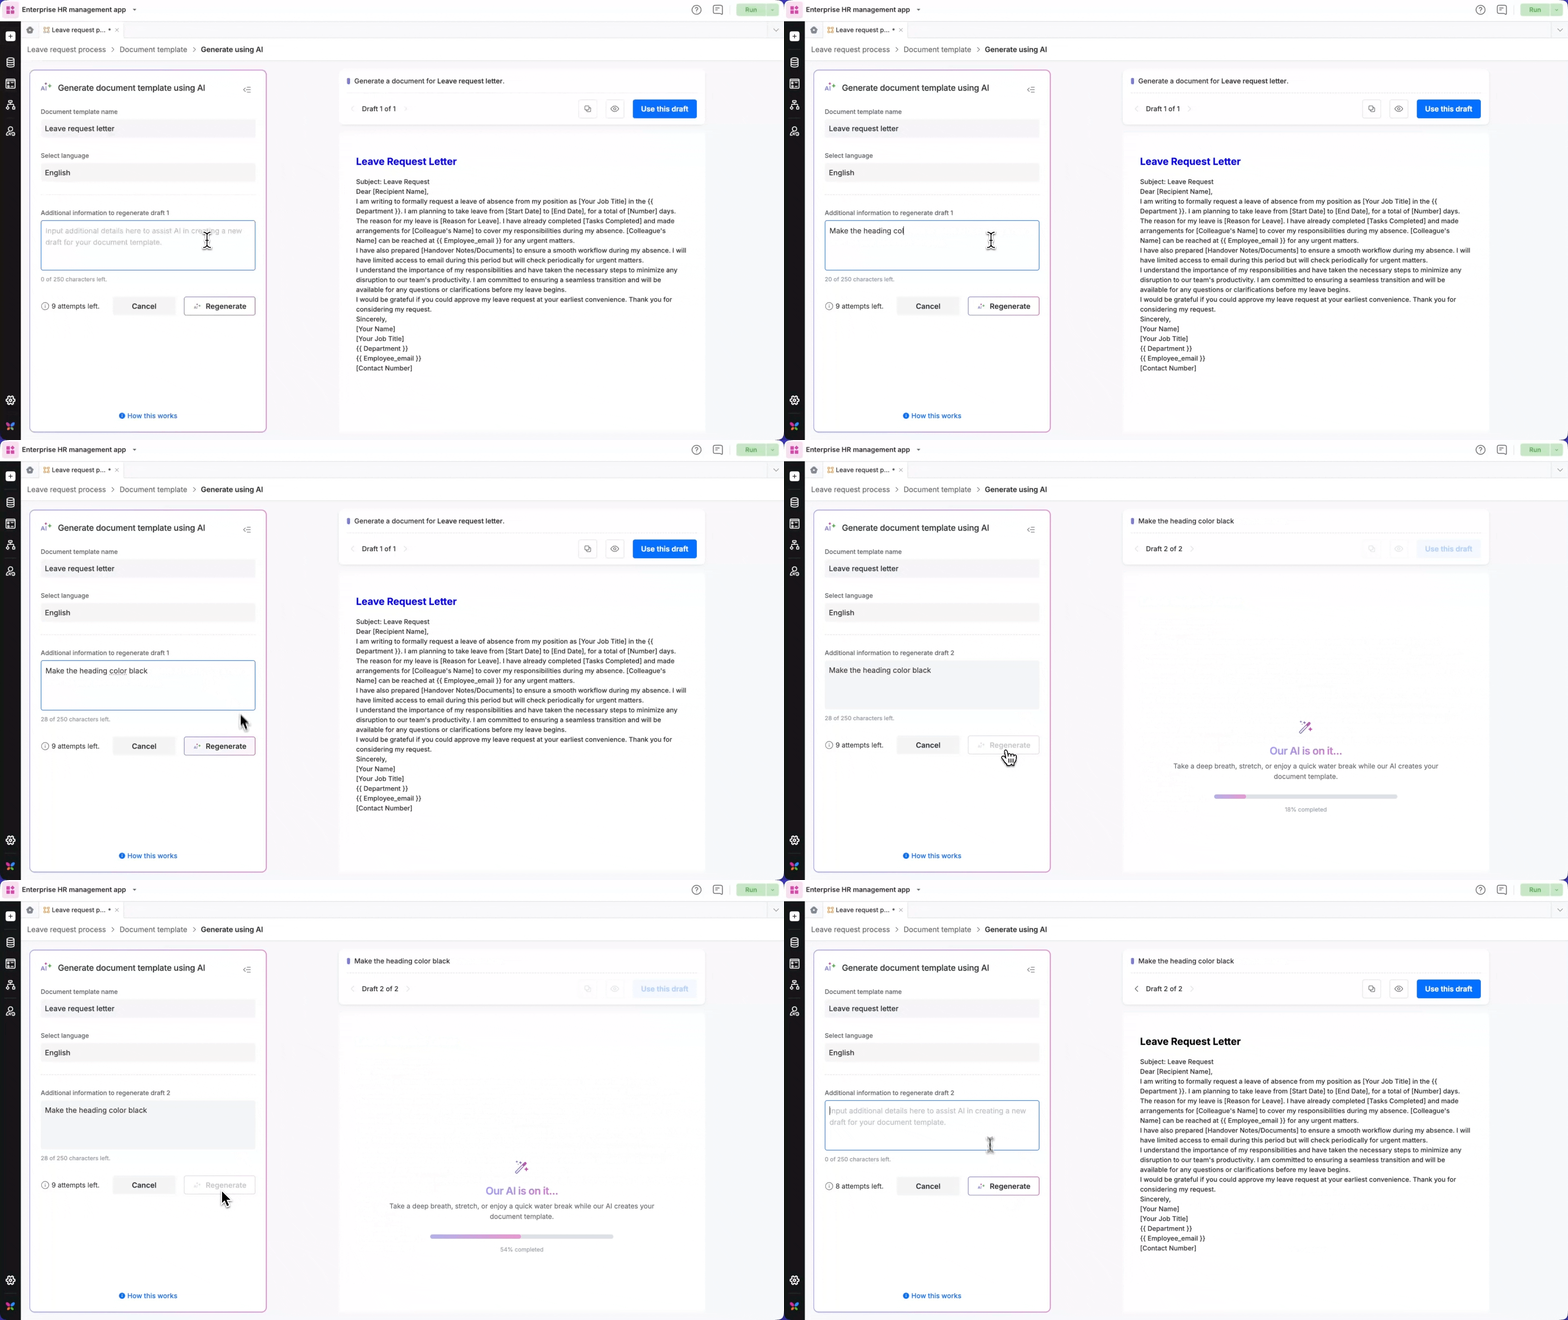
You can refine drafts by adding more information to a chosen draft and clicking Regenerate to get the changes in a new draft.

Regenerating an AI draft with additional instructions

Note:

  • You can navigate to any existing draft and use it as the base to regenerate a new draft with the changes you need.
  • Drafts can be used to regenerate only within one hour of creation. For instance, if draft 7 was generated on January 19 at 03:45 PM, you can use this draft to regenerate before January 19 at 04:45 PM.
  • A maximum of 10 drafts can be created each time you start Generate using AI.

Finalizing a template draft

Once satisfied, navigate to the draft you like the most and click Use this draft on the top right of the page. The chosen draft is transferred to the document template editor, where you can customize the document further.

Editing a document template

Draft the content of your template in the editor that opens after you create it. Alongside the usual text formatting, you can insert process form fields, page breaks, images, and form tables, and type conditions and loops by hand.

The document template editor with the fields panel on the left and the formatting toolbar on top

Under the hood, the template is rendered by the Jinja templating engine. When you want a line to appear only in some cases, or a table to repeat for every row, see Writing logic in your template below for copy-and-paste examples.

Inserting process form fields

You can insert a specific system or form field in two ways:

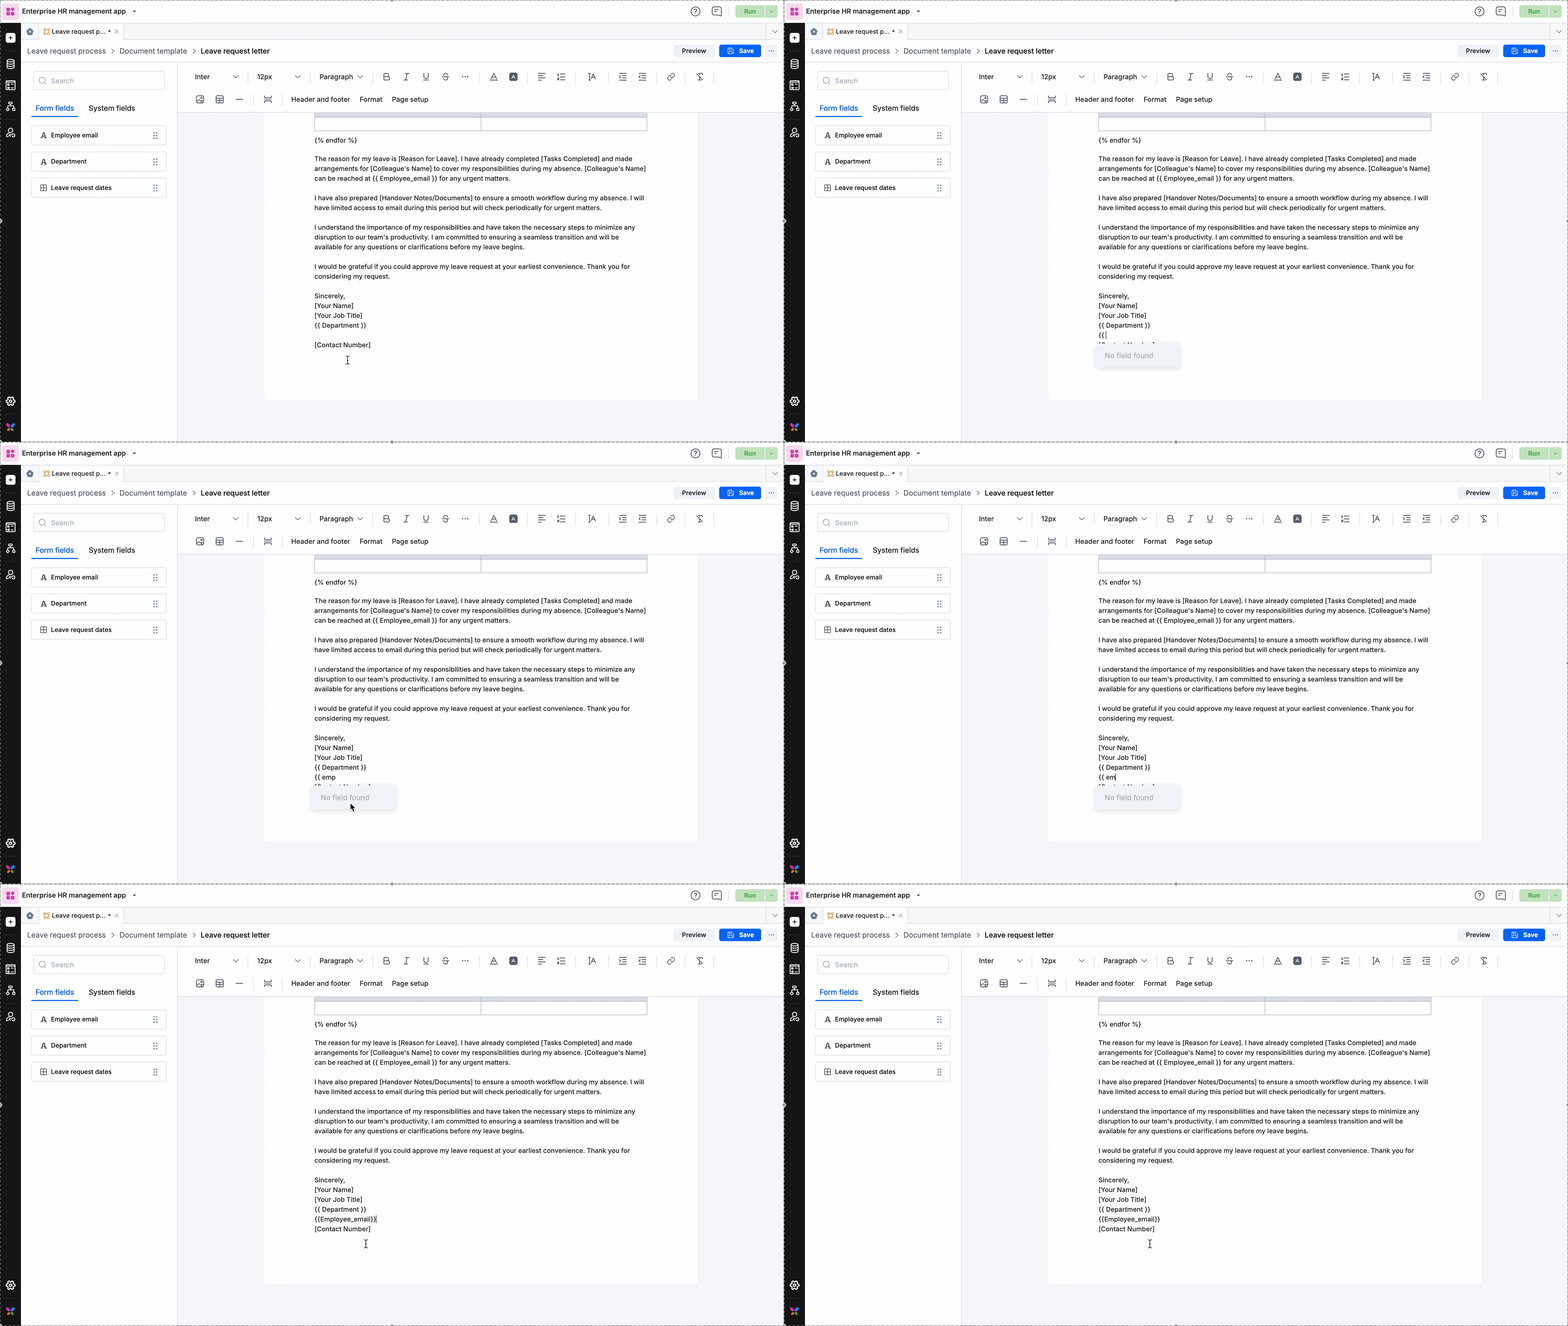
  1. Type two curly braces without a space between them ({{) to see the list of fields used in the current process form, and select the field you want to insert.
  2. Drag and drop the field from the left panel onto the template editor.

Supported fields

Only form tables and the fields below are supported inside document templates:

  • Text
  • Text area
  • Number
  • Currency
  • Email
  • Sequence number
  • Date
  • DateTime
  • Dropdown
  • Yes/No
  • User, including User fields that allow multiple users
  • Image
  • Signature

Unsupported fields

The following fields are not supported inside document templates:

  • Radio button
  • Multi-select dropdown
  • Checkbox
  • Lookup
  • Remote lookup
  • Attachment
  • Smart attachment
  • Aggregation
  • Geolocation
  • Scanner
  • Checklist
  • Rating
  • Slider
  • Rich text
  • Button

Tip: If you need a value from an unsupported field in the PDF, add a supported field to the form, fill it from the unsupported one with a formula or an integration step, and insert that field instead. For example, a Number field with a formula can carry the value of an Aggregation field.

Inserting page breaks

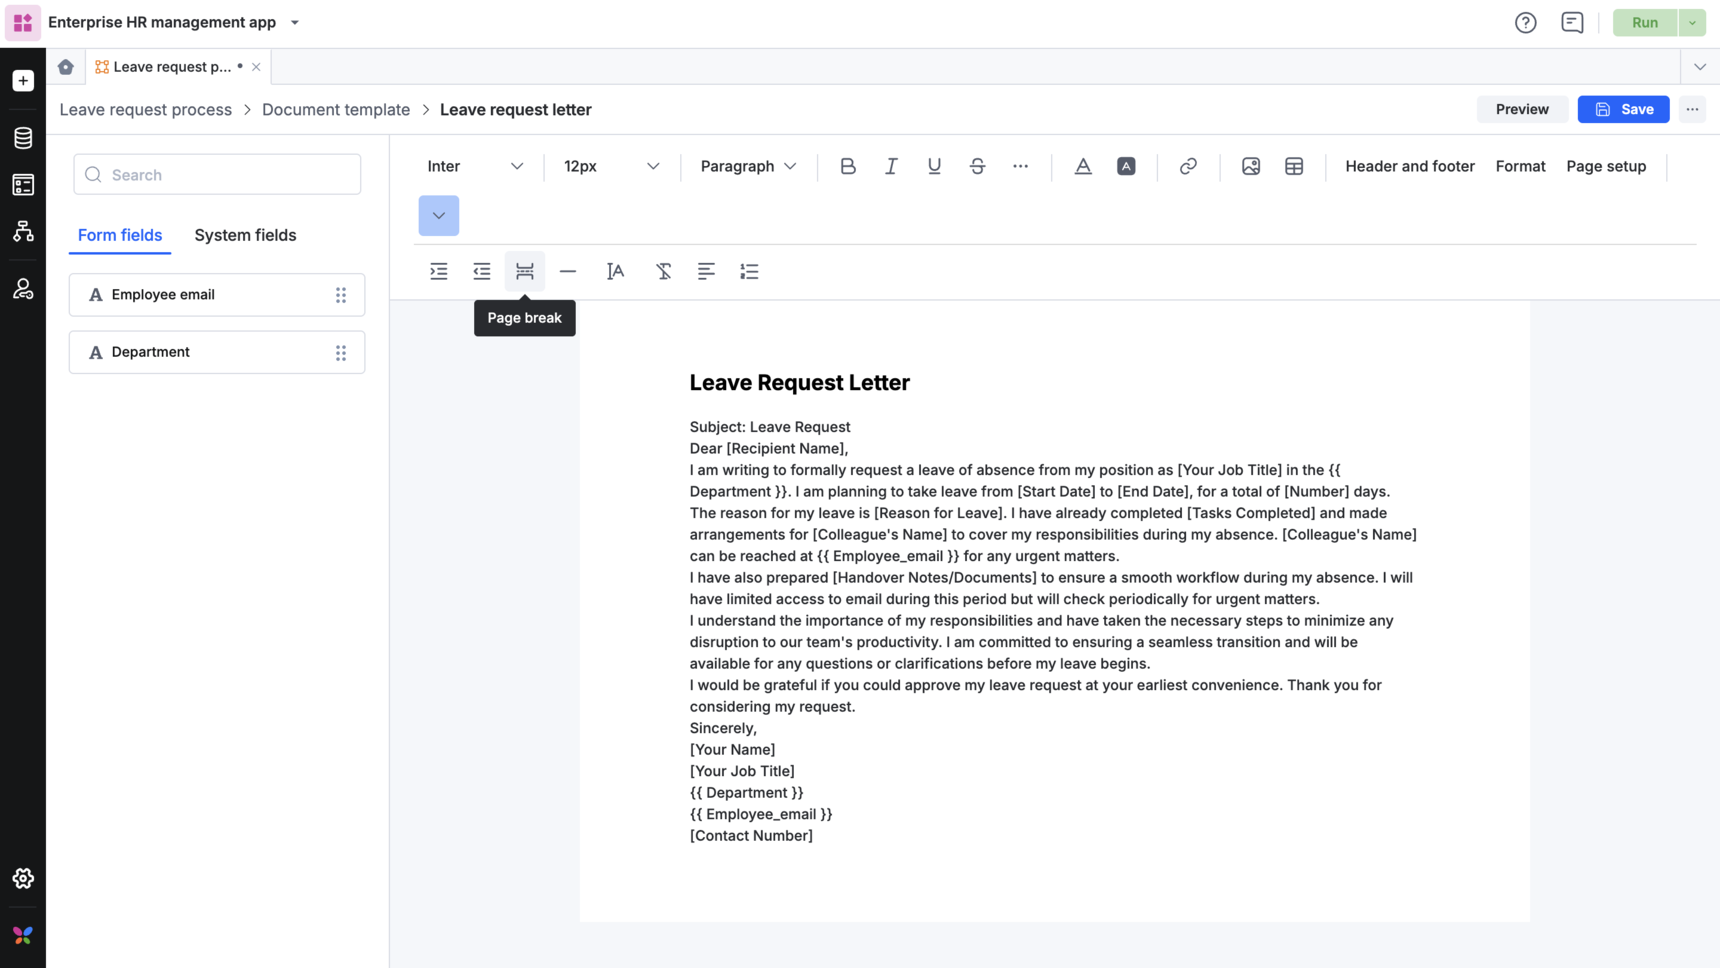
Click the Page break icon (Page break icon) in the toolbar to insert a page break.

A page break inserted in the template editor

Adding a form table

You can insert the form tables created as part of your process form into your document template.

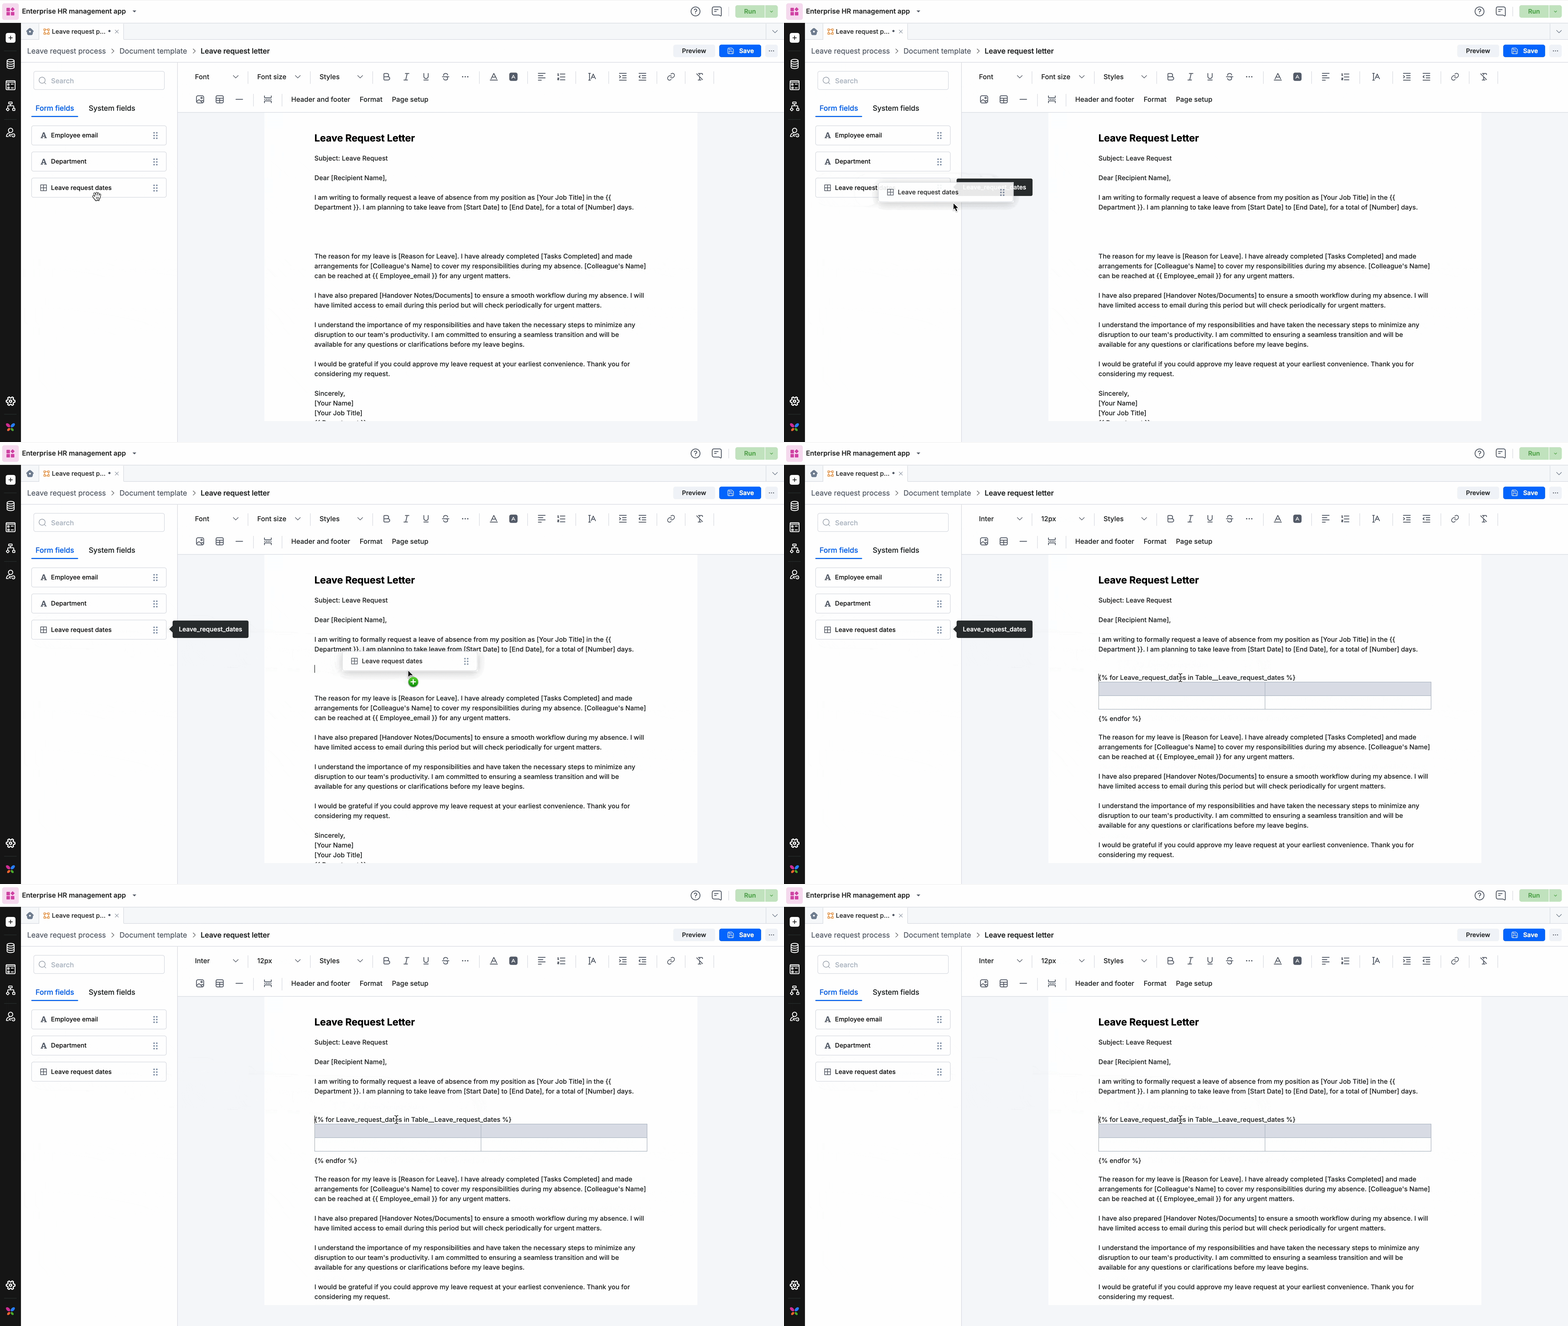
Drag and drop a form table from the left panel onto the template editor, the same way you add a field. A line of code is added above and below the table when you drop it, for example {% for Line_Items in Table__Line_Items %} and {% endfor %}. These lines make the table repeat once for every row. Keep both lines exactly as written, except that you may add a condition to the end of the for line, shown under Tables.

Dragging a form table into the template editor

Enter the column headers, then use double curly braces to insert a table field as each column's value. Inside the table, a field is written as the table name, a dot, and the field name, for example {{ Line_Items.Quantity }}.

Filling the table column values with double-curly-brace fields

Note: You cannot drag and drop a field while setting values inside a table. Use double curly braces to insert a table field as a value.

To number the rows, filter which rows appear, or total a column, see Tables under Writing logic in your template.

Writing logic in your template

Use logic when a sentence should appear only when a Yes/No is on, a paragraph should change with a dropdown, or a table should skip some rows. You type short tags into the editor, and the template decides what to print when the PDF is generated.

There are three pieces of syntax:

  • {{ Field_ID }} prints a value. This is what the field picker inserts.
  • {% ... %} makes a decision or repeats something. Every {% if %} ends with {% endif %}, and every {% for %} ends with {% endfor %}. The one exception is the short form inside a print tag, {{ 'Yes' if Paid else 'No' }}, which needs no closing tag.
  • | (a vertical bar) applies a filter to a value: {{ Name | upper }} prints the name in capitals, {{ Rating | int }} turns text into a whole number. Filters can be chained left to right.

The examples below use sample field IDs such as Need_Another_Interview. Replace them with the IDs from your own process. Type {{ in the editor to see your field IDs, which can differ from the labels shown on the form.

Three things to know first

  1. Numbers and dates arrive as text. Number, Currency, Date, and DateTime values are already formatted (using the Format settings) before the template sees them. A Number field holding 4 arrives as the text "4", a larger one as "1,200.00", and a Currency field as "12,500.00 USD" or "$12,500.00". To compare or calculate, convert first: Rating | int for a small whole number, Quantity | replace(',', '') | float when the value can reach 1,000 or more. Comparing without converting fails with An unexpected error occurred. For Currency, do the arithmetic on the form with a Number field and a formula rather than in the template; the code or symbol and your chosen separator style make the text hard to convert reliably.
  2. An empty field is missing, not blank. When a field has no value it is not sent to the template at all. Printing a missing field gives nothing, and testing it with {% if Comments %} counts as false, so that is the right way to check for an empty field. Tests like Score != 0 are true for an empty field, because "missing" is not the same as zero.
  3. Some fields are more than text. A Yes/No field is a true or false value, so {% if Toggle %} is all you need. A User field always arrives with Name, _id, and Kind, so {{ Approver.Name }} prints the name and stays blank when nobody is assigned. A User field that allows multiple users arrives as a list of such users. A form table is a list of rows, which is why it needs a {% for %} loop.

Note: The examples below put each tag on its own line so they are easy to read. In the editor, every line is a paragraph, so a tag on its own line leaves an empty paragraph in the PDF when its condition is false. Once an example works, move the tags onto the same line as the text they control (see Avoid a blank gap).

Conditions

Show a line only when a Yes/No is on

{% if Need_Another_Interview %}
Second interviewer: {{ Interviewer_2.Name }}
{% endif %}

When the toggle is on, the line prints. When it is off, nothing prints. Don't write == "Yes"; the field is already true or false.

Print Yes or No instead of True or False

{{ 'Yes' if Package_Paid else 'No' }}

The same shape works for any two-way choice, for example printing a word based on a number: {{ 'Deposit' if Payment_Mode | int == 1 else 'Cheque' }}.

If, else if, and else

{% if Band == 'BL1' or Band == 'CL1' %}
Notice period: 2 months
{% elif Band == 'DL1' %}
Notice period: 1 month
{% else %}
Notice period: 3 months
{% endif %}

Join conditions with the words and, or, and not. The symbols || and && from the Formula builder are not valid here and cause a syntax error. A shorter way to test several values: {% if Band in ['BL1', 'CL1'] %}.

Hide a field that is empty, or print a placeholder

{% if Comments %}Comments: {{ Comments }}{% endif %}

Comments: {{ Comments | default('N/A') }}

The first line prints nothing when Comments is empty. The second always prints, with N/A as the fallback. For a User field, test the name: {% if Approver.Name %} .

Compare numbers

{% if Rating | int >= 2 %}Meets the bar{% endif %}

{% if Overall_Rating is defined and Overall_Rating | int != 0 %}
Rated {{ Overall_Rating }}
{% endif %}

Without | int (or | float for decimals) the comparison fails at preview or generation with An unexpected error occurred, because the value is text. is defined means "this field has a value"; the second example checks it first, so an empty rating prints nothing instead of passing the != 0 test.

Avoid a blank gap when the condition is false

Thank you for your order.
{% if Gift_Note %}Gift note: {{ Gift_Note }}{% endif %}
Regards, Sales

Keep the opening and closing tags in the same paragraph as the text they control. A tag on a line of its own is an empty paragraph once the condition is false, and that is the blank gap you see in the PDF. To hide a whole block of paragraphs, put {% if %} at the start of the first paragraph and {% endif %} at the end of the last one.

Tables

When you drop a form table, the editor writes the loop for you: {% for Line_Items in Table__Line_Items %} ... {% endfor %}. Everything between those two tags repeats once per row, and Line_Items is the current row. These examples build on that loop.

Number the rows

{% for Line_Items in Table__Line_Items %}
{{ loop.index }}. {{ Line_Items.Item }} x {{ Line_Items.Quantity }}
{% endfor %}

Prints 1. Pen x 2, 2. Ink x 1, and so on. Inside a loop, loop.index counts from 1, loop.first and loop.last are true on the first and last row, and loop.length is the number of rows.

Show only some rows, or split one table into several

{% for Line_Items in Table__Line_Items if Line_Items.Category == 'HRA' %}
{{ Line_Items.Item }}
{% endfor %}

Add if and a condition to the end of the for line that the editor wrote, and only matching rows are printed. loop.index counts only the printed rows. To show the same form table as three separate tables in the PDF, drop the table three times and give each for line a different condition.

Show a sentence if any row matches

{% if Table__Line_Items | selectattr('Category', 'equalto', 'HRA') | list %}
HRA is included in this payslip.
{% endif %}

Read it as "select the rows whose Category equals HRA". | list collects the matching rows so the condition can check whether there are any; with no matches the condition is false. Use 'ne' (not equal), 'gt' (greater than), or 'lt' (less than) in place of 'equalto'.

Print NIL for an empty table, count rows, total a column

{% if Table__Line_Items %}
(your table goes here)
{% else %}
NIL
{% endif %}

Items: {{ Table__Line_Items | length }}
Total quantity: {{ Table__Line_Items | map(attribute='Quantity') | map('int') | sum }}

Read the last line as "take the Quantity of every row, turn each into a number, add them up". Totals only work on numbers, so map('int') (or map('float')) converts the column first. For a Number column that can reach 1,000 or more, strip the separator before converting: map('replace', ',', '') | map('float'). For a per-row calculation: {{ (Line_Items.Quantity | float) * (Line_Items.Rate | float) }}, adding | round(2) around the whole thing if you need two decimals. For money totals, add a Number field to the form that sums the column with a formula, and insert that field; it avoids converting Currency text in the template.

Reuse a filtered set of rows

{% set travel = Table__Expenses | selectattr('Category', 'equalto', 'Travel') | list %}
{% if travel %}
{% for Expenses in travel %}{{ loop.index }}. {{ Expenses.Item }}{% endfor %}
Rows: {{ travel | length }}
{% else %}
No travel expenses
{% endif %}

{% set %} stores the matching rows under a name you choose, so you can loop over them, count them, and test for none, without repeating the filter each time.

Users and text

Names from a multi-user field

{{ Approvers | map(attribute='Name') | join(', ') }}

Prints Asha Menon, Ravi Nair. This is what the editor inserts when you drag a multi-user field's Name into the template. For a single User field, {{ Requester.Name }} is enough.

Turn comma-separated text into a list

{% for item in Services.split(',') %}
- {{ item.strip() }}
{% endfor %}

Turns Audit, Tax, Advisory into three lines. Text fields also accept {{ Name | upper }}, {{ Summary | truncate(80) }}, and {{ Reference | replace('-', '/') }}.

Formatting is not logic

Date order, time zone, currency symbol or code, and number separators are set with the Format button in the toolbar, not with tags. See Formatting options below. There is no tag that writes an amount in words. If you need "Fifty thousand" in the PDF, compute it in a text field on the form or in an integration step, and insert that field.

What not to type

Each of these produces the error Action failed due to syntax error in document template, fails with An unexpected error occurred, or silently prints the wrong thing.

Typed Write instead Why
A == 'x' || B == 'y' A == 'x' or B == 'y' || is Formula builder syntax, not template syntax
A && B A and B Same
isBlank(A), isnotblank(A) not A, A Formula builder functions don't exist in templates
{% if Rating >= 2 %} {% if Rating | int >= 2 %} Numbers arrive as text; this one fails with "An unexpected error occurred"
{% if Score != 0 %} {% if Score is defined and Score | int != 0 %} An empty field is missing, which is not zero
{% if Toggle == "Yes" %} {% if Toggle %} Yes/No is already true or false
{% if A %} with no {% endif %} Always close with {% endif %} or {% endfor %} The most common cause of the error after pasting or duplicating
{{ Table__Line_Items.Quantity }} {{ Line_Items.Quantity }} inside the loop The table is a list of rows; fields belong to the row
{{ Amount | currency }} Format button > Currency There is no such tag; formatting is a toolbar setting

For anything not covered here, the Jinja template reference lists every tag and filter. Only the built-in ones are available; custom functions cannot be added.

Inserting an image

You can add an image in three ways:

  1. From your desktop: drag and drop the image from your computer into the template editor.
  2. From a web page: copy the image URL from the web page. In your template editor, click the Insert image icon (Insert image icon), right-click and paste the image address, and click Done. Hover over the image to format, resize, or delete it.
  3. Copy and paste: use Cmd/Ctrl C and Cmd/Ctrl V to copy images from another document into your template editor.

A header appears at the top of every page and a footer at the bottom. These areas usually hold the document name, headings, page numbers, images, or the date, repeated on all pages.

To add a header and footer:

  1. Click the Header & Footer option in the editor. A new editor window opens for the header and footer. The height of the header and footer is set by the top and bottom margins of the base canvas, which you can change with the Margins icon (Margins icon).
  2. The header and footer can also have their own top and bottom margins, configured inside this editor, up to 400px. The left and right margins come from the base canvas and cannot be changed here.
  3. You can include the following in the header and footer:
    • Text.
    • Images and static tables.
    • Page number and page count.

    Note: You cannot insert a form table in the header or footer. Conditions such as {% if %} do work there.

  4. Once you've added your content, click Preview to see the result.

Formatting options for currency, number and date fields

The Format option is the same in app process forms as in standalone processes. If your template contains a Number, Currency, Date, or DateTime field, use the Format option to choose how all such values appear in the document. Currency, Number, and Timezone are the three formatting options available.

Opening the Format option and choosing currency, number, and date settings

Note: Format changes apply to every field of that type in the document template, not to one field. Values reach the template already formatted, which is why a Number field is text inside a condition (see Three things to know first).

Currency

Choose whether the currency code appears after the value or the currency symbol before it.

Currency format options: code after the value or symbol before it

Number

Choose how numbers are separated inside Number and Currency fields. Four separator styles are available. The American style is applied by default; pick another to match your region.

Number separator options

Date and time zone

Choose the time zone for Date and DateTime fields and the order of day, month, and year. If your form shows dates as DD/MM/YYYY but the PDF shows MM/DD/YYYY, this is the setting to change. A preview of the result appears above the options.

Date and time zone format options with a live preview

Customizing your page

The Page setup option sets the basic layout and appearance of your document.

Page orientation

  • Portrait: the page is taller than it is wide.
  • Landscape: the page is wider than it is tall.

Page color

Set the background color of your pages.

Margins

  • Auto: sets the top, bottom, left, and right margins to 92 pixels.
  • Custom: set each margin yourself.

Click Apply to save the changes to your document.
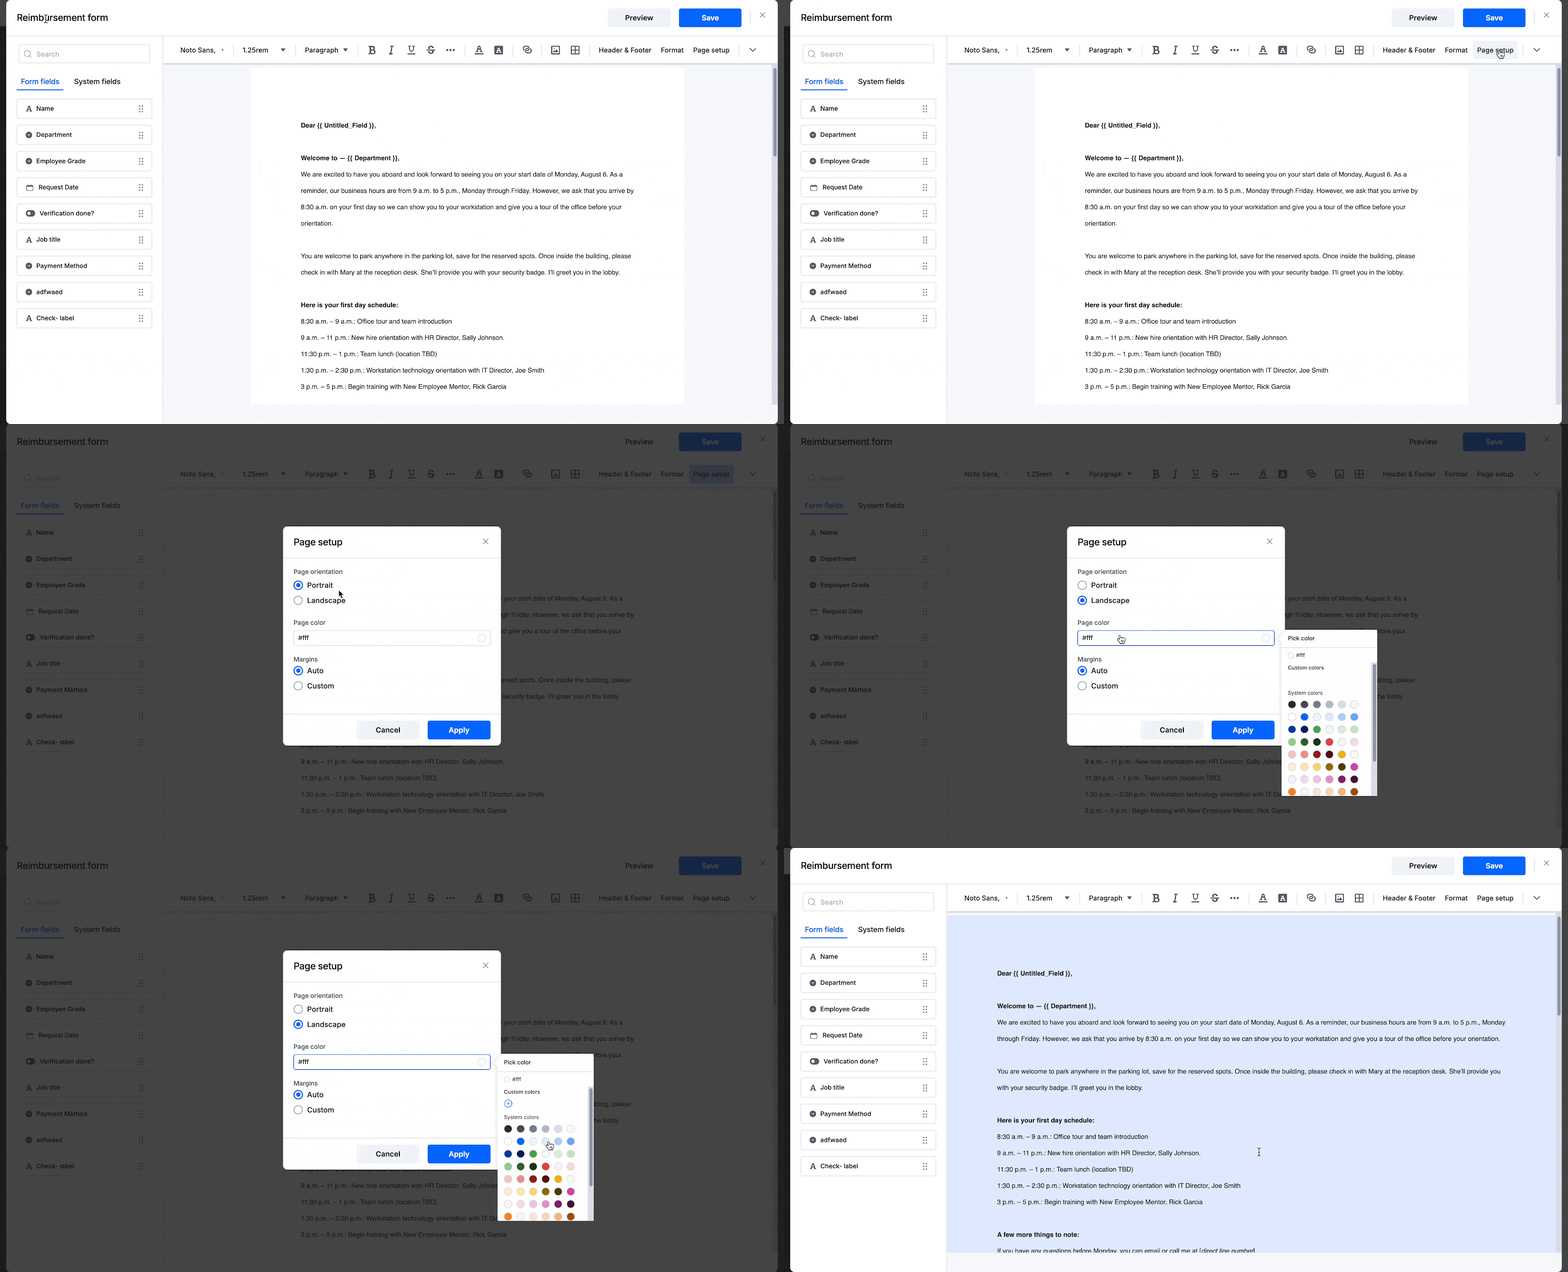
Page setup with orientation, page color, and margin options

Previewing a document template

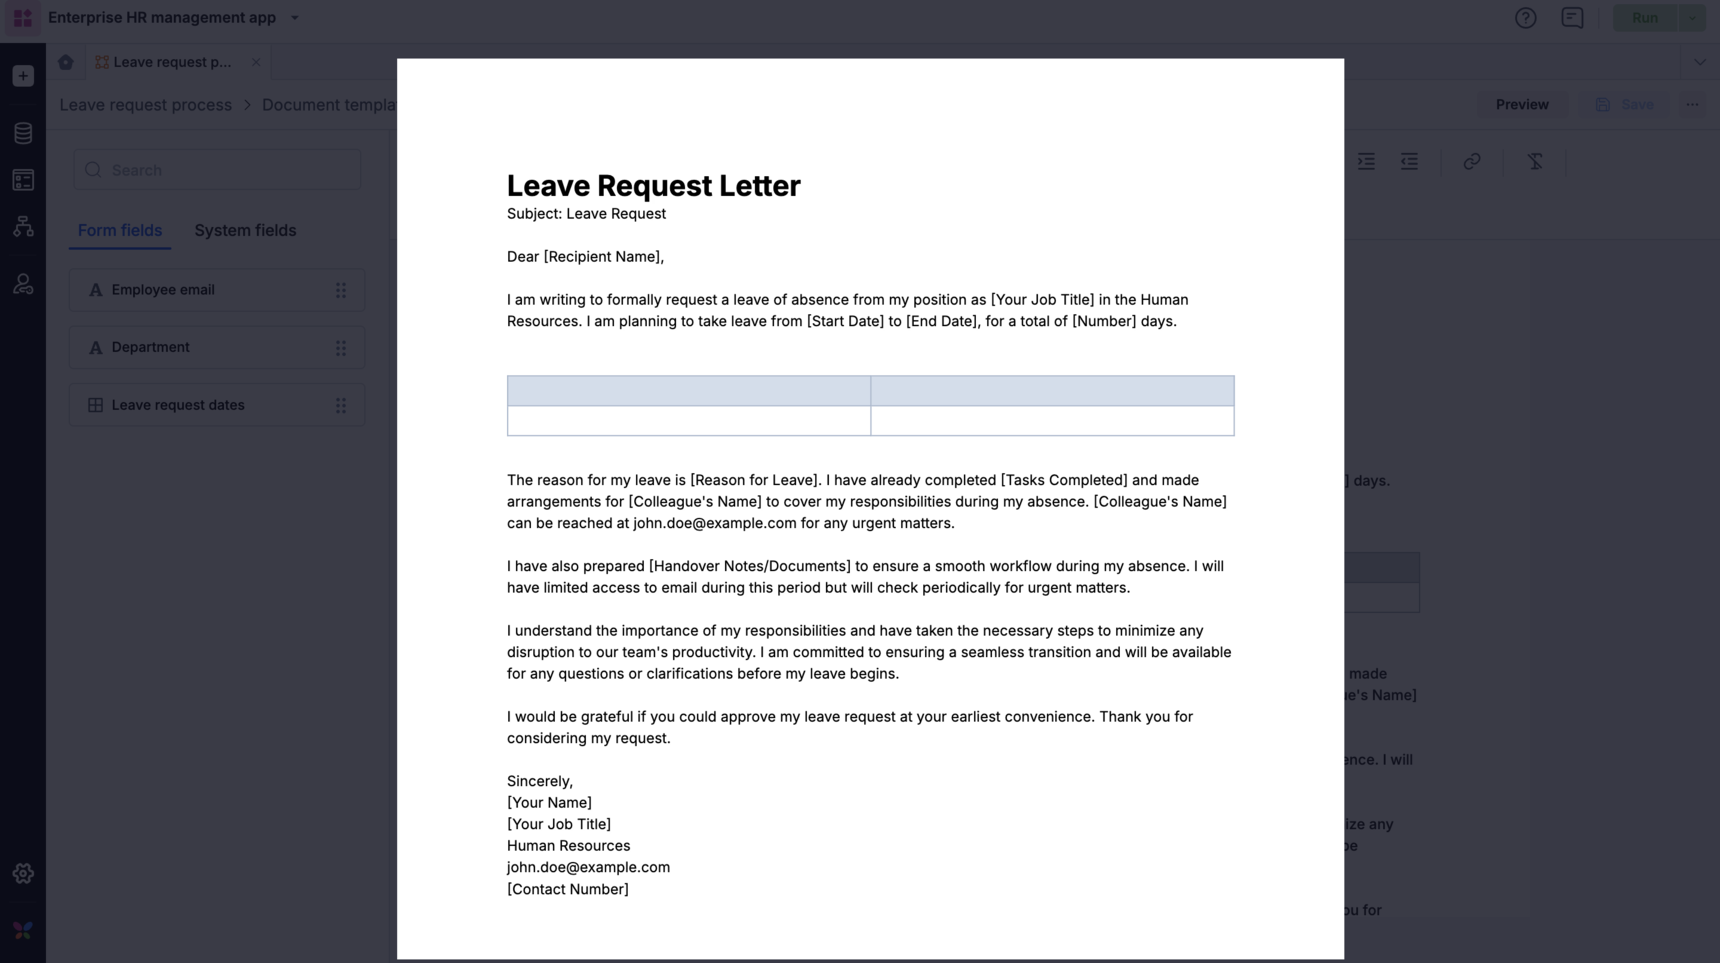
Click Preview at the top of the editor when you have finished drafting. You can maximize the preview or download it as a PDF.

The Preview screen showing the generated PDF

Note: The document template is saved automatically when you preview it. You can also click Save at any time.

Finding a syntax error

If Preview or the Generate a PDF document step fails with Action failed due to syntax error in document template, the template contains a tag the engine could not read. The message does not point to the line, so check these in order:

  1. Unclosed tags. Every {% if %} needs an {% endif %} and every {% for %} an {% endfor %}. This is the most common cause, especially after pasting content or duplicating a template.
  2. Formula builder symbols. Search the template for ||, &&, and function names such as isBlank(. Replace them as shown in What not to type.
  3. A tag split by formatting. Applying bold or a color to part of a tag, for example only to the field name inside {{ }}, breaks the tag in two. Select the whole tag and clear its formatting, then reapply formatting to the surrounding text only.
  4. Comparing text to a number. {% if Rating >= 2 %} fails with An unexpected error occurred instead of the syntax message. Add | int.
  5. Edited table lines. If the {% for ... %} or {% endfor %} around a form table was deleted or changed in any way other than adding a condition, drop the table in again.

To narrow it down, duplicate the template first (Managing a document template) and work on the copy: remove half of the logic tags, preview, and repeat on whichever half still fails. The original stays untouched until you have the fix.

Associating a document template

You can automate PDF generation by connecting the process form and the document template in an integration.

  1. In All integrations, click Create new integration or open an existing one.
  2. Select the Kissflow process connector and the Generate PDF step.
  3. Set up a connection with the required account.
  4. After choosing a process form, select the process instance ID, usually the ID from the trigger step so the PDF is generated for the item that started the integration.

    Selecting the Kissflow process connector and the Generate PDF step

    Selecting the process form and instance ID

  5. Select the document template to map to the process.
  6. Enter the title of the document and choose whether it should be shared as an attachment in the process form. If yes, select the attachment field to store the generated PDF.
  7. You can refresh the fields to see all updated fields in the form. You can also map form fields from your trigger step or from previous action steps. These values are added after the action runs.
  8. Click Next.
  9. Add a Kissflow Email connector to share the generated PDF as an email attachment.

    Adding the Kissflow Email connector after the Generate PDF step

  10. Fill in the email fields and select the document field under Attachments > Fields > Generate PDF.
  11. Toggle the integration ON.

Managing a document template

  1. Navigate to your process form and click Document templates.
  2. Choose a template and click More options (More options icon) to rename, duplicate, or delete it.

Supported languages

The following languages are supported in document templates:

  • English
  • Italian (Italiano)
  • Russian (Русский)
  • German (Deutsch)
  • Spanish (Español)
  • French (Français)
  • Brazilian Portuguese (Português (Brasil))
  • Vietnamese (Tiếng Việt)
  • Arabic (العربية)

Editing a template with others

Important note on concurrent editing of document templates:

To prevent conflicts, concurrent editing follows a "first to save" rule. If two or more people edit the same document template at once, the changes from the person who clicks Save first are recorded.

If someone else saves the template before you, your version becomes outdated. When you try to save, you are prompted to refresh the tab to load the latest version.

Refreshing the tab discards all unsaved work in that tab.

To avoid losing progress, coordinate with your team so that only one person edits a shared document template at a time.