
Building a board
Boards help you manage work that covers a wide spectrum, including project tasks, issue tracking, status tracking, help desks, service desks, service request management, employee onboarding, incident management, bug tracking, and many others, all on a single platform.
Getting started with a board is super easy. There are just a few steps that should be completed, and you will be all set to manage your board:
- Create a new board.
- Add new members to your board.
- Customize the board form.
- Set up custom statuses that your workflow requires.
- Determine whether a priority field is required.
Creating a new board
Boards can be built from scratch so that you can customize them the way you want. Before starting, you should check if you have the right permissions to create boards. If you are an admin newly starting on an account, you should have these permissions already; else, you should contact an Account Admin.
- On the left navigation, click Explore.
- On the Explorer page, click Create. Alternatively, you can go to the Template gallery and install one of the predefined templates.
- Alternatively, you can create a board by selecting Create > Board from the left navigation.
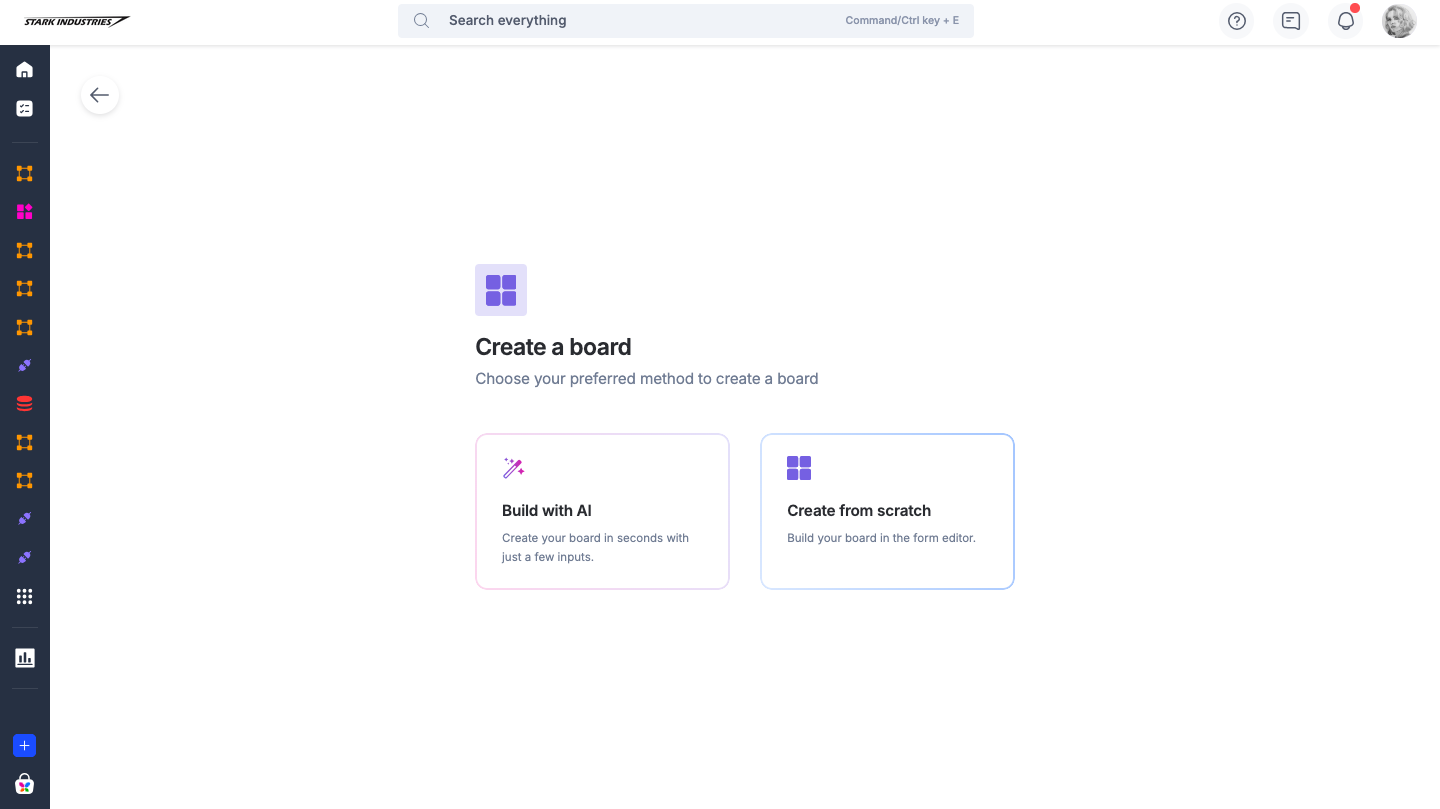
On the Create a board page, select from one of the two options:
Build with AI
Create from scratch
Create from scratch
- Enter a name for your board.
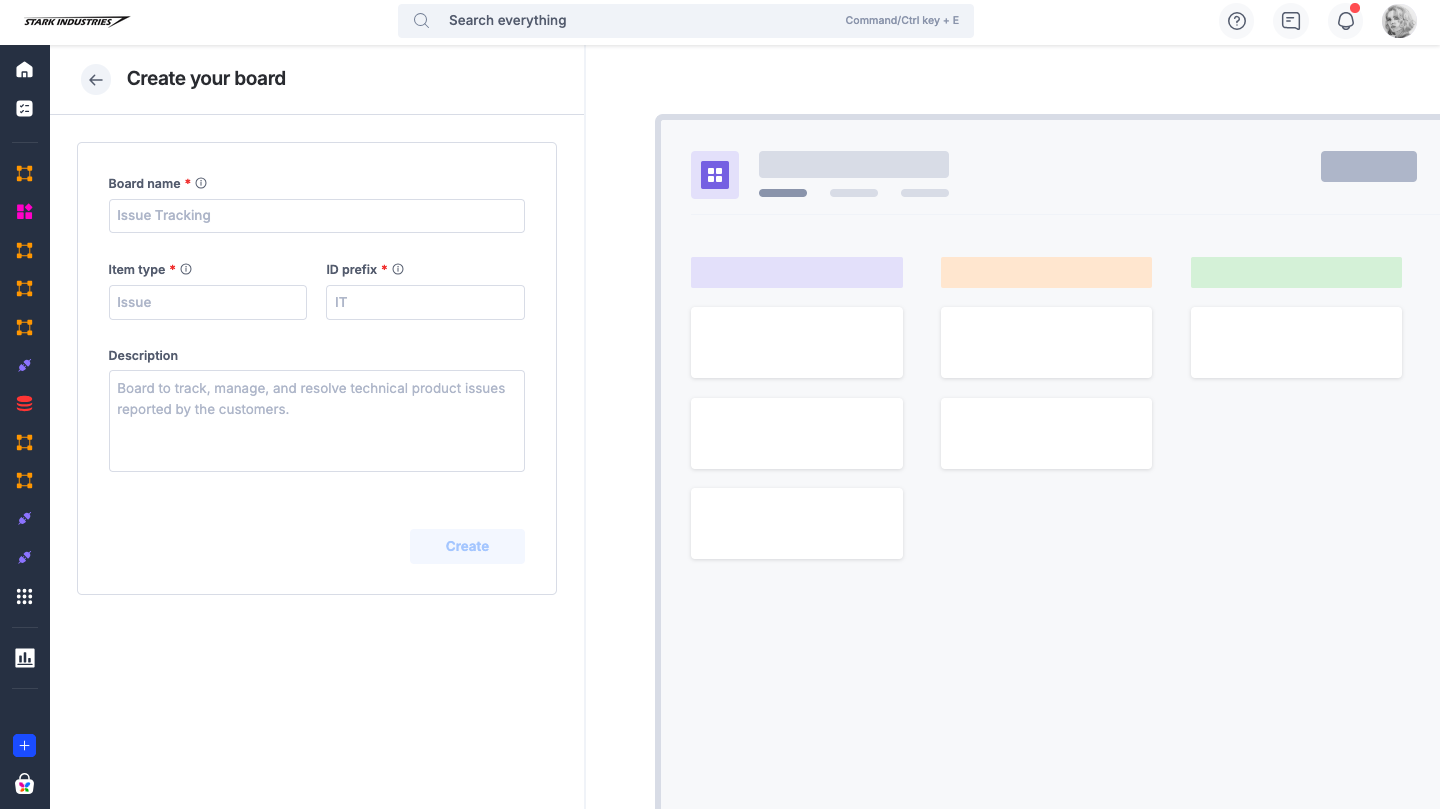
- In the Item type field, enter a name for the type of items that will be managed in your board. For example, this can be an Issue if you are creating an issue tracking system, a task for a board that manages projects, or a Request for a system that manages service requests.
- The ID prefix field is automatically filled with a system-generated string based on the name given for the board. However, you can also manually change it if you would like to. The prefix must have a minimum of 2 and a maximum of 4 alphanumeric characters.
Note:
The prefix field cannot be modified once the board is created, so we recommend you decide on it before creating the board.
- Click Create.
Build with AI (Enterprise plans)
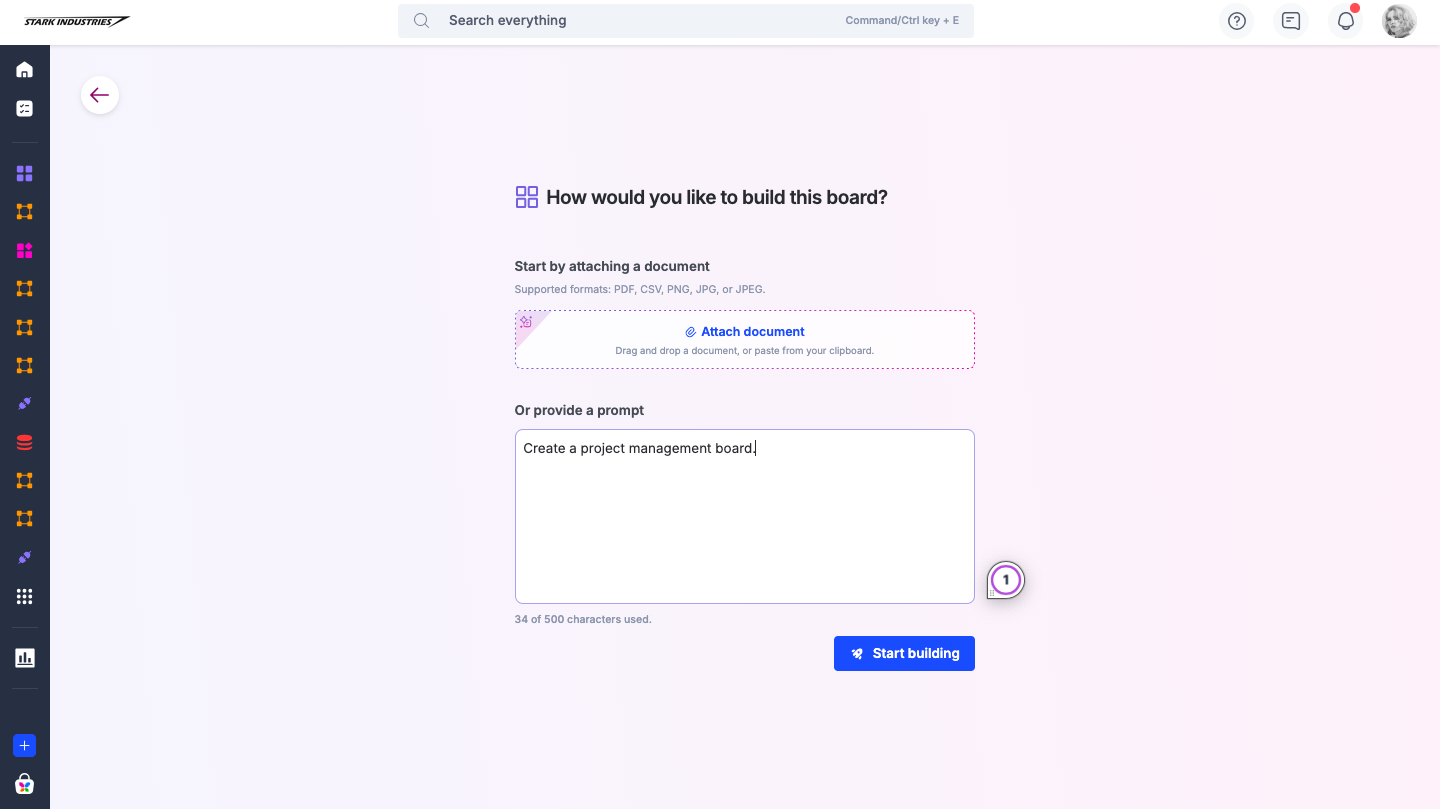
When using AI, you have two ways to get started:
Attaching a document
Providing a prompt
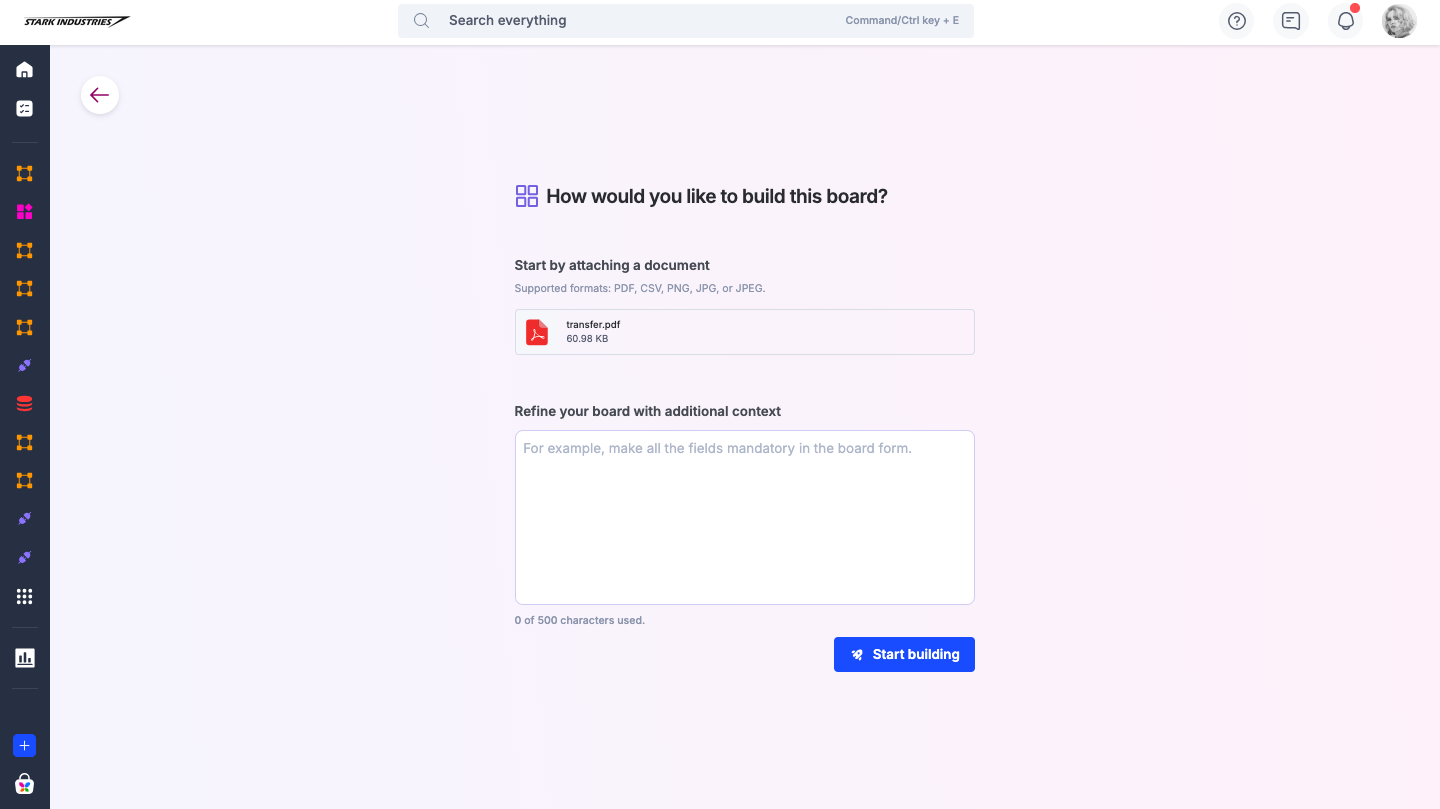
Attach a document
Upload a supported document from your system; formats include PNG, JPEG, JPG, PDF, or CSV.
Here is a breakdown of how the input document determines the structure of the output:
Input document format
Expected output and behavior
CSV
• Field assignment: All column headers will be automatically assigned to specific field types; the form can accommodate up to 1000 fields.
• Organization: Fields will be grouped section-wise to ensure logical flow.
• Table generation: If applicable, tables will be created automatically.
• Workflow: A basic workflow structure is created.
Images or PDFs
(PDF, PNG, JPEG, JPG)
• Exact replication: The AI will replicate the form layout exactly as it appears in the uploaded file. However, if you provide specific instructions in the prompt, AI will modify the output to match those requests.
• Table detection: If the image or PDF contains a visible table, it will be automatically converted into a table.
• Workflow: A basic workflow will be created based on the logic interpreted from the document.
Add prompts in the space below to refine how the AI builds your board workflow. This step is optional.
Click Start building.
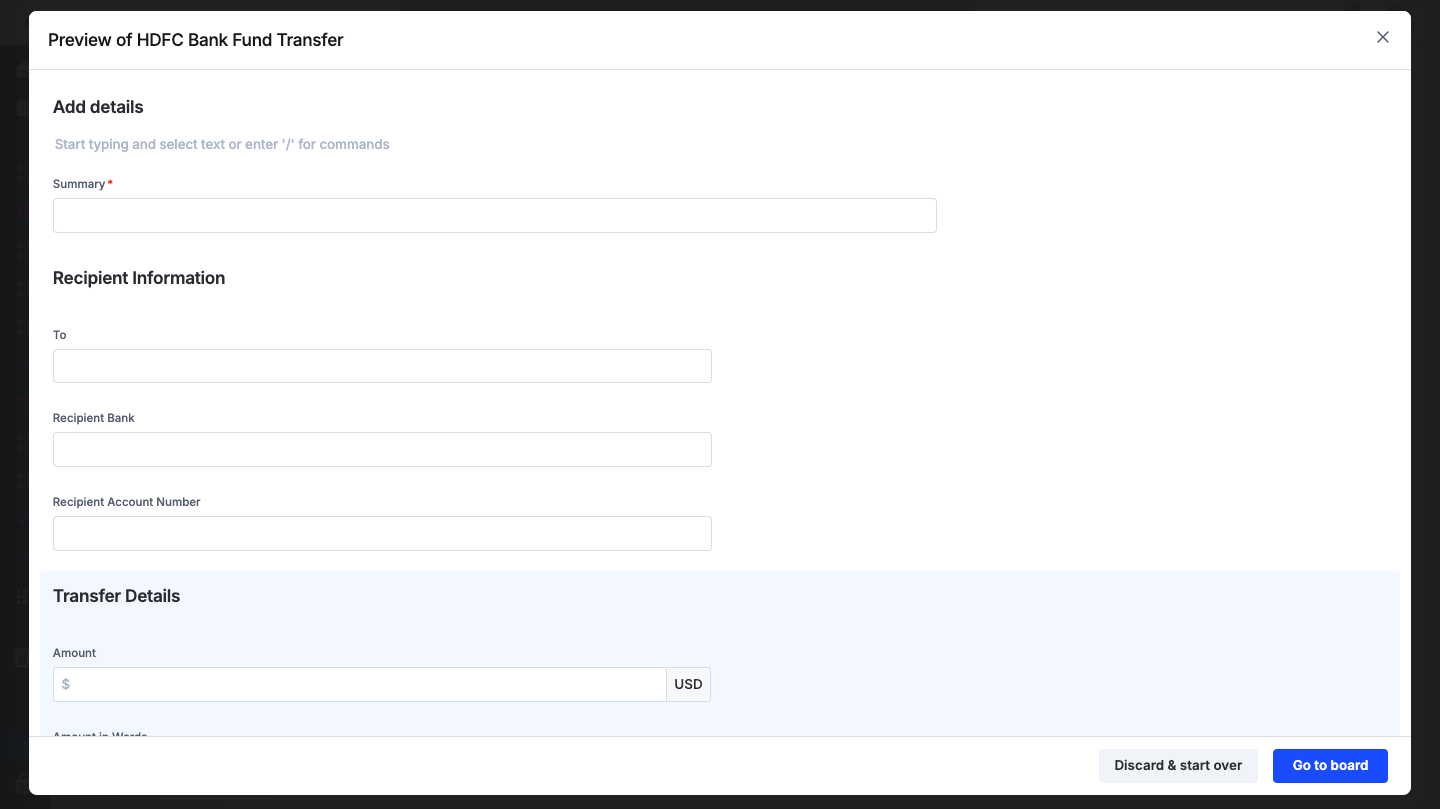
Once the setup is complete, the Add finishing touches pop-up appears. It includes pre-filled board details. Review and edit them if needed.
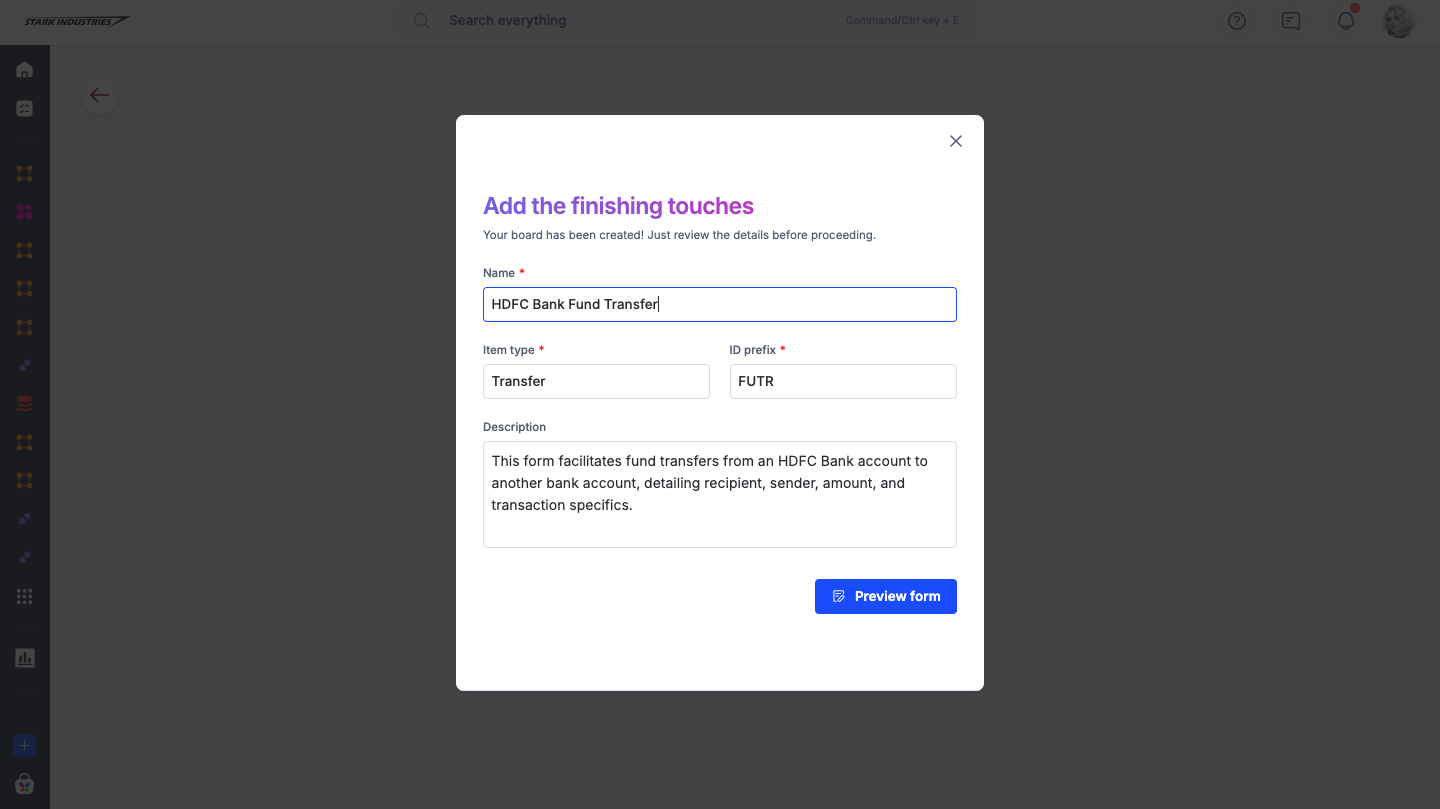
Click Preview form to view the form used in your board. If it looks good, select Go to board.
Make any final adjustments to the workflow before going live.
Note:
Business Requirement Documents (BRDs) and specification documents are not supported.
Provide a prompt
Simply describe how you want your board to function in the Or provide a prompt space, and click Start building. Let AI build it for you automatically.
In the Add the finishing touches pop-up, review the board details and preview the form. If everything looks good, click Go to board to customize your form and workflow steps before publishing.
After AI has created your board, you’ll find the relevant statuses and form fields in it. You can also choose to edit the workflow and board form anytime you want.
Adding new members
You can add users to your board and assign various roles to them. Users added to the board are called members. To add users to your board, follow these steps:
- On your board, click the Manage button at the top right corner > Share.
- To add new members to your board, click Add members.
- In the search box, type in the name of a person you want to add to the board. You can even add multiple members in one go.

- After adding the required members, assign one of the following roles to them:
- Admin - can create and edit items as well as manage all the settings for your board.
- Member - can create new items as well as update existing ones.
- Restricted member - can only act on items created by them and assigned to them.
- Initiator - can only create new items and update the ones that are either created or requested by them.
- Click Add.
Customizing your form
The data in each item moving through a workflow is collected using a form. You can customize this form so that the most relevant information for your workflow is captured. To customize the form, click the Manage button > Edit form on your board.

Configuring custom statuses for your workflow
There are five default statuses you can use to indicate the progress of an item in your workflow. In addition to these, you can create custom statuses. Custom statuses allow for detailed tracking of items.
To create a new custom status:
- On your board, click the Manage button > Edit workflow.
- Click Add a custom status under a category.
- Enter a name for the custom status, select a color and icon of your choice, and click Go live.

You can create multiple custom statuses and arrange them in your desired order. However, custom statuses cannot be created under the Reopened category.
Enabling and disabling priority
Priority indicates the urgency to resolve an item. You can only assign a priority to items if you have turned on this feature in board settings. If this setting is not turned on, the Priority field will not be visible across the board.
- To turn on or off the priority, click the Manage button > Settings.
- Click the Optional settings tab, and toggle Priority on/off for the board.
