
Creating a form
A form is an entity where you can collect input from the people participating in your workflow. Forms are used in processes and boards in Kissflow. A form has three primary components - section, field, and table.
Sections
A section is a group of fields that are related to each other. As a Flow Admin, you can create a section to place a set of fields that are attributes of the main entity around which the flow revolves.
Note:
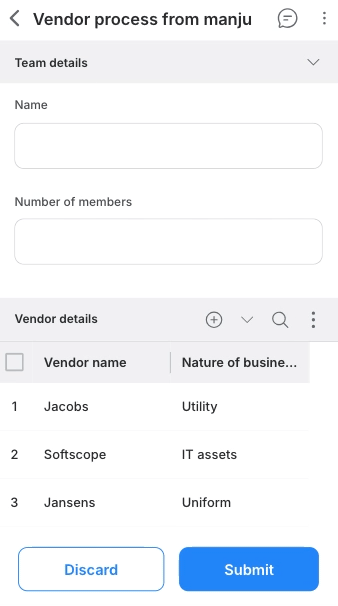
For example, when you create a process workflow to streamline the hiring processes in your organization, a typical form in your hiring process will require a section named "Candidate information" to collect and store information about the candidates who will go through the hiring process. The fields that can be placed in the Candidate information section are First name, Last name, Work experience, Employment type, etc.,
To add a new section, click Add section.
Initially, the name of the section will be set to "Untitled section" by default. You can overwrite the section name to something of your choice and proceed to add a description beneath as necessary. You can also rename a section from the right panel and your changes will be autosaved.
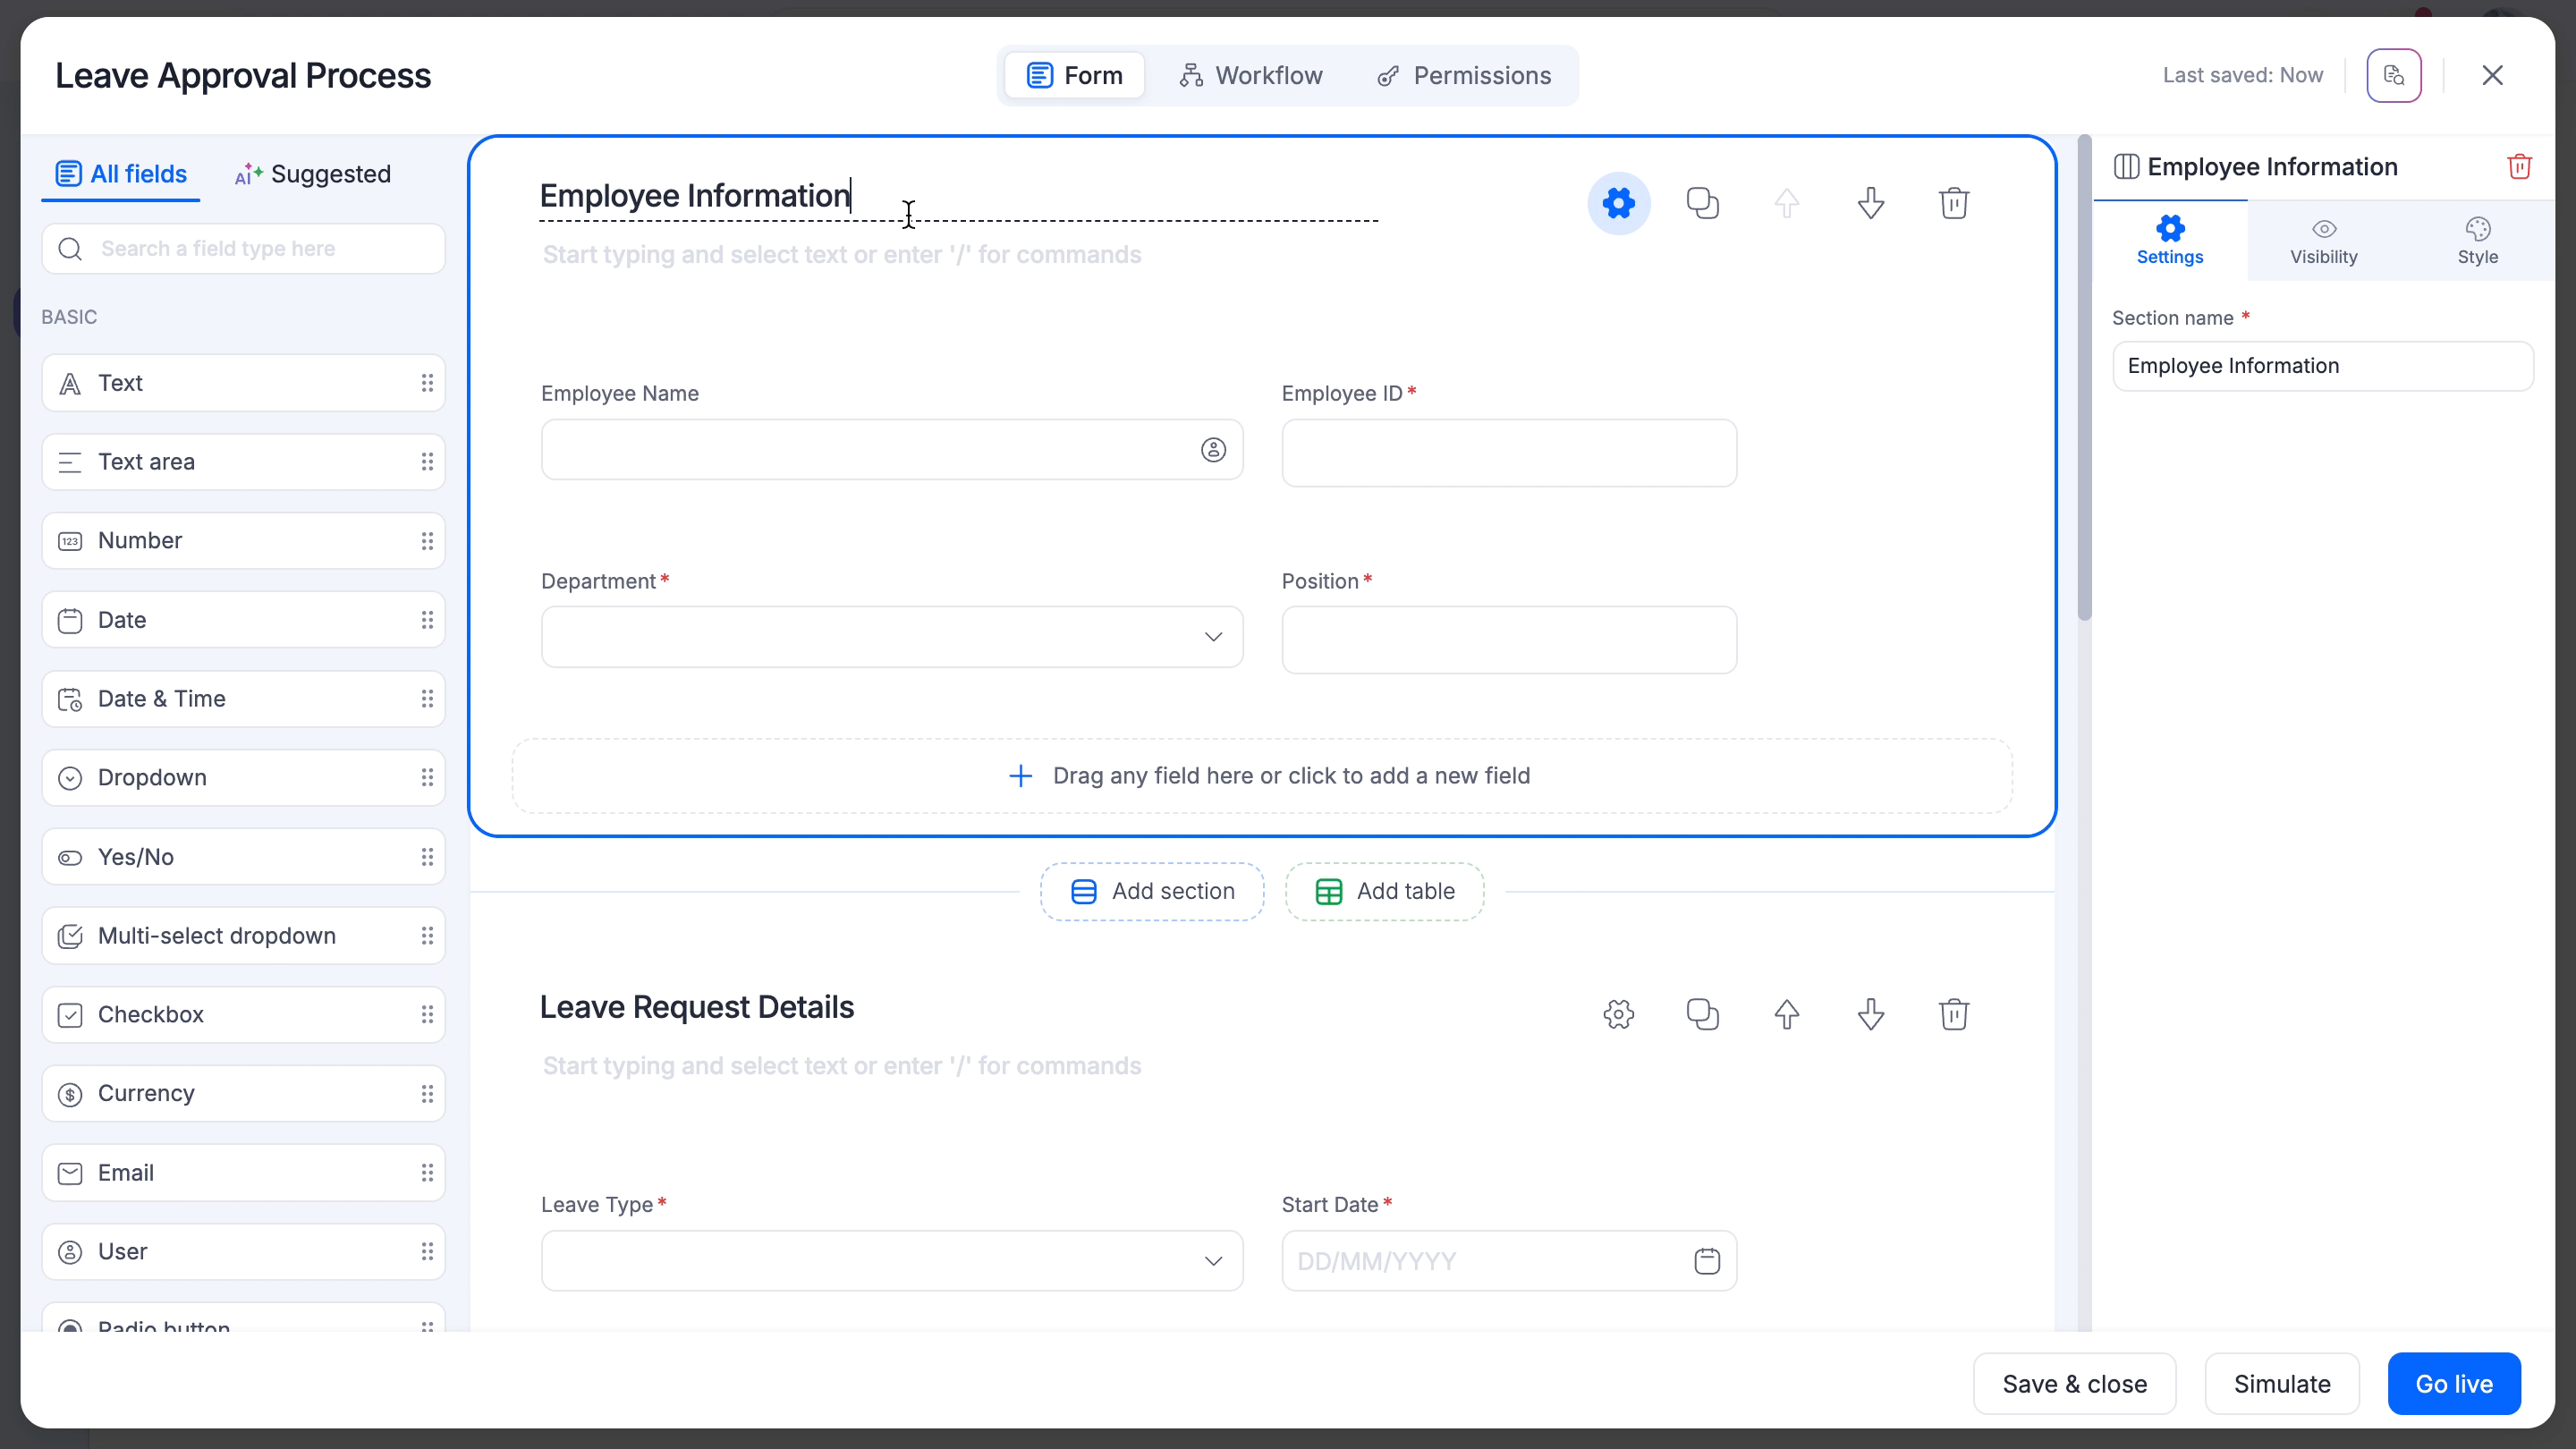
Similarly, you can access the section settings and modify its visibility conditions in two ways: One, from the top of the section, and the other way is to access its settings from the right side Properties panel.
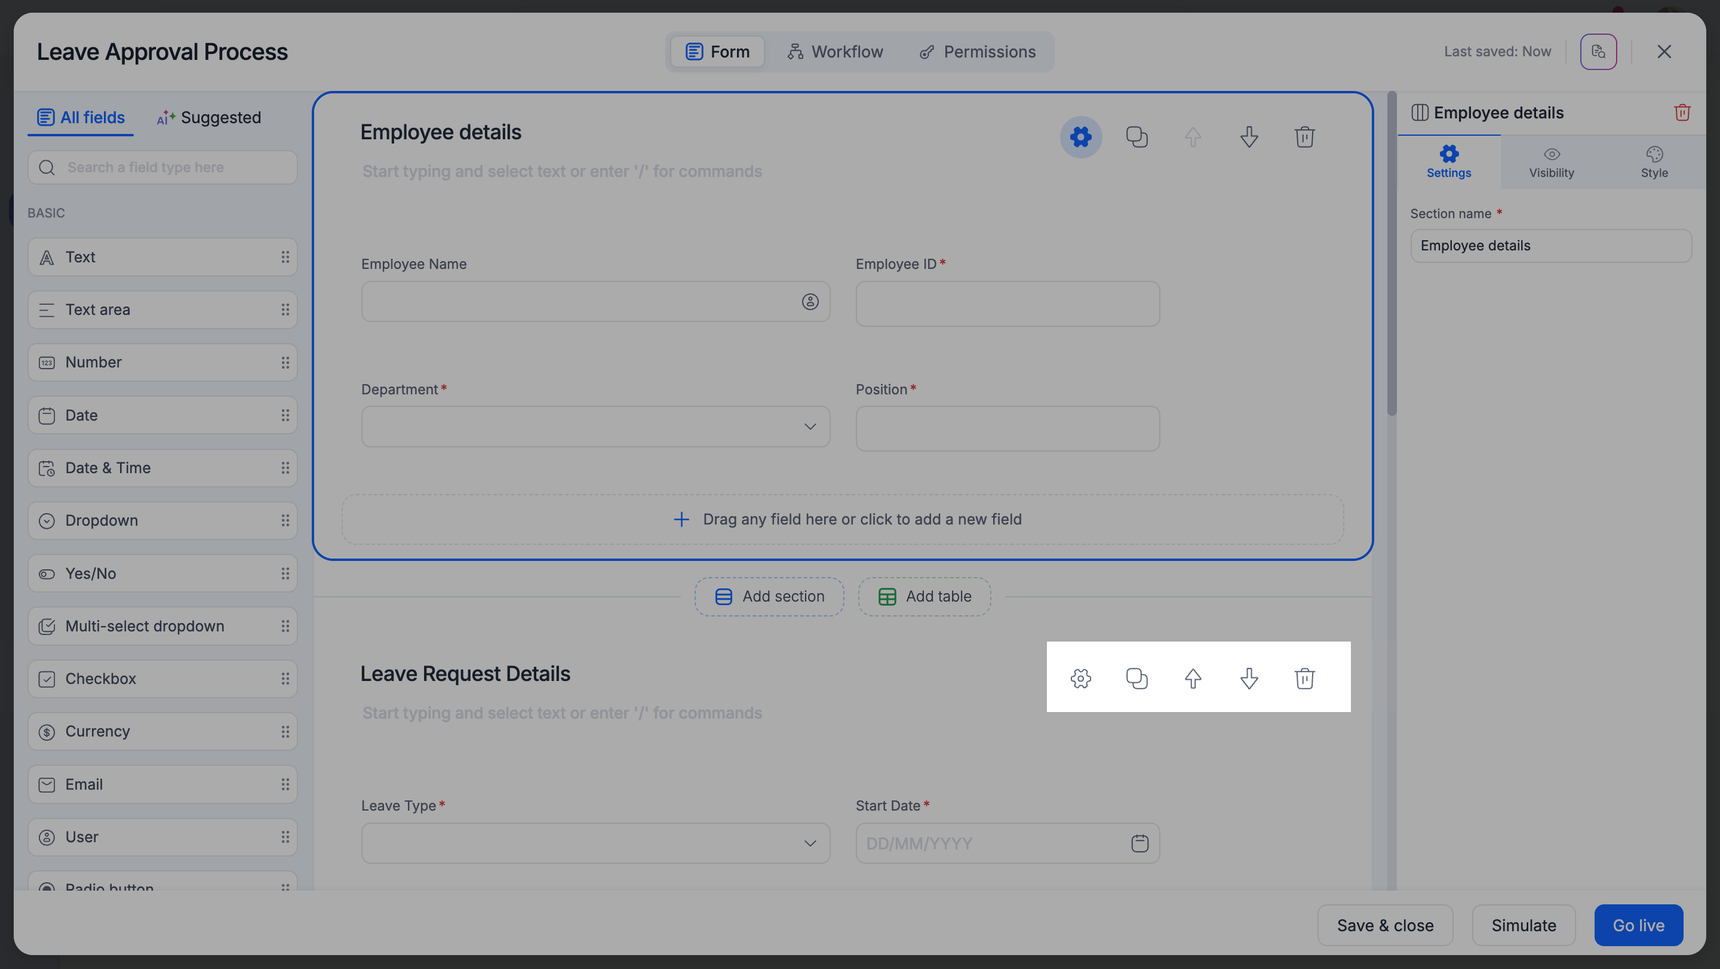
- Click the Gear icon (
 ) to access the section settings. By default, the section will always be visible, but you can change it to hidden. You can make the section conditional by adding a visibility rule under its Visibility settings. To add a condition, choose a Field, Operator, and Type, and map it to a value or a field based on the type. You can add multiple conditions.
 - To duplicate a section, click the Clone icon (
 ). A copy of the section will be created below.
 - Click the Up arrow (
 ) or Down arrow (
 ) to rearrange the sections.
 - Click the Trash icon (
 ) to delete the entire section.
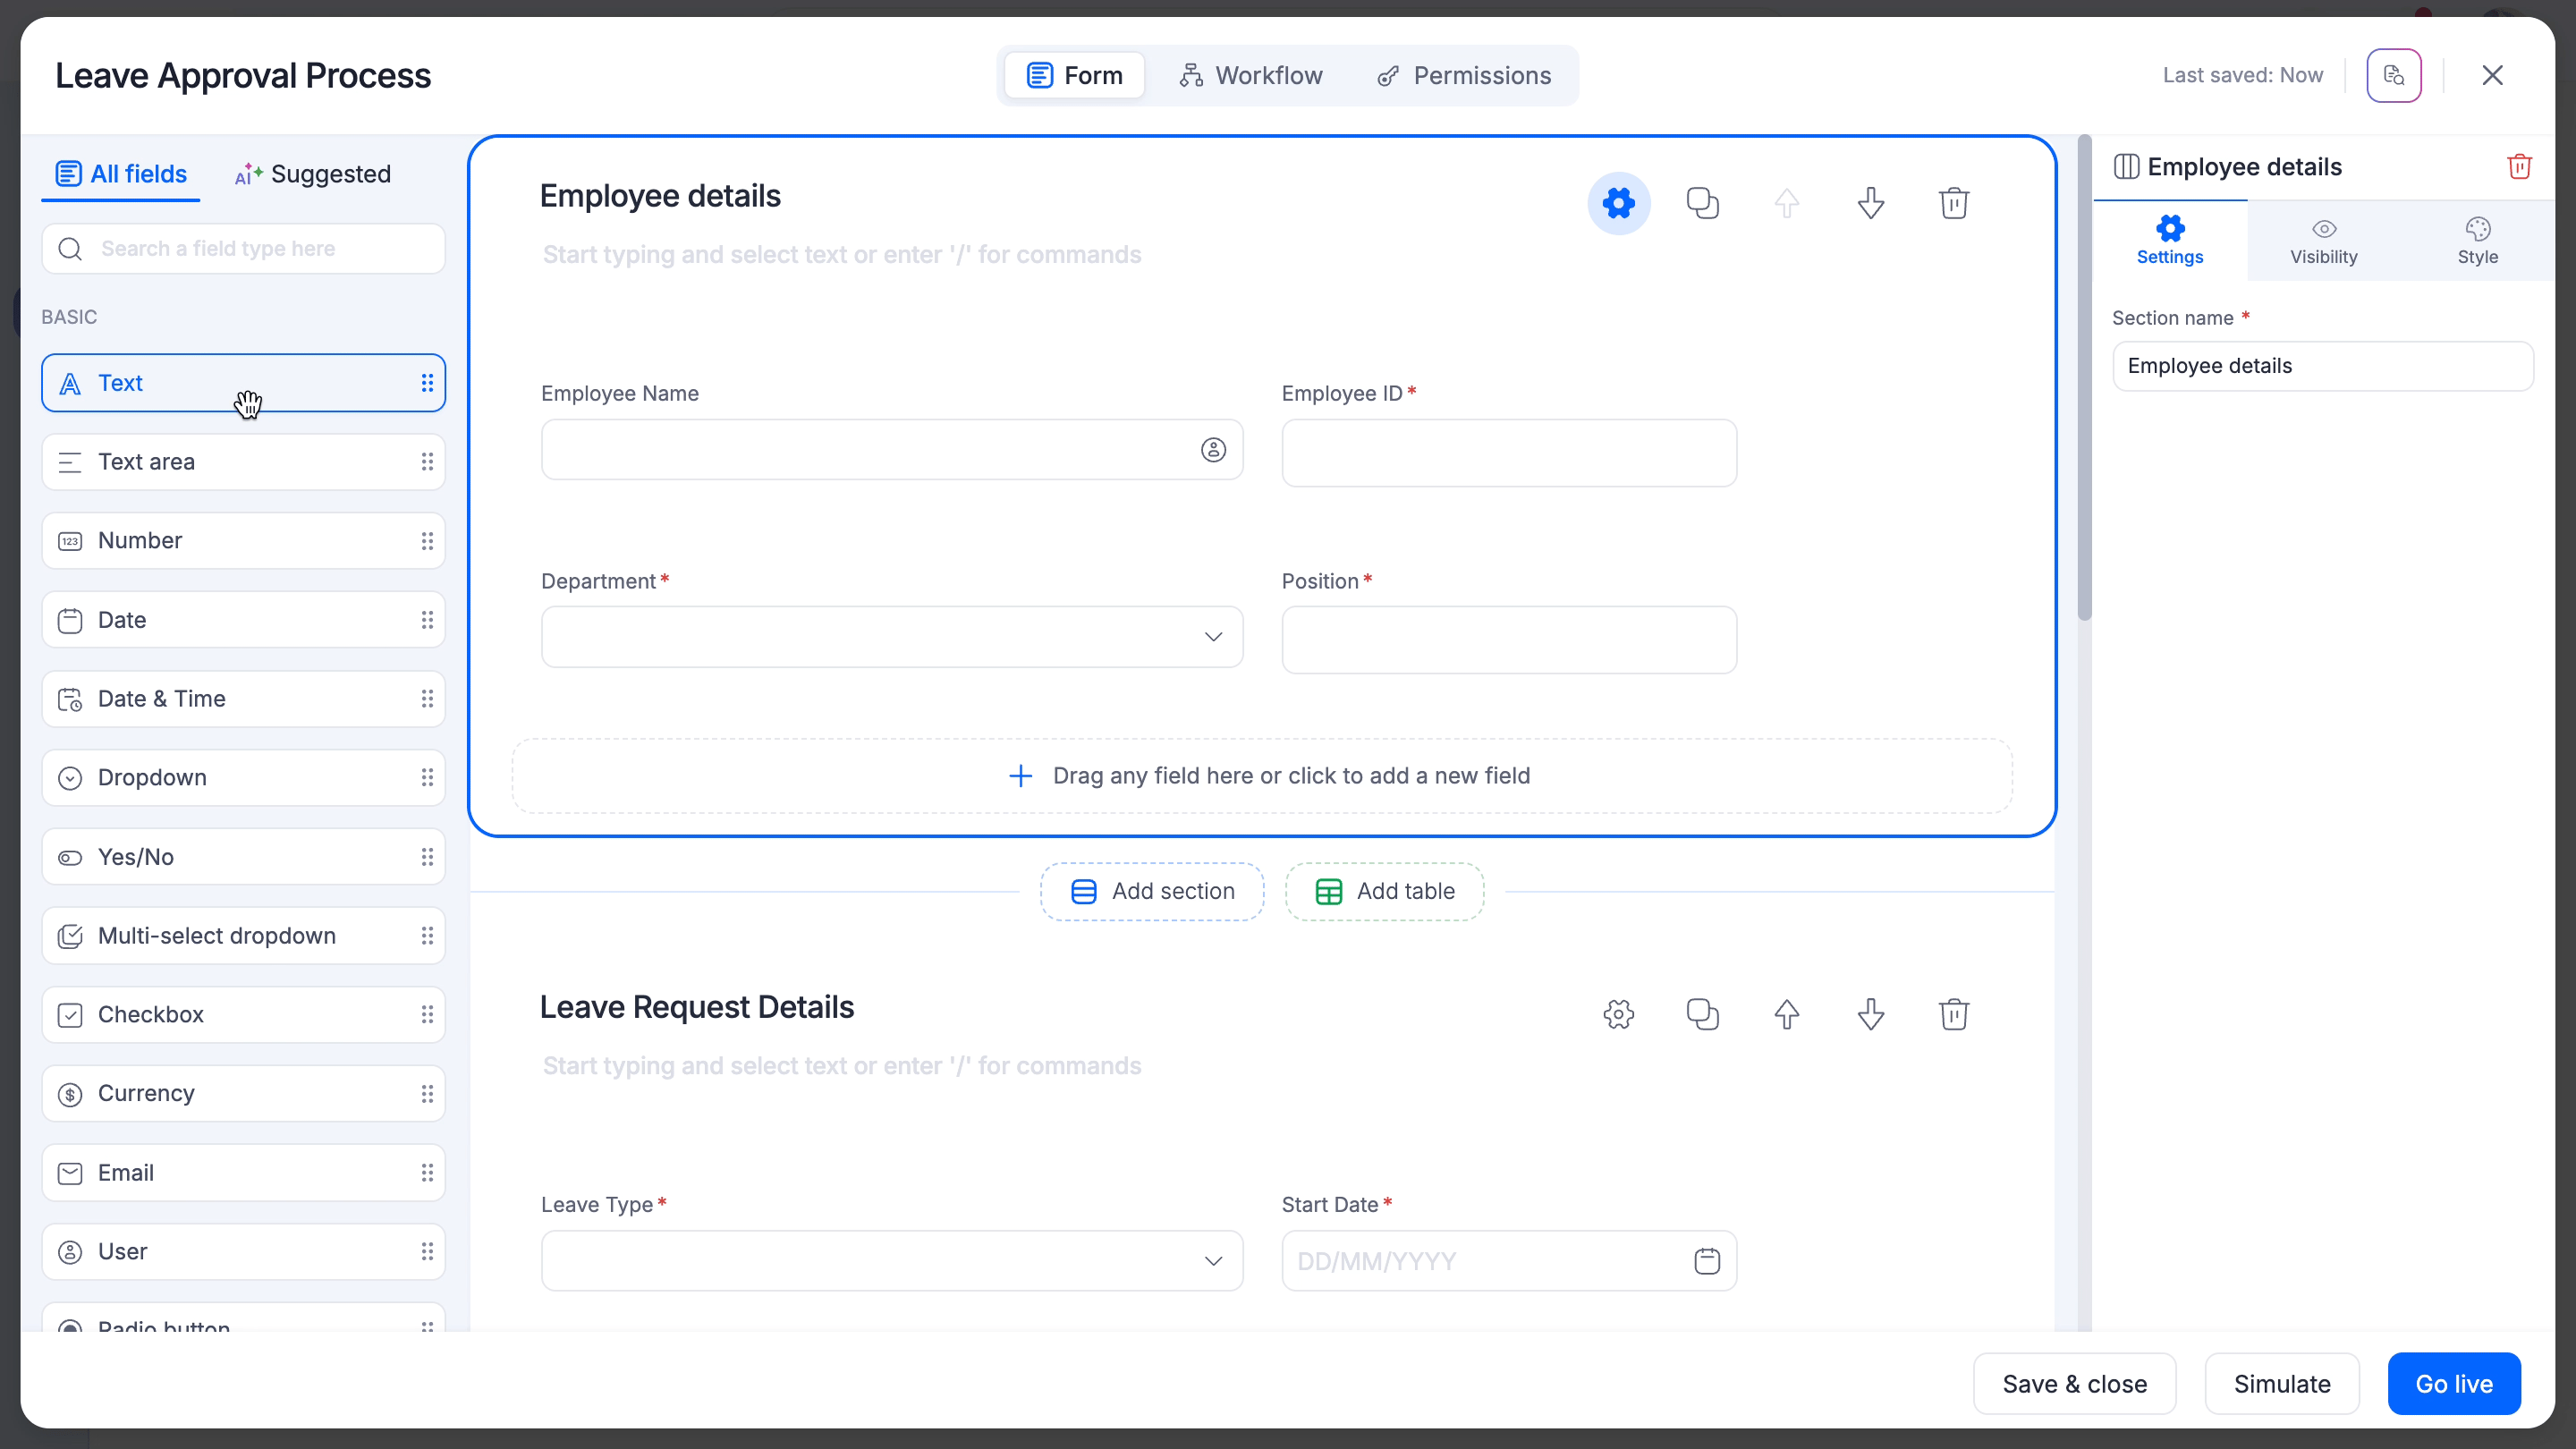
Fields
Fields are the building blocks of your form. It is the primary medium through which you collect user inputs in a flow.
The left panel will feature two main categories for grouping field types:
All fields.
AI-suggested fields.
The All fields tab will be further organized into sub-categories such as:
Basic fields.
Advanced fields.
File and media.
Data lookup.
Widget.
You can drag and drop a field of your choice from the left side Fields panel onto your form editor.
Other field actions
- To rearrange the fields within a section, just drag and drop them in their new position. You can also move fields individually(one by one), or as an entire row whichever works for you.
- To resize a field, hover over the margin/border of a field to get hold of the resize icon with which you can increase or decrease the width of the field as necessary.
- A row can accommodate a maximum of six fields.
- To access the field settings and modify the other field properties, hover over the field and you will find the relevant icons in the centre. Click the appropriate icon to modify the field's properties as necessary.
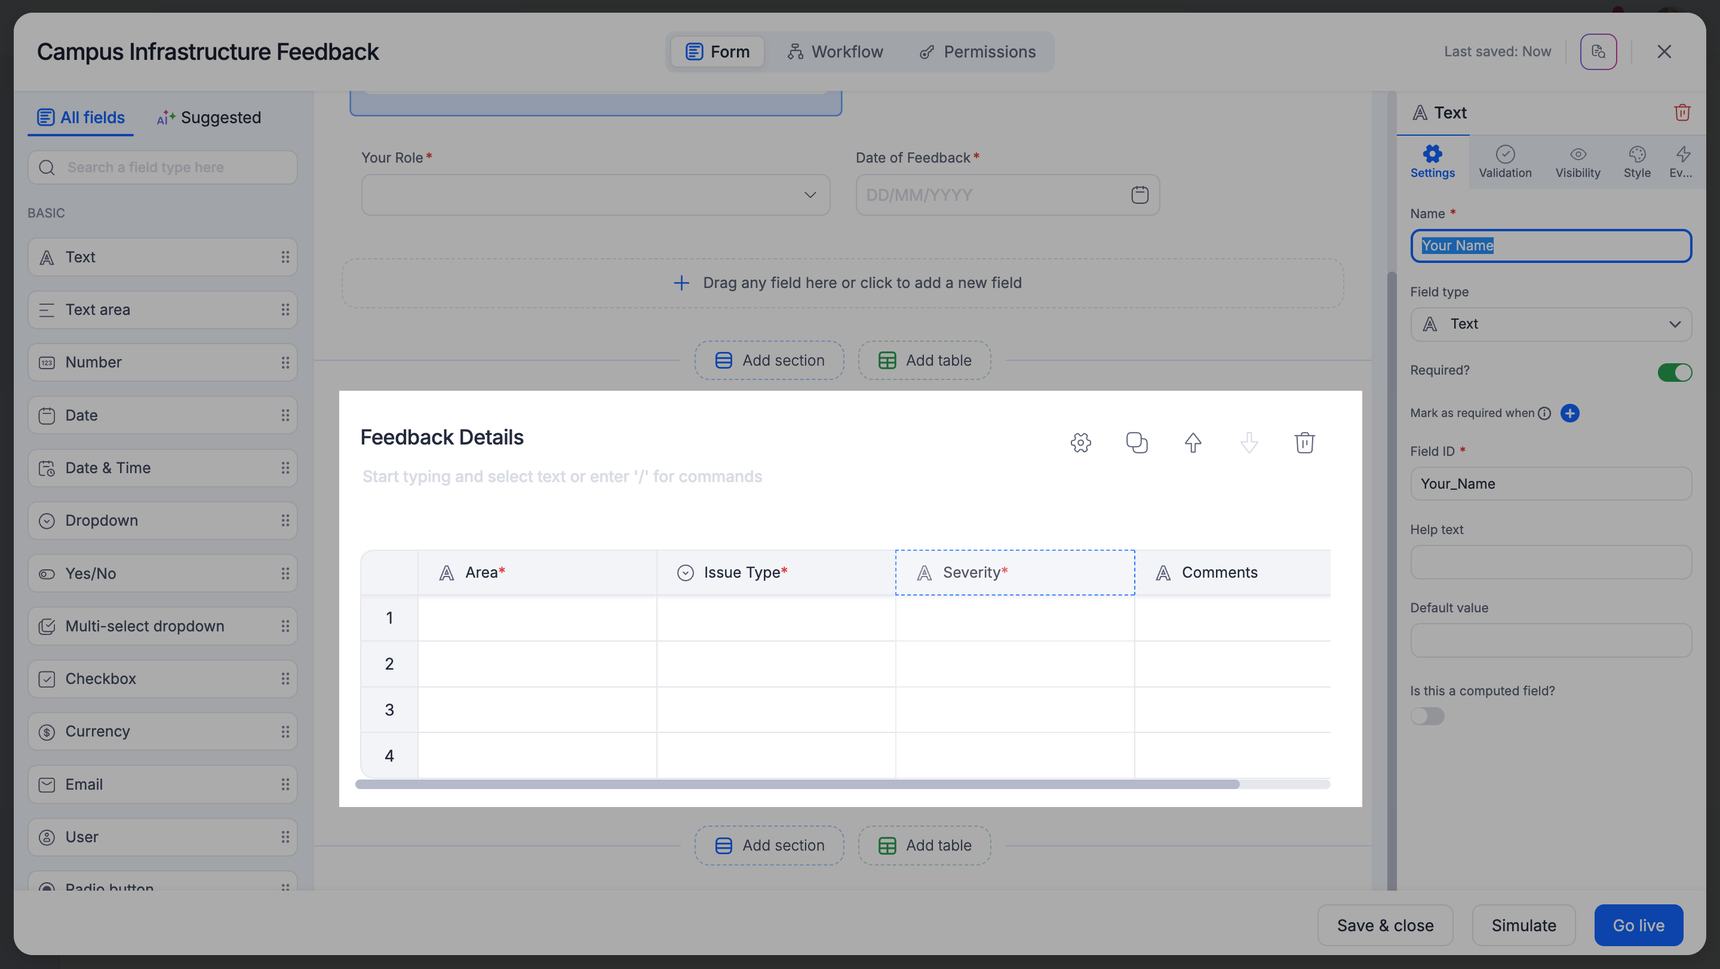
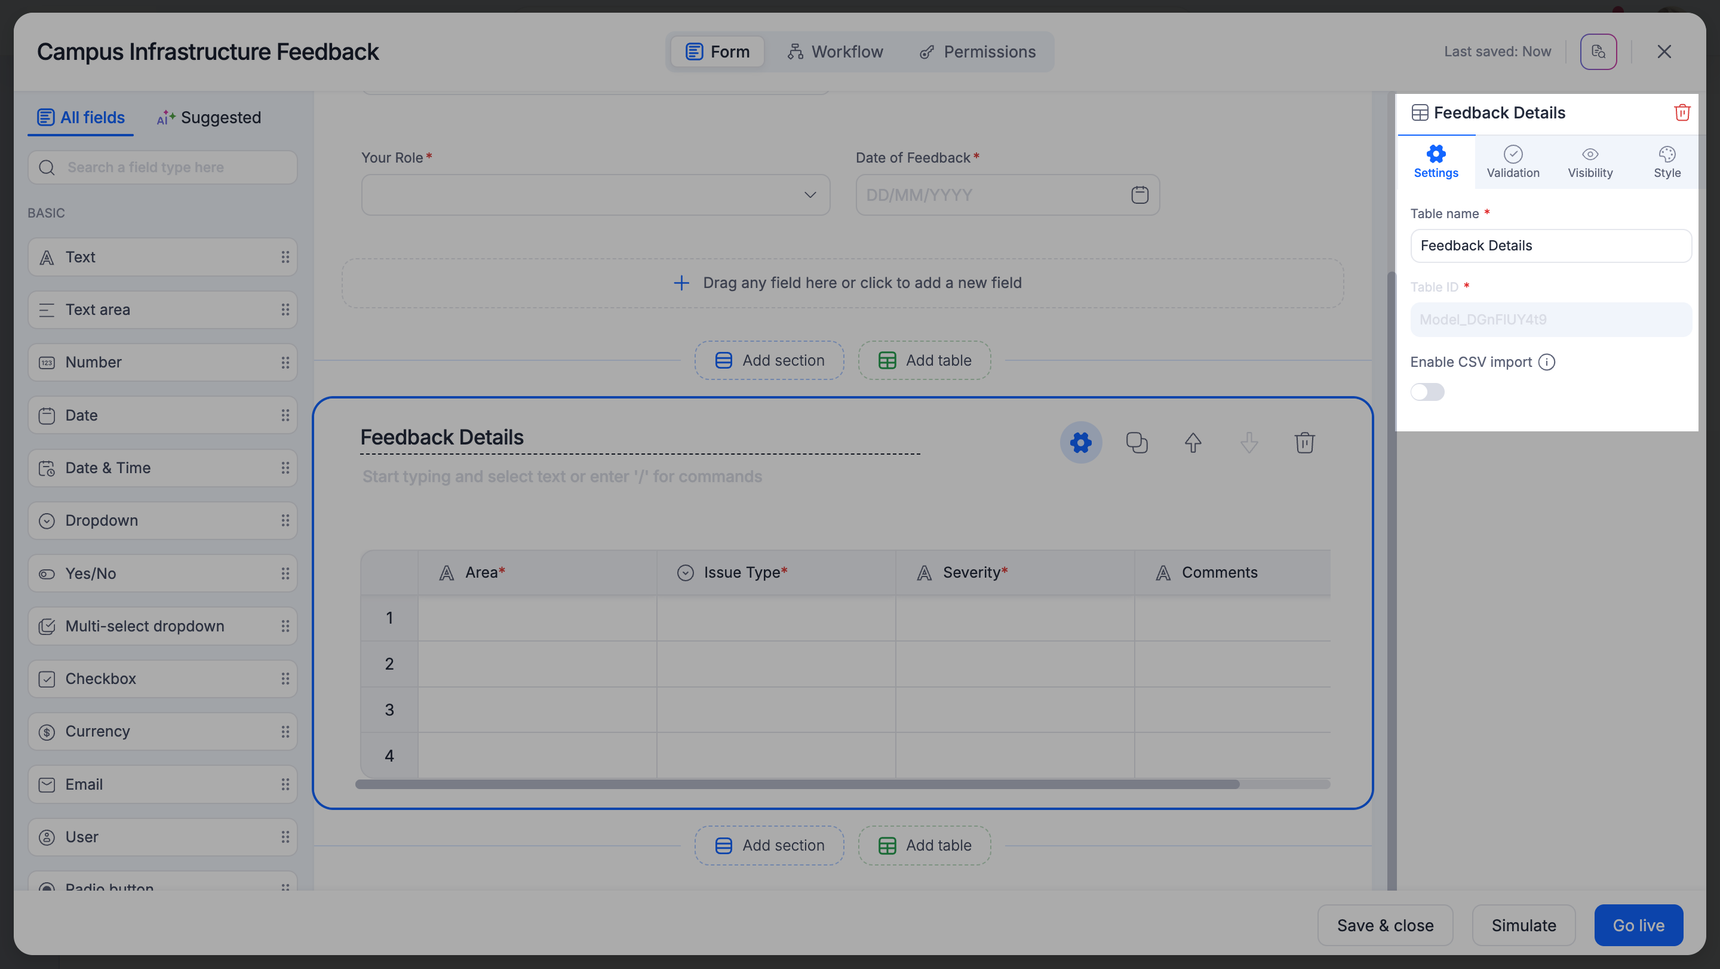
Child tables
A child table acts as a separate section and lets you collect and manage data in a tabular format. To add a child table, click Add table. Click the Add button ( ) to add a new field. You can add up to 100 fields per child table.
Additionally, in the table settings, you can set validations to control the minimum and maximum number of rows that must be completed.
Configuring CSV data import
You can enable users to populate data in the child table by importing CSV files. Follow the below steps,
Click the Settings icon (
) within the child table’s section. Turn on Enable table import from the properties panel on the right.
Upon configuration, users will have the option to import CSV files during the form’s runtime.
Note:
- The import tool currently supports only alphanumeric column headers in CSV files. To prevent errors, please ensure your CSV headers are in English and do not contain special characters. Once the file is accepted, you will be able to map these alphanumeric headers to your specific system fields during the import configuration step.
- The Import CSV option is not supported in Simulate mode.
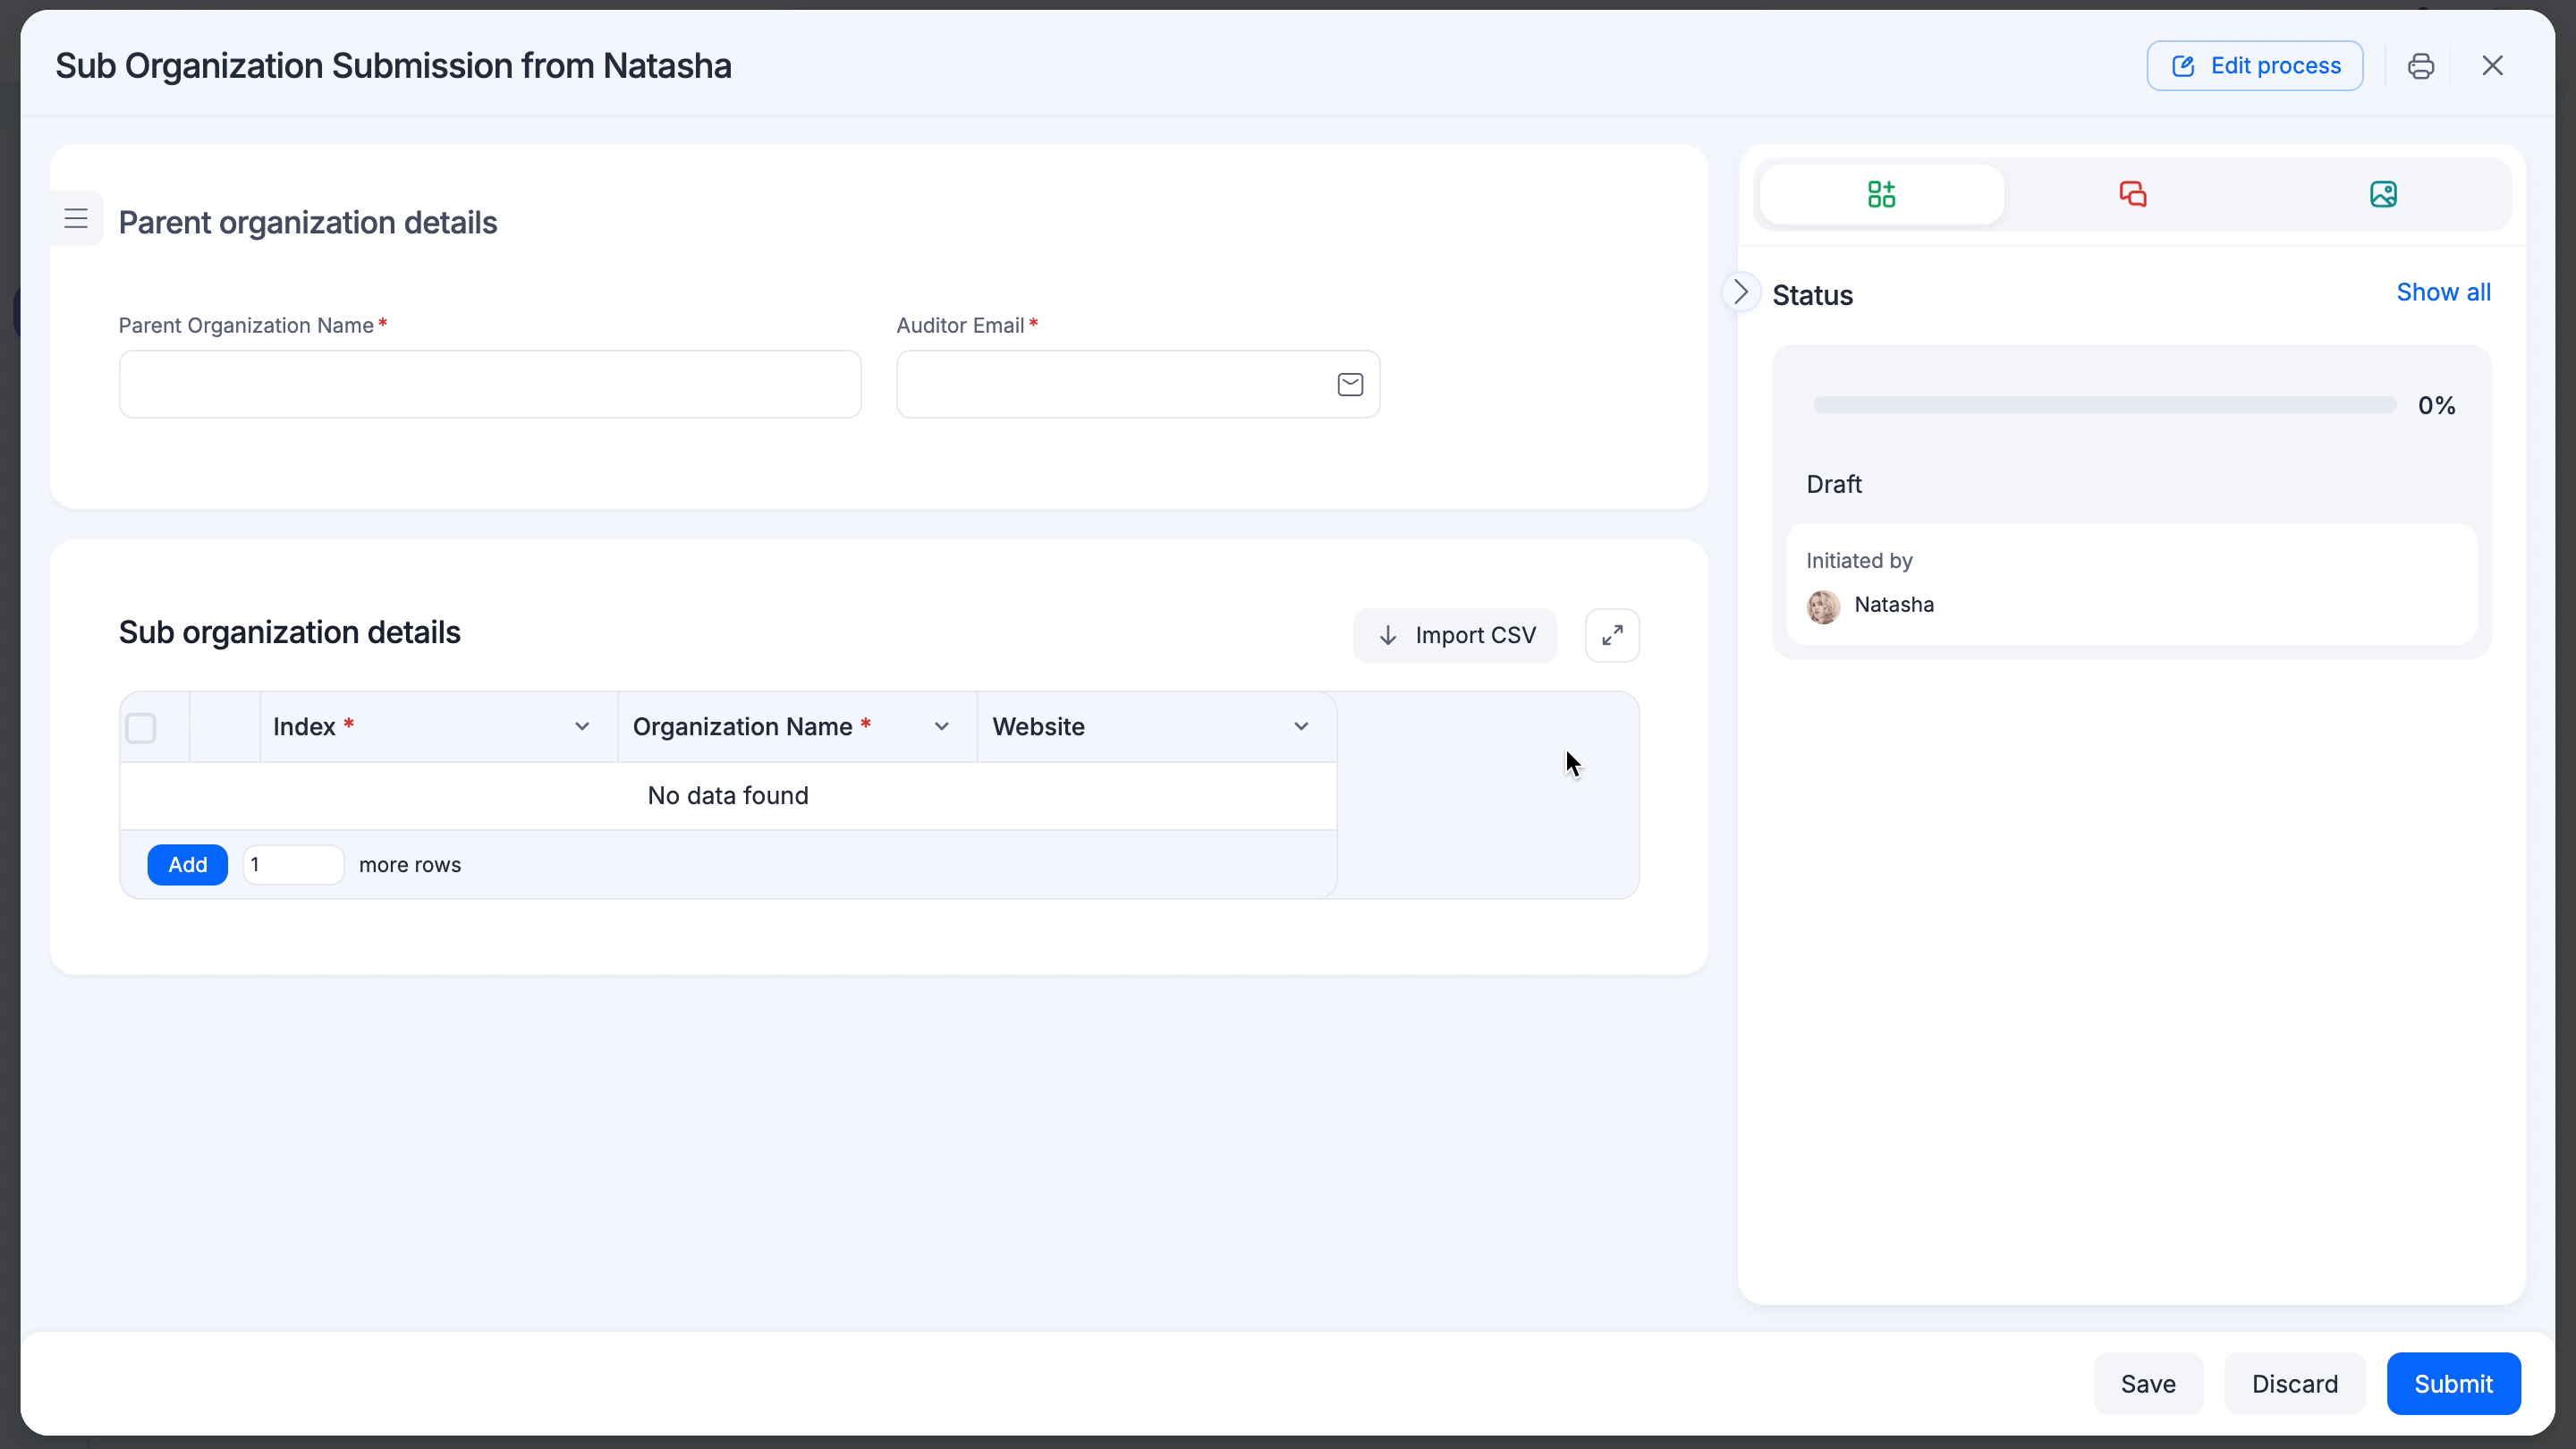
Importing data from a CSV file
In runtime, users can manually enter data into these tables or import data from a CSV file.
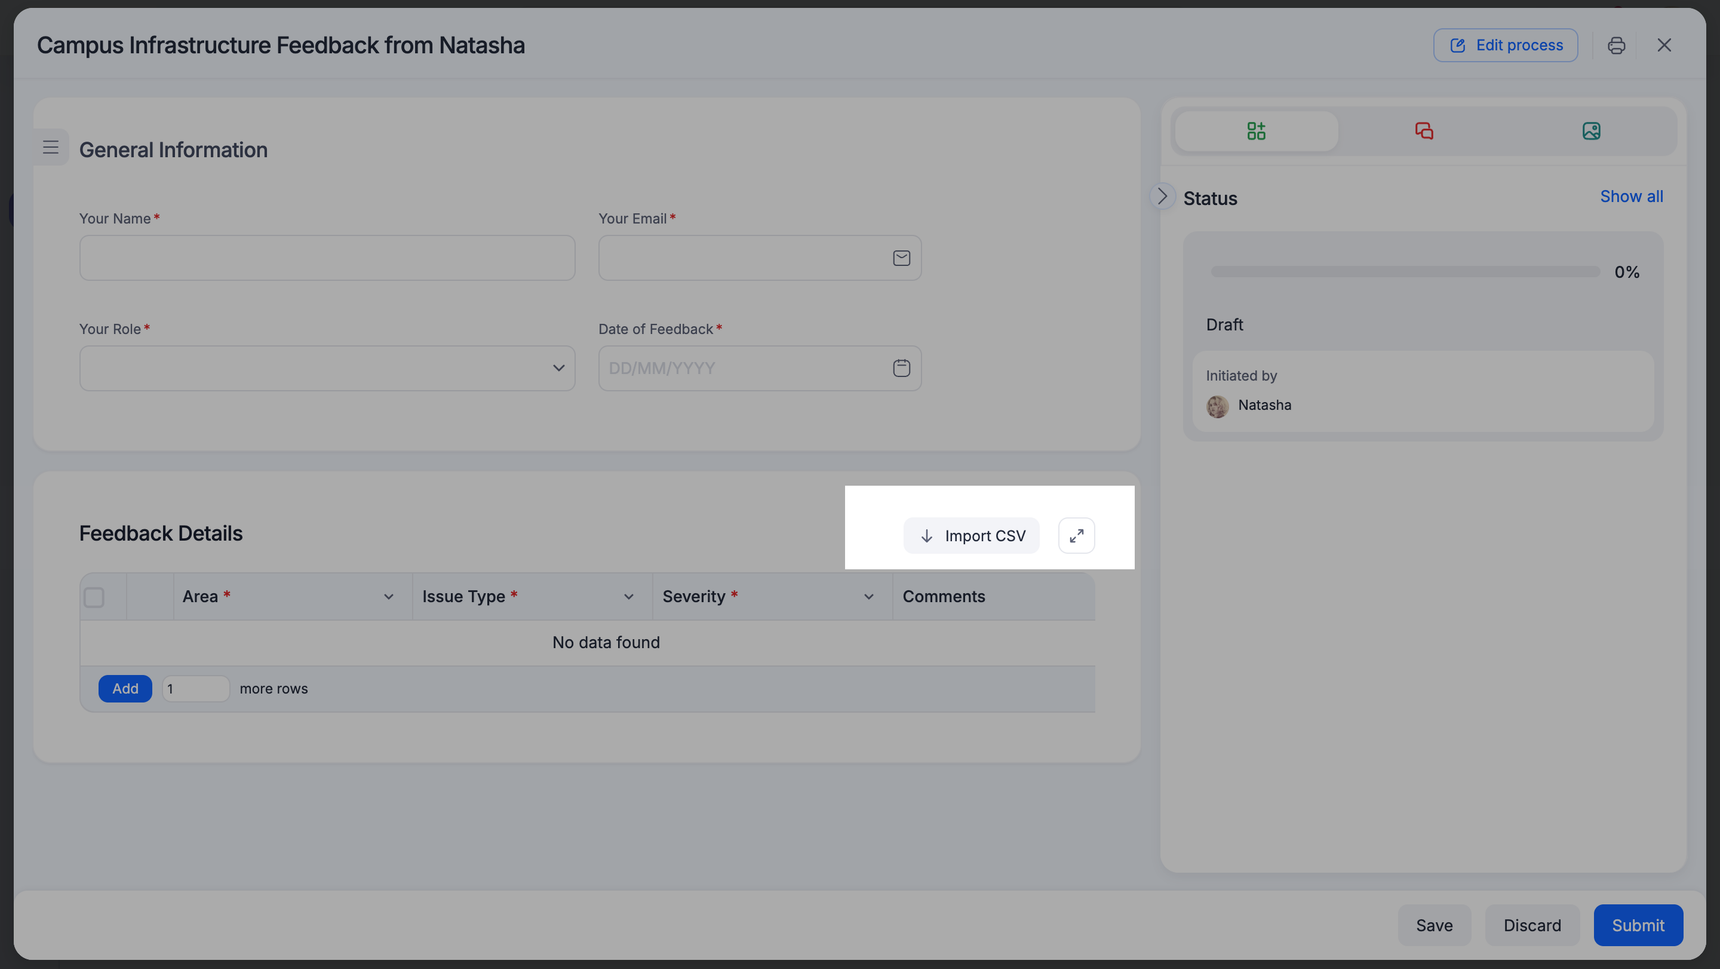
The CSV Import feature allows you to import data in bulk into child tables. Here are some guidelines to follow when preparing a CSV file for import:
- Mandatory fields: If mandatory fields exist in your child table, you must map at least one column in your CSV file with the required fields.
- Data: Within the CSV file, you can map only the following field types to your child table: Text, Text Area, Number, Rating, Date, Date-time, Currency, Yes/no, User, Single-select dropdown, Multi-select dropdown, Slider, Checkbox type fields.
- Delimiter: You must only use the comma (,) as a delimiter inside the CSV file.
- Rows: The CSV file can only have up to 1,000 rows, excluding the header.
- CSV column names: Column names can be alphanumeric but can include only the following special characters:
- Space
- Hyphen (-)
- Underscore (_)
- Encoding: The CSV file must have a .csv extension that supports UTF-8 encoding.
- Child table limit: A child table can store 5,000 rows, including imported and manually entered records. Plan your imports accordingly to avoid exceeding this limit.
Once you have confirmed that your CSV file meets the above requirements, follow these steps to import the CSV data to your child table:
- On the top right corner of the child table, click Import CSV.
Click the Import CSV button to upload .csv file containing customer data. You can choose from the following file sources:
Box, OneDrive, Dropbox, or Google Drive:
Sign in and authorize access. Once authenticated, browse and select the desired .csv file.Your device:
Browse your local storage directly and select the .csv file to upload.
- After importing the CSV file, the system checks it for file corruption and delimiter errors. If any errors are found, correct them in the CSV file before re-uploading it.
- Click Next to continue. Then, map the columns from your CSV file to the fields in your child table. You must map at least one column to any of the headers. For example, you can map the Email addresses column from your CSV document into the Email field in your child table.
Note:
CSV header names and data fields must be of the same data type.
Following mapping your columns and fields, you can choose how to handle data while importing. You can choose to delete existing rows and import new rows, or you can choose to keep the existing rows and import new rows.
If any errors are detected during import, you have two options:
- Skip specific rows
Ignore rows with errors and proceed with importing the valid rows. Cancel import
Stop the entire import process without saving any changes.
After you have selected your options, click Next. Your data will begin importing.
Setting unique fields in child tables
Each child table in your form can have only one column with unique field values. For example, if your form contains three child tables, you can mark one field (column) as unique in each of these tables. Once set, this column will only accept unique inputs from the end user and trigger an error if a duplicate value is entered. Only the following field types support unique fields:
- Text, Number, Date, Dropdown, Email, Radio, and Scanner.
Note:
This feature is only applicable to individual form items. The uniqueness of the inputs gathered from the users will only pertain to the table in their individual form submissions and will not be validated across all the submissions received from multiple users.
To designate a field as unique, select it and turn on Mark as unique from the right-hand field properties panel.
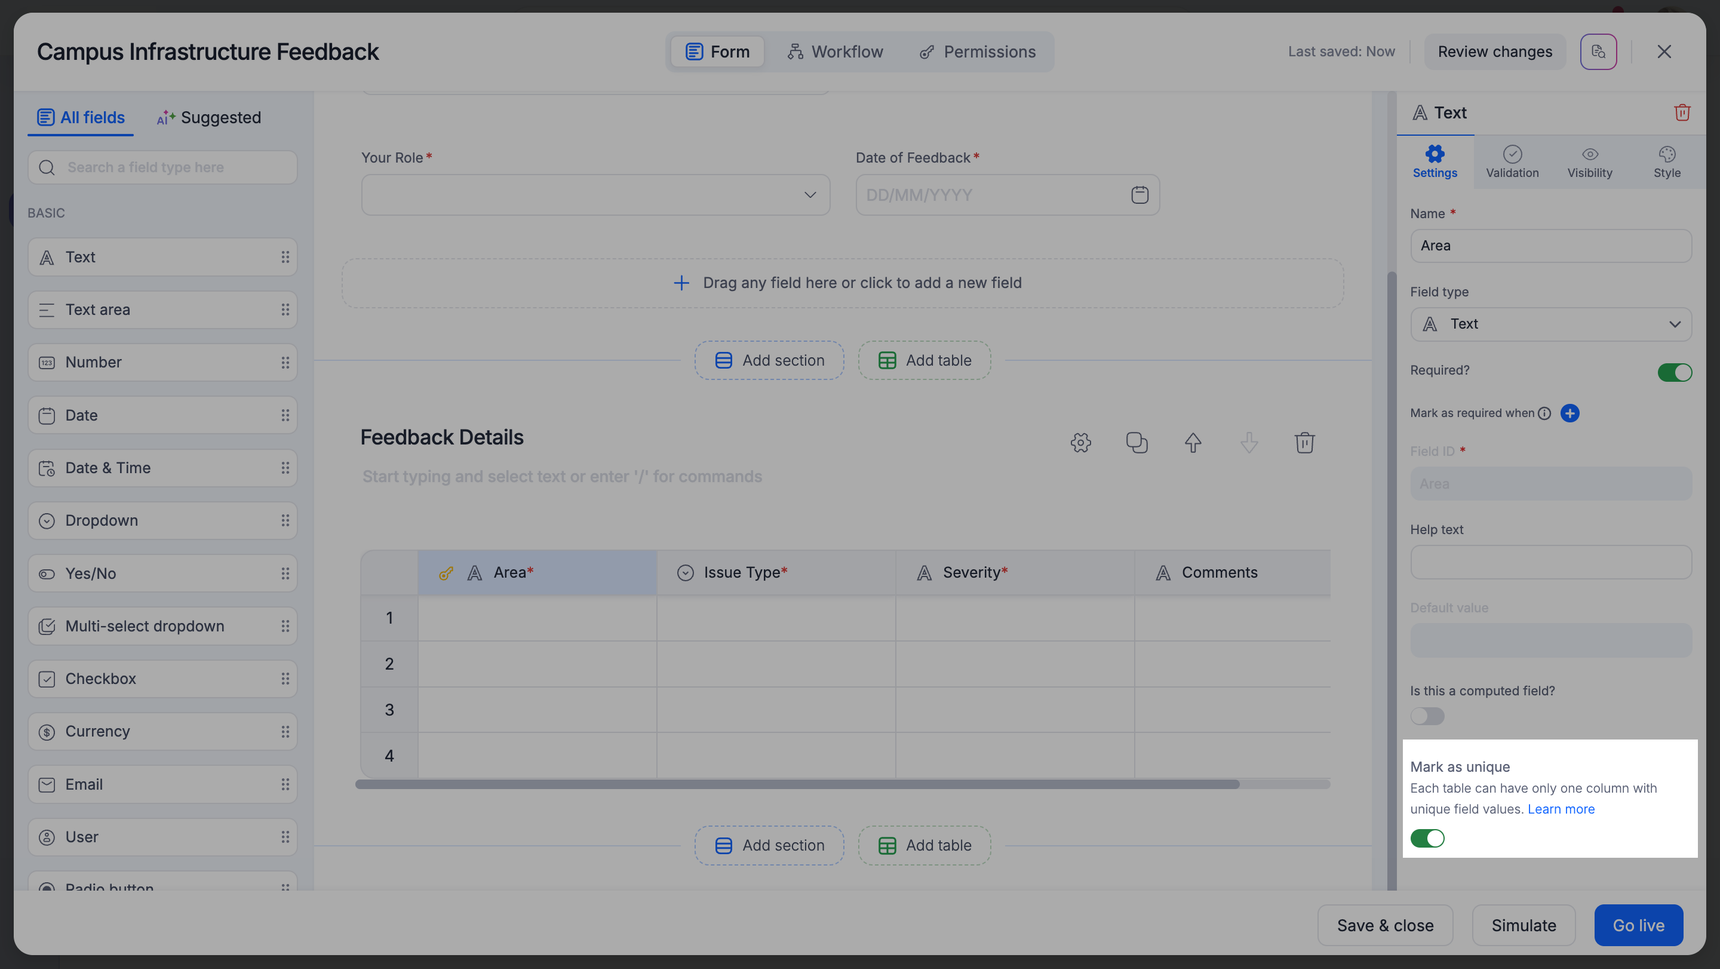
At this stage, you can customize the error message you wish to display to your users when they enter a duplicate record. A generic error message will be displayed if no custom error message is specified here, preventing users from submitting the form.
Functionalities within tables
Sort table
Users can sort child table rows in ascending or descending order to organize data based on priority or sequence.
For complex field types (like Widgets), sorting is performed based on the primitive data stored in the backend.

Search table
The search function checks all cells across columns within the child table. When a user enters a keyword, the table filters and displays only the records that match the query.
Supported field types
Not all field types support sorting and searching. Refer to the table below for capability details:
| Field category | Field type | Sort support | Search support |
| Basic fields | Text, Text area, Number, Currency | Yes | Yes |
| Date, Date & Time | Yes | Yes | |
| Dropdown, Multi-select Dropdown | Yes | Yes | |
| Checkbox, Radio button, Yes/No | Yes | Yes | |
| Yes | Yes | ||
| User | Yes | Yes | |
| Advanced fields | Lookup, Remote lookup | Yes | Yes |
| Sequence number | Yes | Yes | |
| Scanner | Yes | Yes | |
| Aggregation | Yes | Yes | |
| Signature, Geolocation | No | No | |
| File & media | Attachment, Smart Attachment, Image | No | No |
| Widgets | Rating, Slider | Yes | No |
| Checklist | No | No |
Fixed headers (PWA only)
When viewing a child table in full-screen mode on the PWA:
Column headers remain fixed at the top of the screen while scrolling through rows.
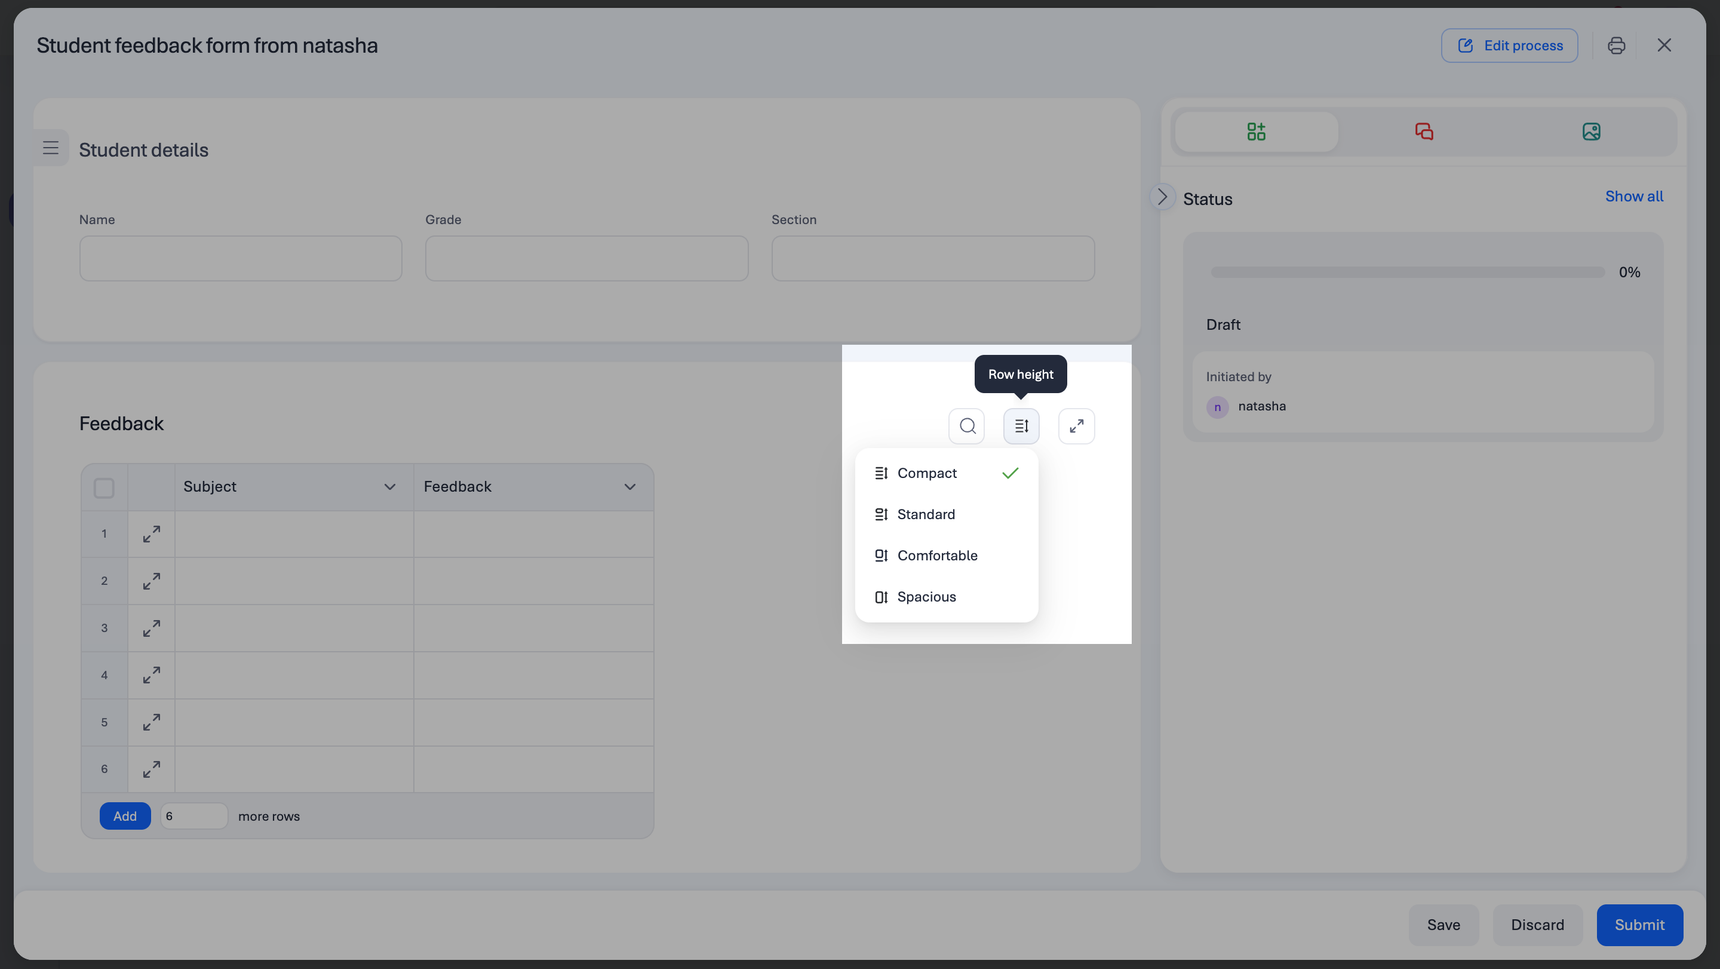
Custom row height settings
You can toggle between four distinct row height levels to optimize visibility and focus:
Compact: The standard system balance for everyday use.
Standard: A condensed layout designed for high-density data review.
Comfortable: Increased padding to improve legibility.
Spacious: Maximum vertical breathing room, ideal for reviewing complex or multi-line entries.
Enhanced error reviewing
You can identify, review, and resolve errors directly within web tables. This inline approach allows for faster corrections and ensures data accuracy prior to final submission.
Internal table scrolling
When working with extensive tables, you can scroll through hundreds of rows while the surrounding form and page headers remain fixed in view.
Persistent context: Keep your place on the page without losing sight of surrounding fields.
Improved navigation: Smoother vertical movement through massive data loads.
Enhanced stability: Eliminates the need for full-page scrolling when managing nested table data.
FAQs
1. What are the various soft limits in Kissflow forms?
Ans) To improve performance and ensure efficient use of resources, Kissflow has put up the following restrictions on each form:
A maximum of 1000 fields per form.
A default soft limit of 10 child tables in every form.
A default soft limit of 100 columns per child table.
An upper limit of 5000 rows per child table.
An upper limit of 30 events per form (button fields not included).
2. Can I change field data types in a form with more than 5000 items?
Ans) You cannot change the data type of a form field if the form contains more than 5,000 records. This restriction is in place to prevent potential versioning issues when modifying data types in large forms. Changing data types with a high volume of records can lead to inconsistencies and performance issues.
Since the field type cannot be changed, you can hide the existing field and create a new one with the required type. Use the new field in the form or workflow as needed.
3. Are there any field types in Kissflow forms that do not have soft limits?
Ans) Yes, certain field types in Kissflow forms are not subject to soft limits:
Rich text fields.
Grid fields.
Button fields (these have a separate soft limit of 100 buttons per form, in addition to the default form limit).
Rich text and Grid fields are exempt from restrictions as they don't contain metadata.
4. What happens if I duplicate a section with increased limits?
Ans) If a flow with increased limits is duplicated, the new flow will inherit the same incremented limits.
5. Will I receive any warnings when approaching these limits?
Ans) Yes, warnings will appear when you are close to reaching the limits. For example, when you have 990 fields and 90 columns, you will receive warnings indicating that you are approaching the limit and suggesting that you request an extension if needed.
6. How many records are displayed when using a dataset as the source inside a child table field?
Ans) This depends on the field type:
- For Dropdown and Multi-select dropdown fields: The entire set of values from the dataset is displayed.
- For Checkbox and Radio fields: Only the first 250 values from the dataset will be displayed.