Admin actions in a process
Process administration
The Administration section of a process lets Process admins and Data admins access the items, modify their status, and make necessary changes. Navigate to the process page and click the More options button ( ) at the top right > Administration.
- Title - Name of the item configured in the process settings
- Created at - Time at which the item was first created
- Created by - Name of the person or guest (if created via public form) who created the item
You can also apply filters or view additional fields by clicking the Show/hide fields button (![]() ).
).
Searching items
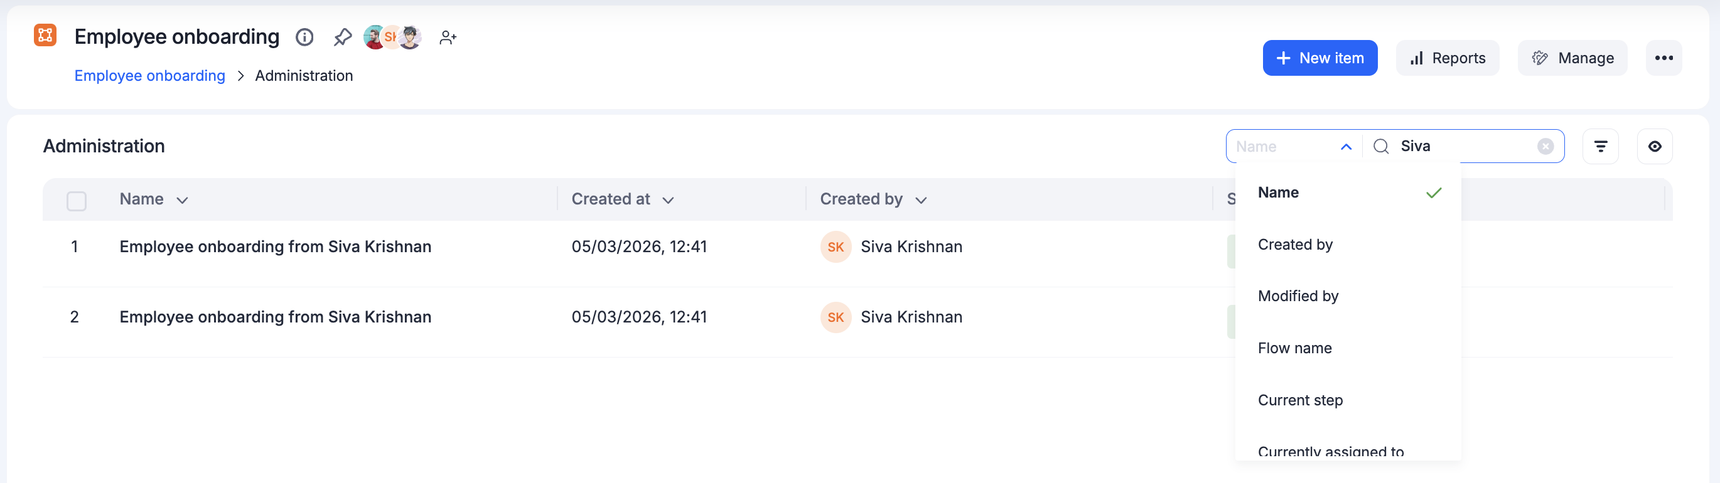
You can use the search bar to find items quickly. The drop-down beside the search bar will list all the fields in the process from which you can select one. After you input a value in the search bar, all the items whose selected fields match with that value will be listed.
Viewing and editing data in items
You can view and edit any item field, or reassign the item to someone else. All of your actions will be recorded in the process audit log.
To edit an item, open it > click Update field values at the top of the item form > make edits > click Save changes.
Reopening completed and rejected items
Process admins can reopen completed or rejected items and send them back to a previous step in the workflow. This is useful when an item requires additional changes or must go through part of the approval process again.
When you reopen an item:
The item is sent back to the selected workflow step.
The workflow resumes from that step.
Any integrations configured for the selected step are run again.
Users involved in subsequent steps continue the workflow as usual.
To reopen an item,
Click the Reopen & send back button at the bottom right.
Select the step to which the item should be sent back.
Enter a reason and click the Reopen & send back button.
Note:
Items can only be sent back to steps that were previously completed. Skipped steps cannot be selected.
Reopening an item in a parallel branch
When an item is rejected at a step within a parallel branch, the item is stopped in the other parallel branches. If a Process Admin reopens the item and sends it back to the same rejected step, the workflow resumes from that point, and the items in the other parallel branches also resume.
For example, suppose a workflow has three parallel branches for Finance review, Legal review, and HR review. If the item is rejected at the Finance review step, the item in the Legal review and HR review branches is stopped. When the item is reopened and sent back to the Finance review step, the Legal review and HR review branches also resume from where they were stopped.
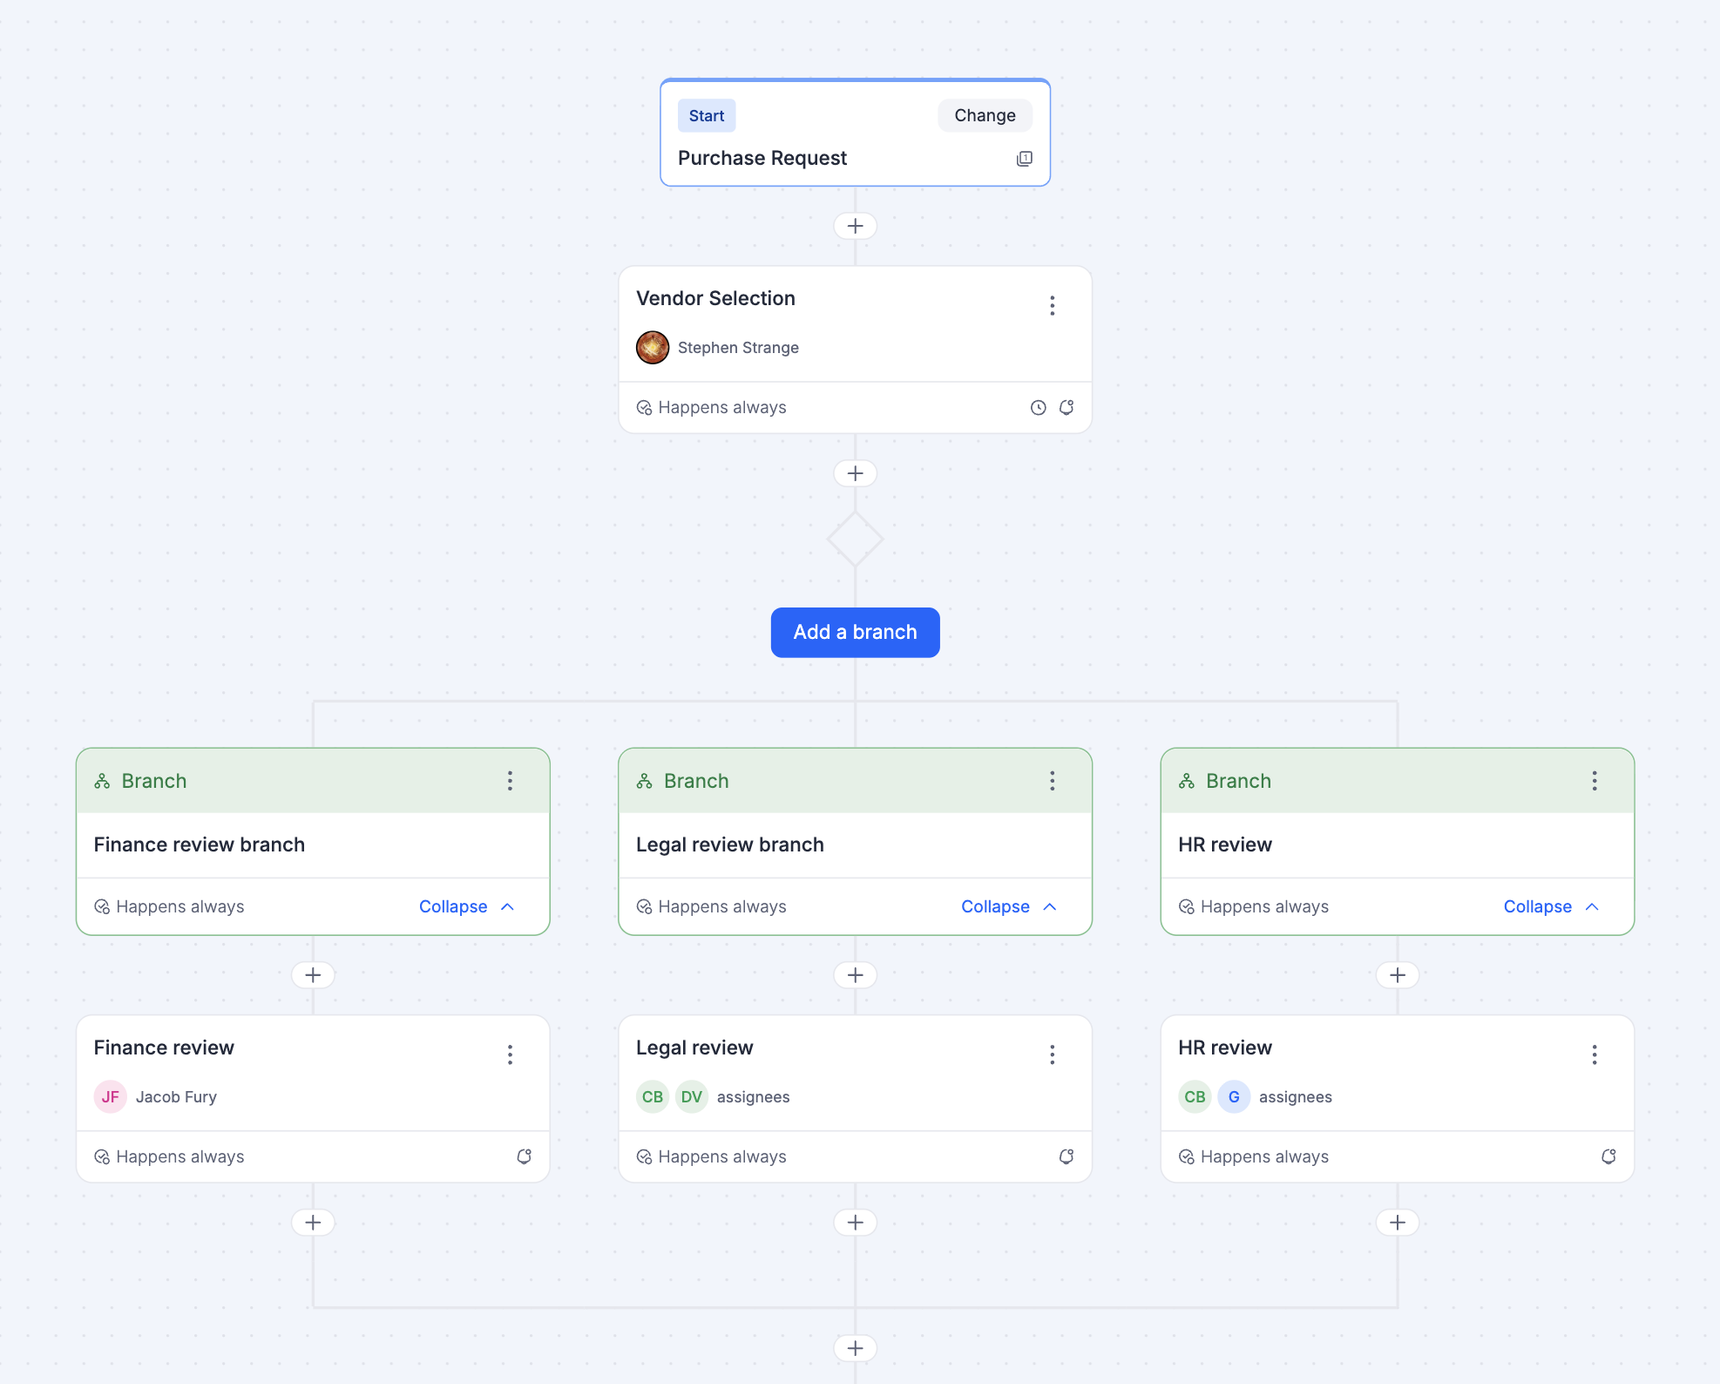
This allows the entire parallel workflow to continue without requiring users to restart or manually resume the other branches.
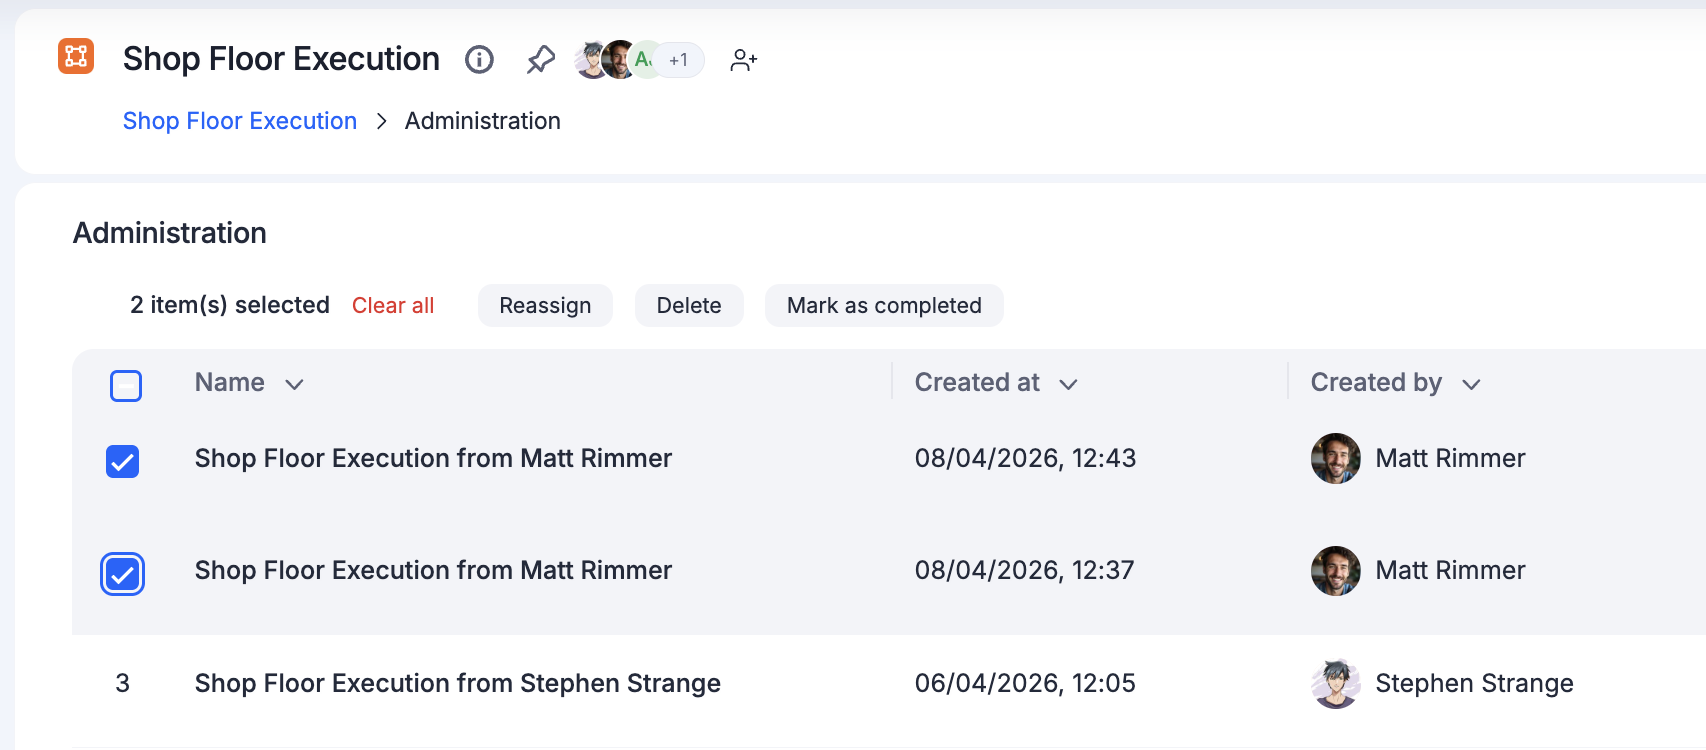
Performing bulk actions
You can reassign items, mark them complete, or delete them as necessary. To perform these actions, navigate to your process and click the More options button () > Administration. You will see a list of all the items in your process.
Note:
You can perform these actions in bulk for a maximum of 100 items at a time.
Reassigning items
If an item remains at a step for too long, it may be due to the assigned person being unavailable or unable to take action. In such cases, you can reassign the item to yourself or another user who has the right permissions to move it forward. The item can also be reassigned by its initiator, depending on the permissions granted to them.
Select an item or a set of items you would like to reassign and click Reassign.
When you reassign an item that has more than one assignee, the previous assignment will be invalidated and the new assignment will take precedence.
For example, let us assume you, John, and Linda are assigned to an item, and you choose to reassign it to Abraham.
After the reassignment, Abraham will be the only assignee of the item, and the other assignees will be removed automatically, i.e., you, John, and Linda will no longer be assigned to the item. Learn how reassigning works for a process member.
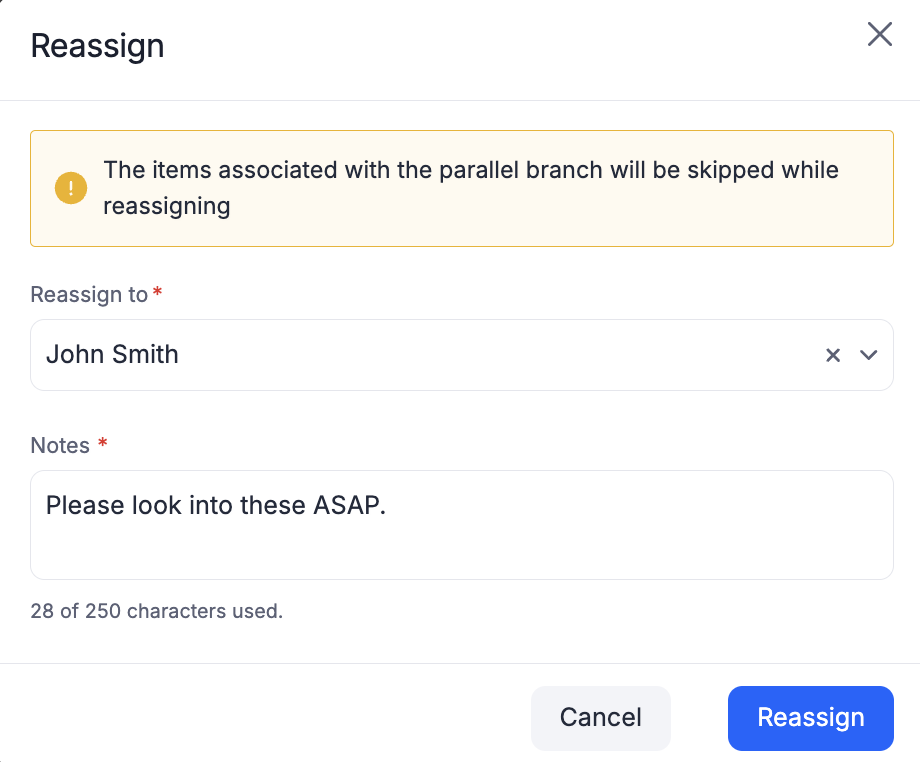
Also, the items that have already been completed, rejected, or withdrawn will be skipped or not considered for reassignment. i.e., only items in In progress status will be reassigned, and the items skipped will be prefixed by a yellow exclamation mark for your understanding.
Note:
Items inside parallel branches cannot be reassigned.
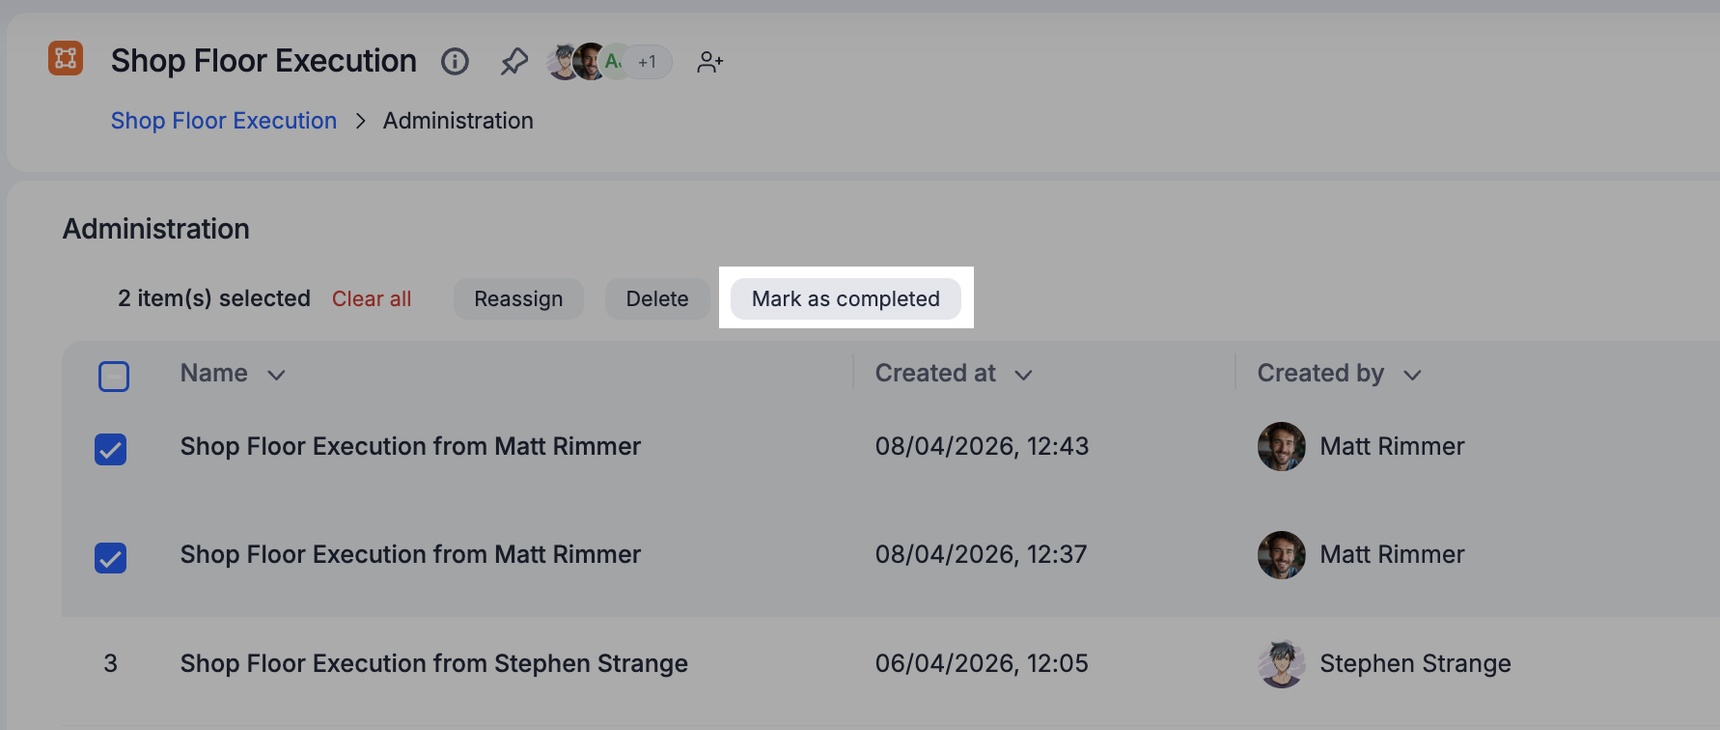
Marking items as completed
Select an item or a set of items and click Mark as completed. When a task is marked complete, it will advance to the end of the workflow, skipping all the future steps. This is especially useful in case an item's assignee is unavailable and you want the item to be completed immediately.
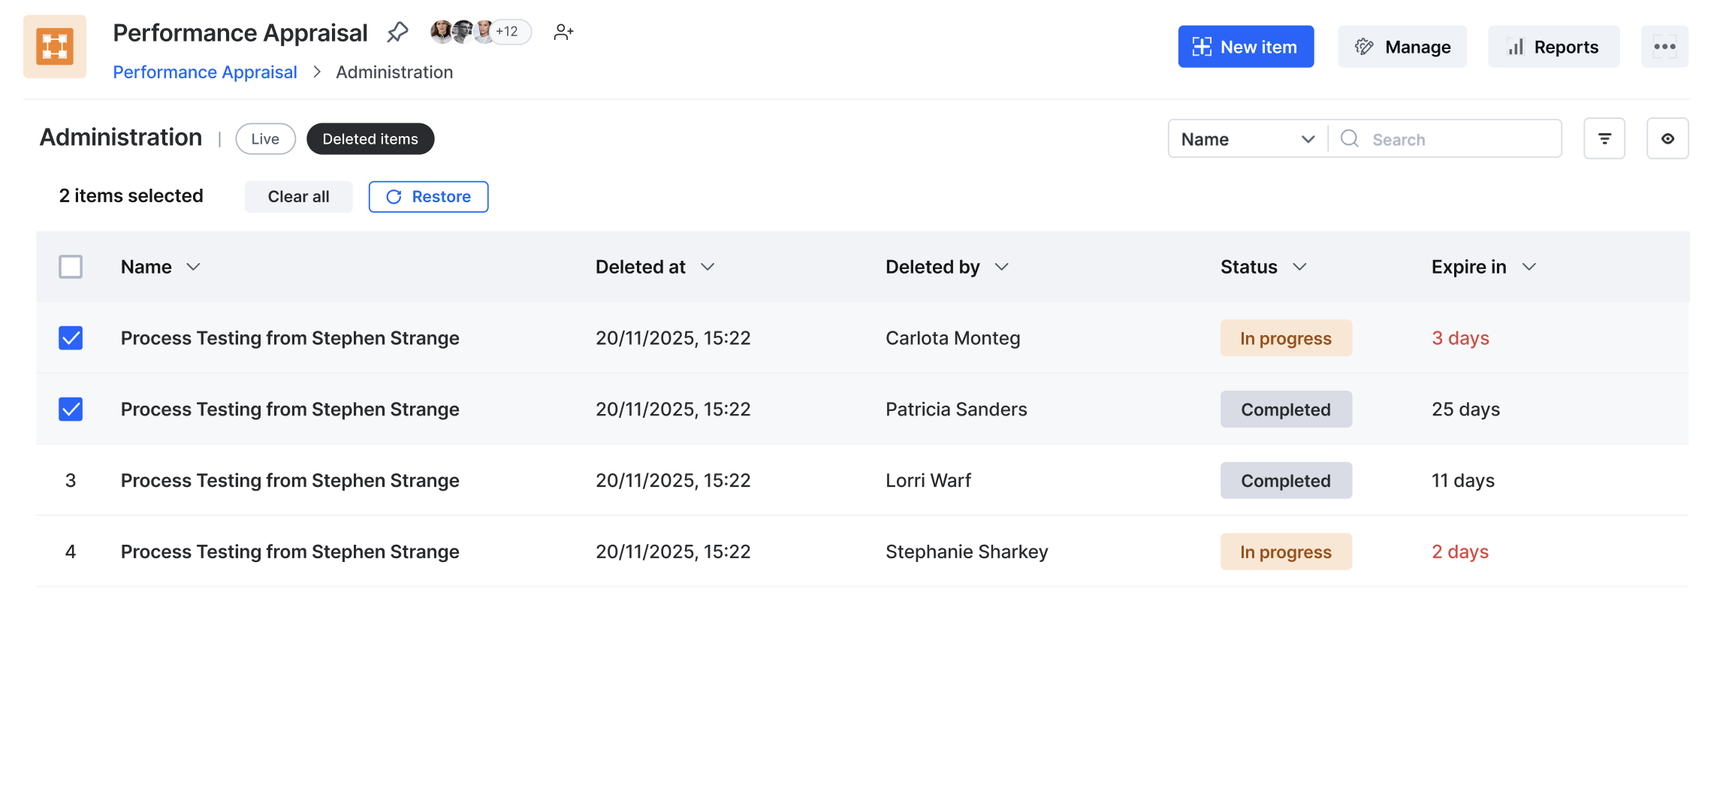
Deleting and restoring items
You can delete one or more items in bulk by selecting them and clicking Delete. Deleted items can be restored within 30 days of deletion. After that, they'll be permanently deleted.
To restore deleted items, click the Deleted items tab at the top. Select the items you want to restore and click Restore.