1

Publishing, editing, duplicating, archiving, and deleting a process

Kissflow plans:
 
✓ Basic ✓ Enterprise

Publishing a process

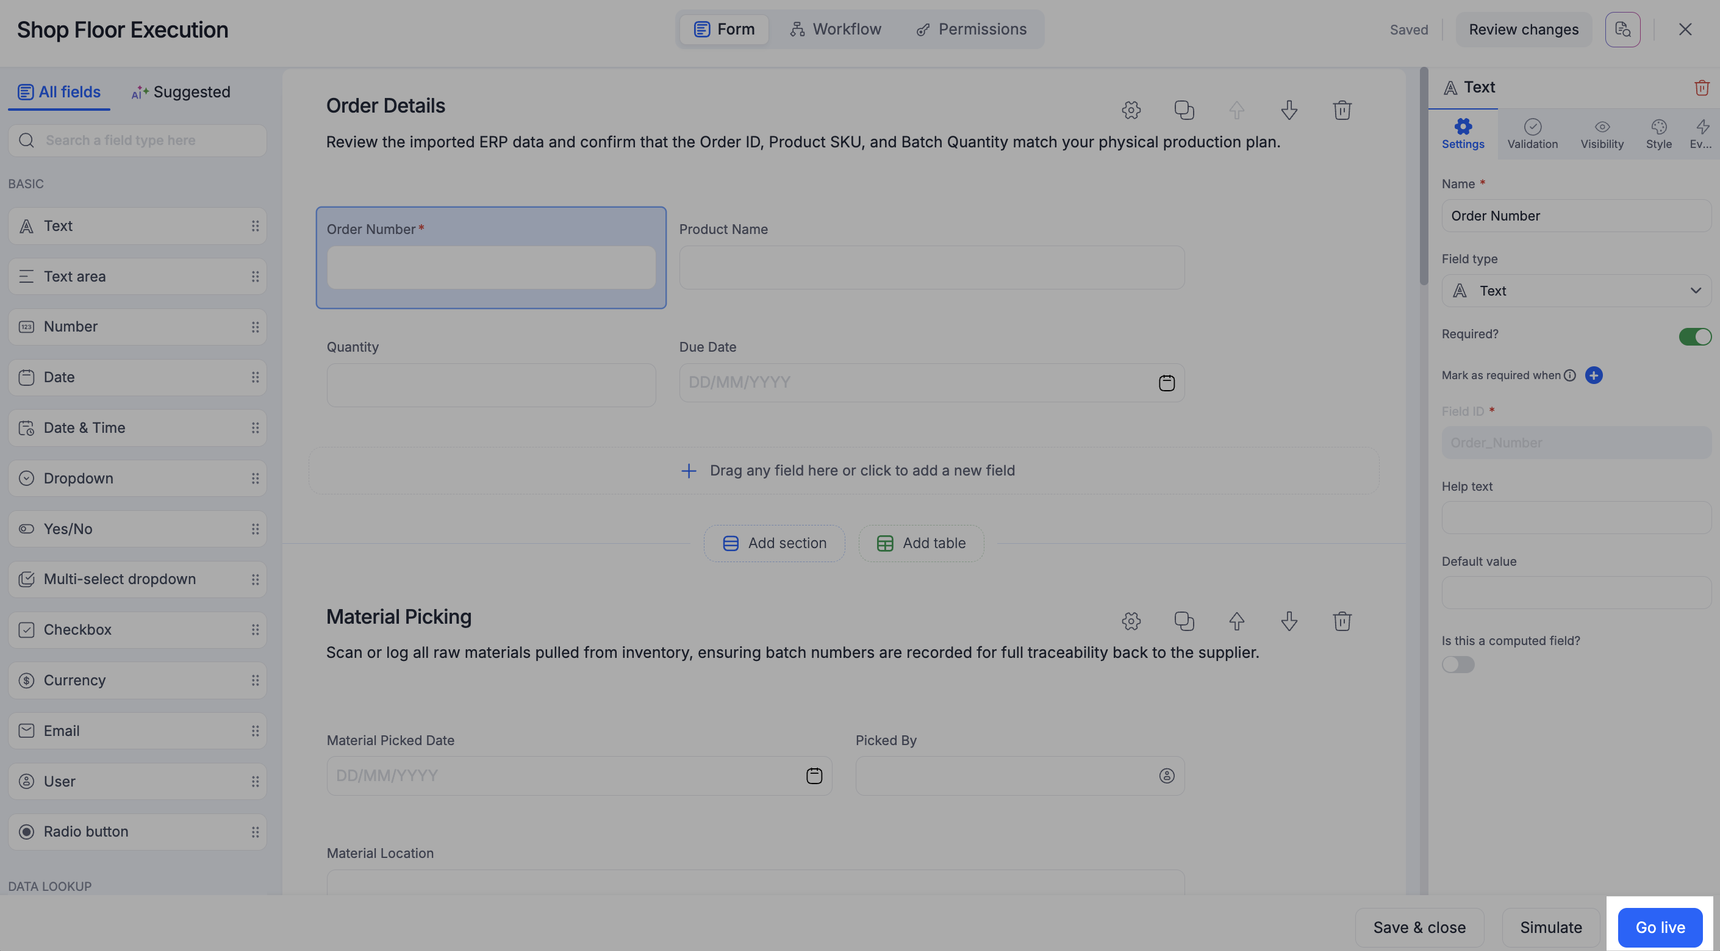
As a Process Admin or Developer, you can publish a process live. Once you've finished designing your process form and workflow, you can use the AI Solution analyzer as the final step in the process/solution development process to inspect for any potential errors in the process development.

After completing this recommended supplementary step, you can click the Go live button at the bottom right corner of the process editor as shown in the image below. This will publish your process, including all the latest changes you’ve made to the form, workflow, and permissions.

How to use the solution analyzer

Solution analyzer is an AI-powered tool for process admins who create and manage workflow solutions. It reviews your form fields, workflow steps, and permissions against the intent the AI understands from your process design and description.

The analyzer highlights potential issues and classifies them as either Critical or Suggestions, and offers improvements before you take your solution live. These are AI-generated findings, so you should always review them to ensure they are accurate for your process.

Note: Solution analyzer is available only for no-code processes. It is not supported inside apps or portals.

Run the analyzer after you finish designing your process to validate whether:

  • Forms have required validations.
  • Workflow steps are assigned correctly.
  • Permissions are aligned with your intent.

Accessing the solution analyzer

Open your process. Click Manage > Edit process and this will take you to the Form builder.

Click Analyze in the top-right corner of the builder. The analyzer will run automatically and display the results as shown in the gif below. 

You can also choose to run the analyzer in the background by either closing the analysis window or clicking Run analysis in background. When the analysis is complete, you’ll see a toast message as shown here.
 

Understanding the results from the analyzer

If no issues are found, you’ll see a success message confirming that your process has been fully validated and no potential errors were detected. This means the workflow, form fields, and permissions align with the intended design, and the process is sound to go live.

 
If issues are detected, you’ll see a list of observations made as shown in the image below:
 

Each observation includes:

  • Title â€“ A concise description of what went wrong.

  • Tags â€“  To indicate whether the issue is related to the workflow design or permissions or the form setup.

  • Severity â€“ Either critical or suggestive in nature:

    1. Critical: These are serious issues that can lead to compliance risks, workflow breakdowns, or data exposure.

    2. Suggestions: These are best-practice recommendations or missing elements that could improve efficiency and effectiveness but won’t necessarily break the process.

  • Locate â€“ Clicking this highlights the exact part of the workflow or form where the issue exists, helping you navigate in context and resolve it.

At the top, you’ll also see a count of all observations (e.g., 7 observations made) and the timestamp of the last analysis run. This helps you keep track of when the process was last validated.

You can filter the list by severity and scope to focus on specific issues. When you click Locate, the analyzer takes you directly to the exact spot in the form, workflow, or permissions where the issue occurs. The issue list window becomes smaller, showing only the filtered results with previous/next navigation so you can move through them one by one as shown in the gif below:


To return to the full list of issues, click Back. From there, you can adjust filters or review all issues together.

Note:
The solution analyzer is AI-powered. Always review analyzer findings alongside your workflow requirements.

Rerunning the analyzer

You can rerun the analyzer only after making updates to your process. The last run time is displayed in the analyzer window.

When you rerun, the results may change — existing issues might get resolved, new ones might appear, or some may no longer be listed. Before clicking Rerun analysis, make sure you have reviewed the current issues, as the same results may not be available again.

Use case: High-value purchase order approval – workflow critical issue

Process overview:
This process handles purchase order requests in an ERP/CRM system. Employees across departments submit purchase orders which are then routed for approval. The process ensures that approvals are granted at the right authority level, particularly for high-value purchases with the following intent:

  • All purchase orders must first be approved by the department manager.
  • Purchase orders under $50,000 can be approved by a junior manager.
  • Purchase orders exceeding $50,000 must be approved by the finance director (for example, Evelyn Thomas).
  • After the finance director’s approval, the procurement team processes the order.

The case:
While setting up the high-value approval step, the process admin intended to assign it to finance director Evelyn Thomas, but by mistake clicked Everyone instead of Evelyn. As a result, the high-value approval step was open to all employees, creating a major compliance and security risk since anyone in the organization could approve a high-value purchase.

How solution analyzer helps:
When the analyzer runs, it reviews the workflow assignments against the process intent. It detects that the high-value approval step is assigned to Everyone instead of the finance director. The analyzer flags this as a critical workflow misconfiguration as shown in the gif below, recommending that the step be reassigned specifically to the finance director role.


Once you have validated the process solution against the observations from the analyzer, and you click on
Go live a process is published, it will immediately be live for all participants.

If you need to make further updates later, you can always return to the process editor and make changes. Any new changes will also need to be published before they take effect. The previous version of the process cannot be restored, so make sure to review everything before publishing.

Changes that you make in the process editor are automatically saved. In case you've made some unwanted changes before going live and want to revert them, you can ask another Process Admin to edit the process simultaneously and discard you're changes while they take over.

Note:

If a field already contains data in existing items, changing its field type is not recommended. Doing so can result in a data field version conflict when the process is published live.

Editing a process

Process admins, and developers can customize or simulate the form, workflow, and field permissions of their processes. 

To edit a process, click the Manage button at the top right and click Edit process.


If another Process Admin, or a Developer is currently editing a process, you'll see a message displaying their name and profile. You have two options:

  1. Discard their changes and take over editing - This will remove any unpublished changes made by the other user and allow you to start fresh. Use this option if you’re sure you don’t need their updates.
  2. Save their changes and take over editing - This will save the other user’s changes before you take over the editing. Choose this if you want to keep their progress and continue working from there.


Alternatively, you can ask the other user to publish their changes live if you'd prefer not to interrupt their work.
 

Duplicating a process

Process admins can create another process very similar to one by duplicating it. The duplicated process will have the same configured fields, sections, tables, workflow, and permissions. There will not be any data and items for the duplicated process. 

To duplicate a process,

  1. Click the More options button () and then click Duplicate
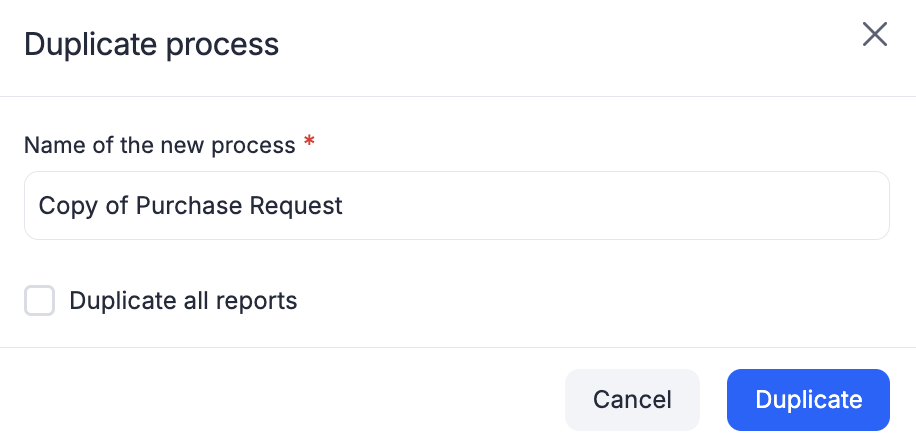
  2. The default name of the new process will be Copy of <original process name> which you can change later.
  3. Select if you want to duplicate with all the same reports as the original process.
  4. Click Duplicate


After a process is duplicated, it will be locked for submission, i.e., users will not be able to initiate items. This happens so that you can check your reports manually before anyone uses the process. To enable users to submit items, you have to be a Process Admin. If you're not, you can contact a Process Admin to unlock the process for item submissions.

Note:

While duplicating a process, its associated integrations will not be duplicated. You'll have to duplicate those integrations manually.

Archiving and deleting a process

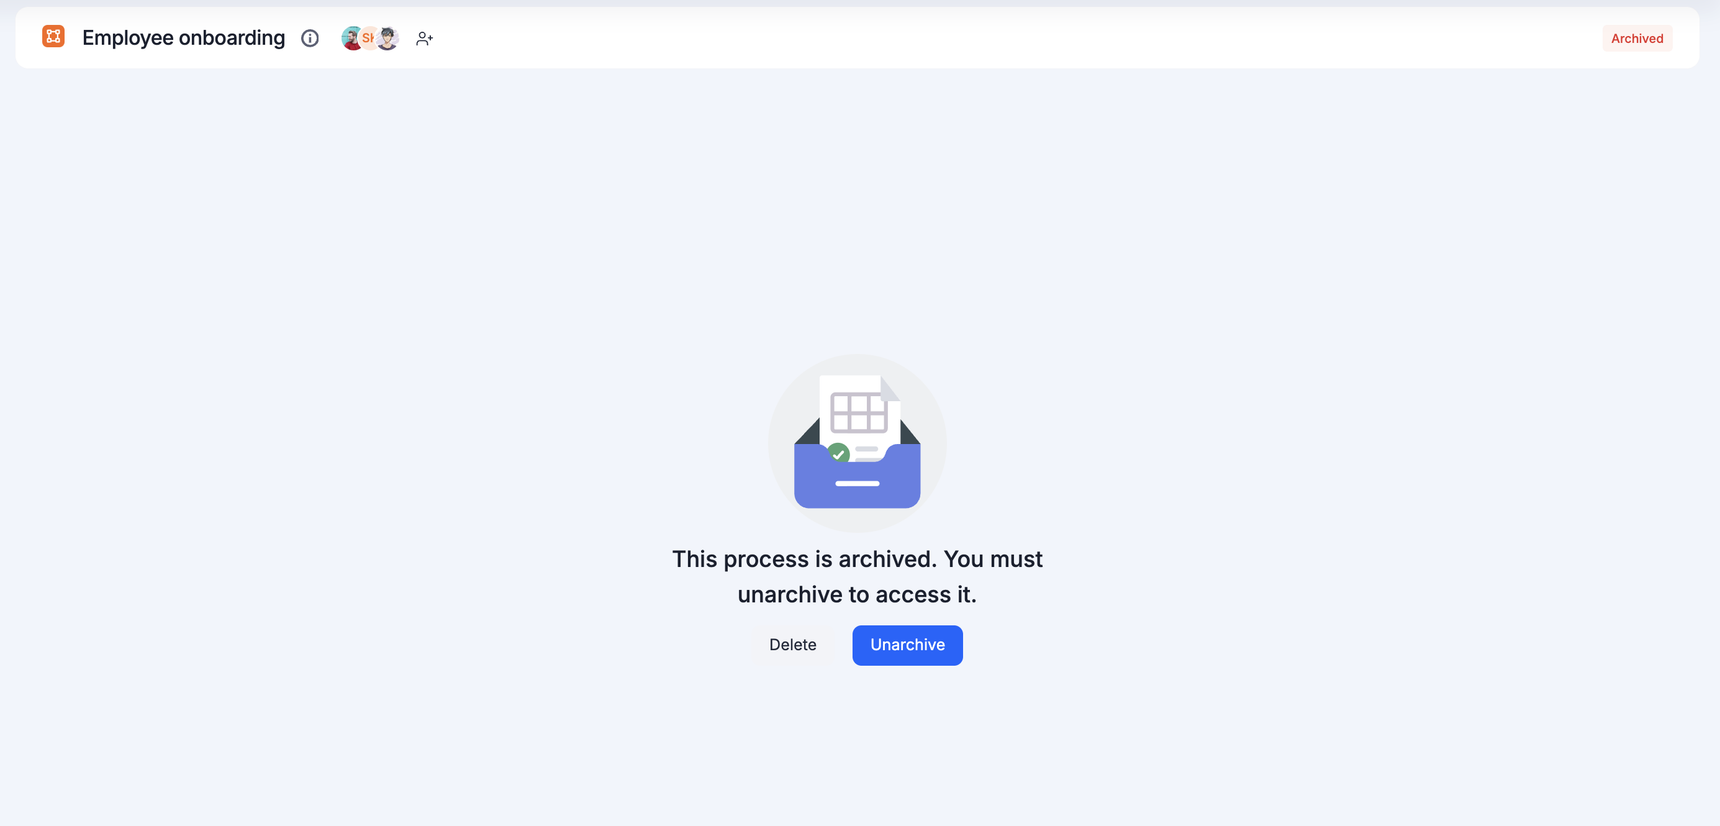
You can archive a process when you don’t need it anymore. When you archive a process, no one can view or take action on any item. However, all of the data is retained.

However, if you are an admin of the process, you can access the audit log for process as well as unarchive or delete them.

To archive a process, click the More options button ()  at the top right and then click Archive.

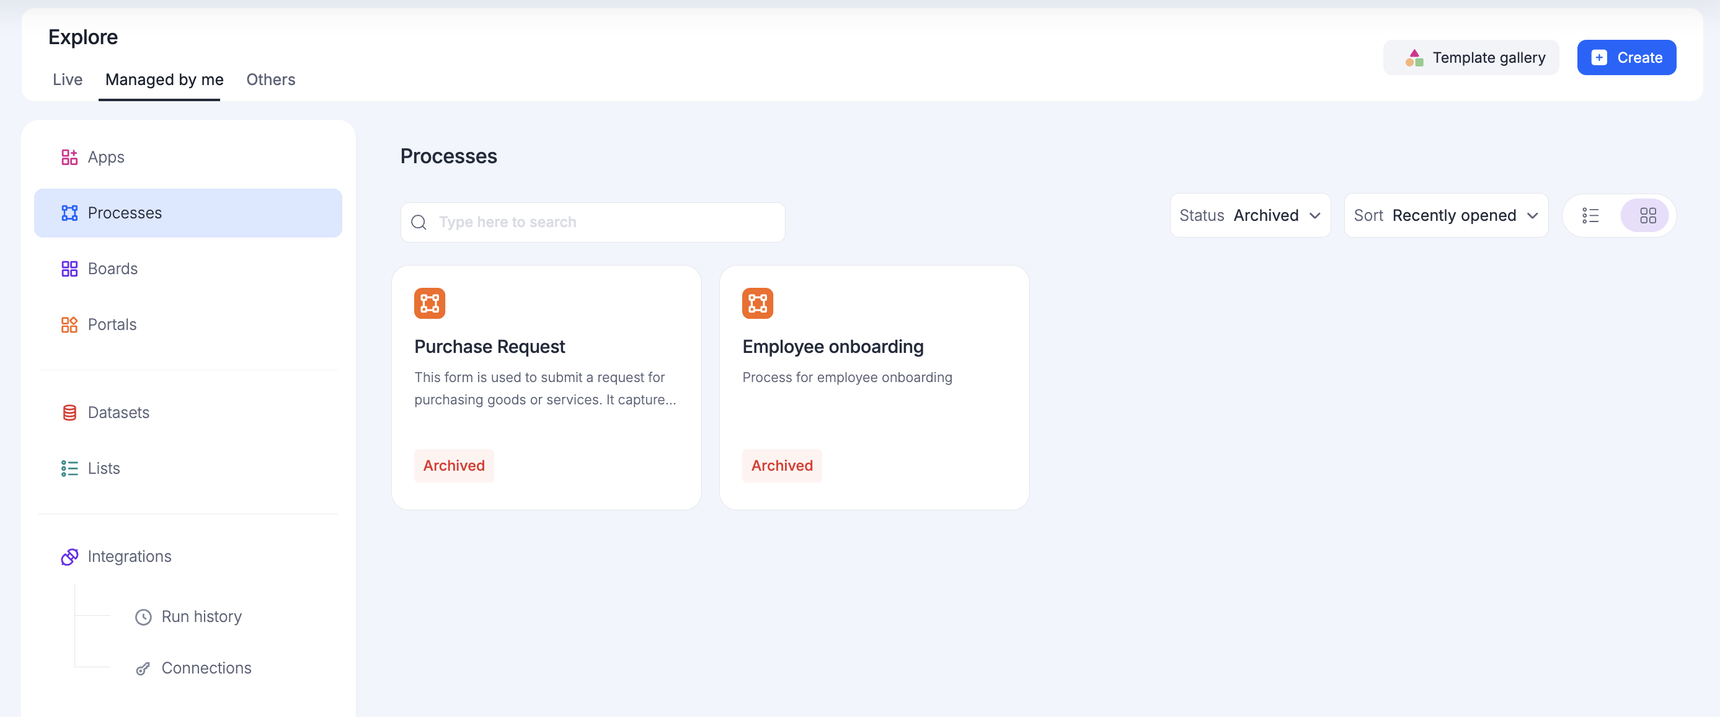
To find the archived processes you once managed, click Explore from the left panel and select the Managed by me tab at the top. To view the archived processes managed by others, select the Others tab. Select the Processes tab in the left navigation panel and select the status as Archived.


Once the process is archived, click the more options icon again and click Delete to delete the process. Note that a process needs to be archived first and only then it can be deleted. Since deleting a process is irreversible, we recommend reviewing the impacts on team members with whom this process is shared and the other workflows connected to the process.

Note: Archived process can be unarchived and made available again. However, deleting a process will remove the process and all of its data permanently.

Unarchiving a process

To unarchive a process you managed, click Explore > Managed by me > Process > Status - Archived. To unarchive other processes, click Explore > Others > Process > Status - Archived. Select a process and click Unarchive to make the process available again.