
 User guide
Multilingual settings in Apps
Multilingual settings allow admins for Kissflow apps to customize their apps to be displayed in languages supported by the platform.
What are Multilingual settings?
As an app admin, if you have developed an app in English, all the fields and label names will be displayed in English once you deploy the app. However, during development, you can enable multiple languages for the app. The end users can view the app fields in the selected language if they match the one set up for their profile.
Language precedences work as follows:
- First precedence: Profile language under a user’s profile > My settings
- Second precedence: The language selected for all users under account-level settings by the account admin.
For example, if an app is developed in English and the admin has enabled Chinese, Japanese, and Korean under the Multilingual settings, when a user who has selected Japanese as their preferred language views the app, it will be displayed in Japanese for them. The app will be displayed in its original language if both profile and account-level languages are unselected.
How does it work?
The multilingual settings feature offers two ways in which app admins can translate the fields and label data.
Manual translation
Automatic translation using AI
Follow the below steps to configure Multilingual Settings
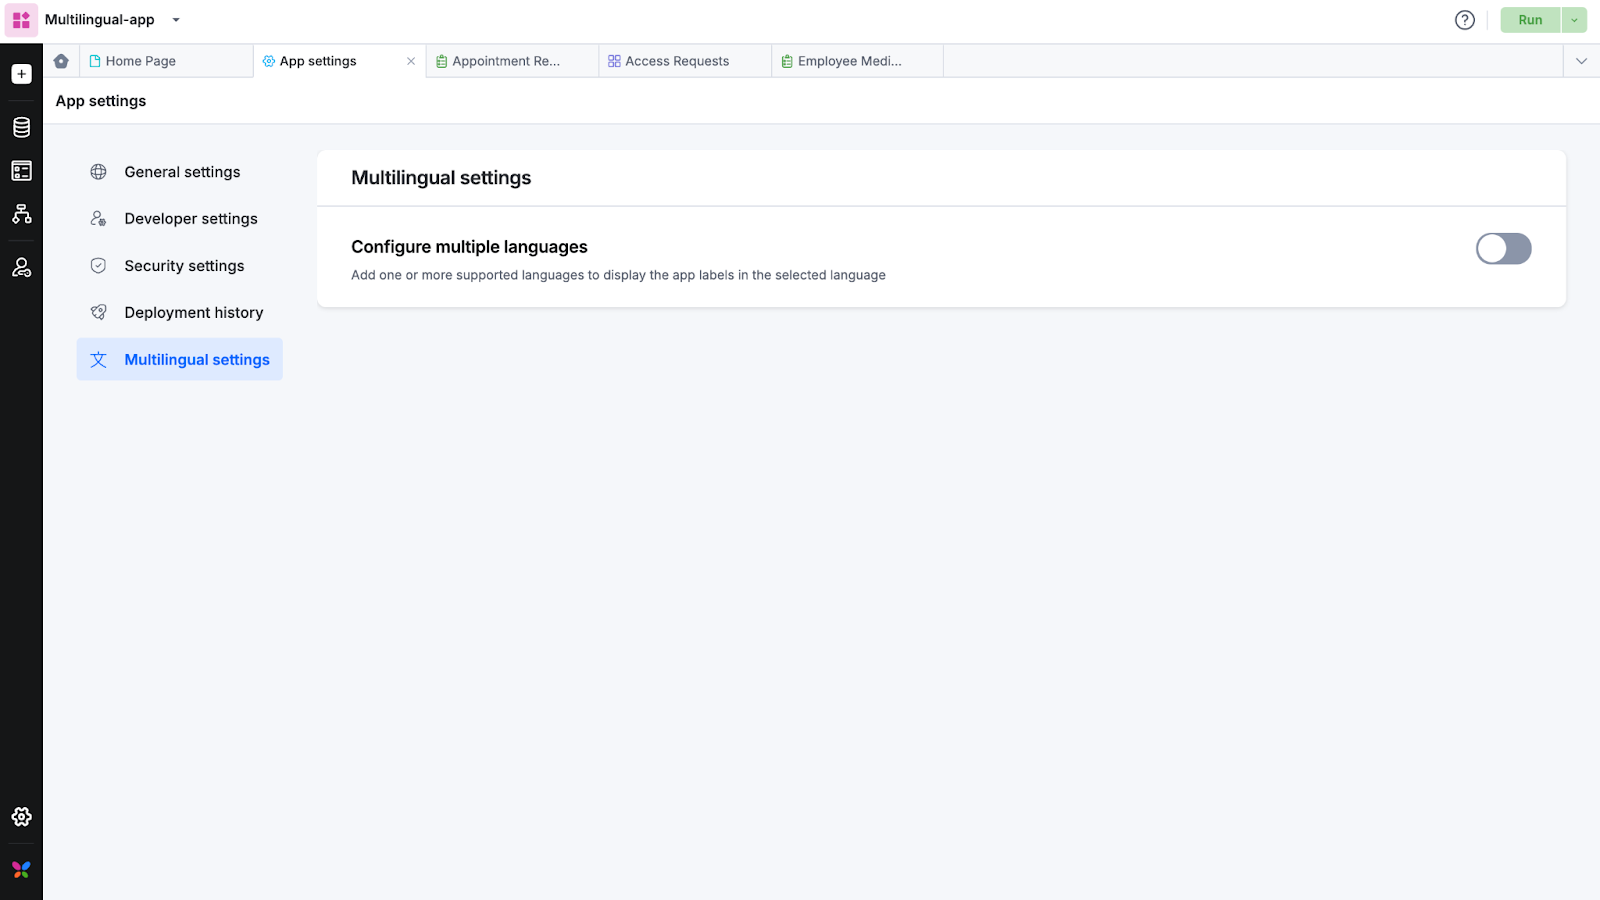
Open an app, go to App settings, and click Multilingual settings.
Enable the Configure multiple languages option.
This option will trigger the process that will retrieve all the fields in the app in a compressed zip file. This file will be available for download on this page until you regenerate it again.
- If you add new fields or forms to your app after the last retrieval of this file click Run to apply the changes to the app and then click check for updates to generate a new file that includes all the newly added fields.
Manual translation
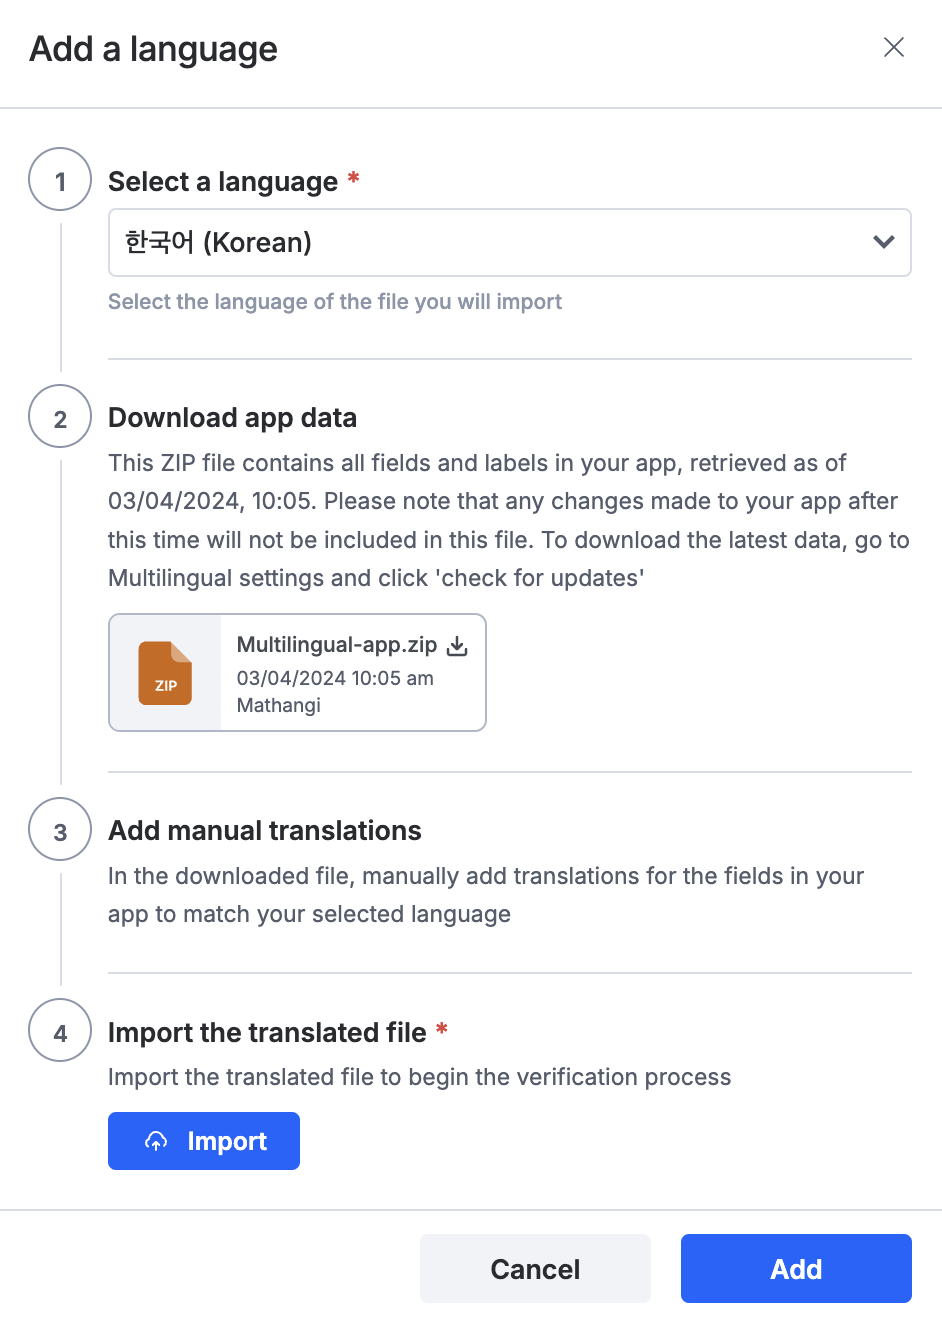
Under Languages, click Translate manually. In the popup that appears, select the language of your choice.
Download the zip file containing the app data.
In the downloaded file, manually add your translations for the fields.
Click Import to upload the translated file. The system will verify for issues in the zip file, and if there are no errors, you can click Add to add the manually translated file.
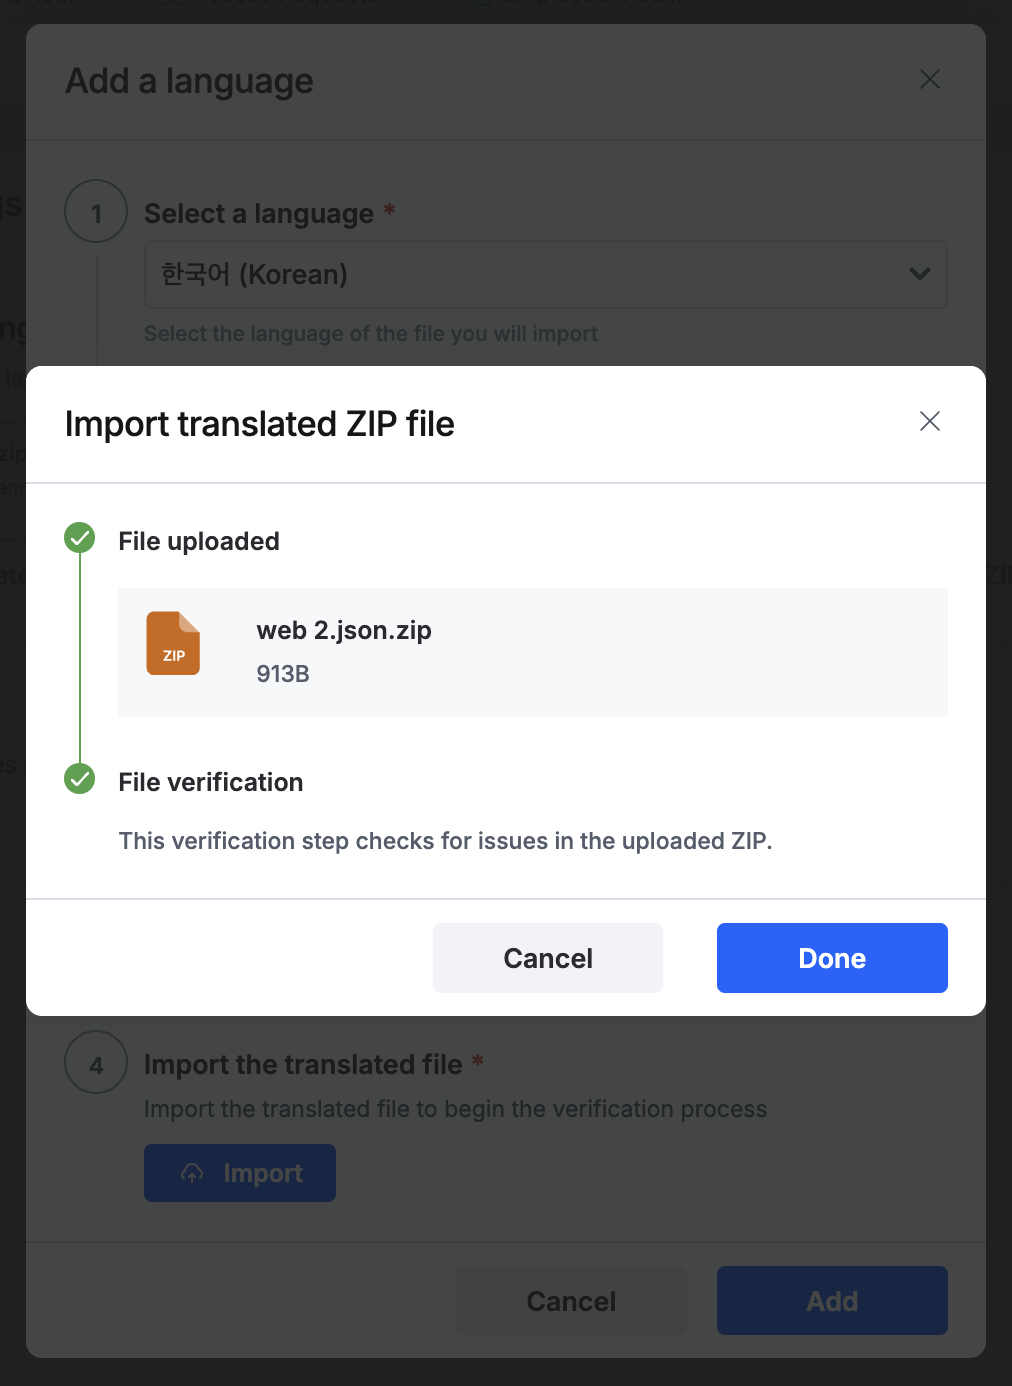
Note: File verification can fail if the following scenarios are not satisfied:
The zip file must contain only a JSON file within.
The title of the JSON must be 'web.json' and written in lowercase.
There must be no spaces between characters in the JSON file name.
Automatic translation using AI
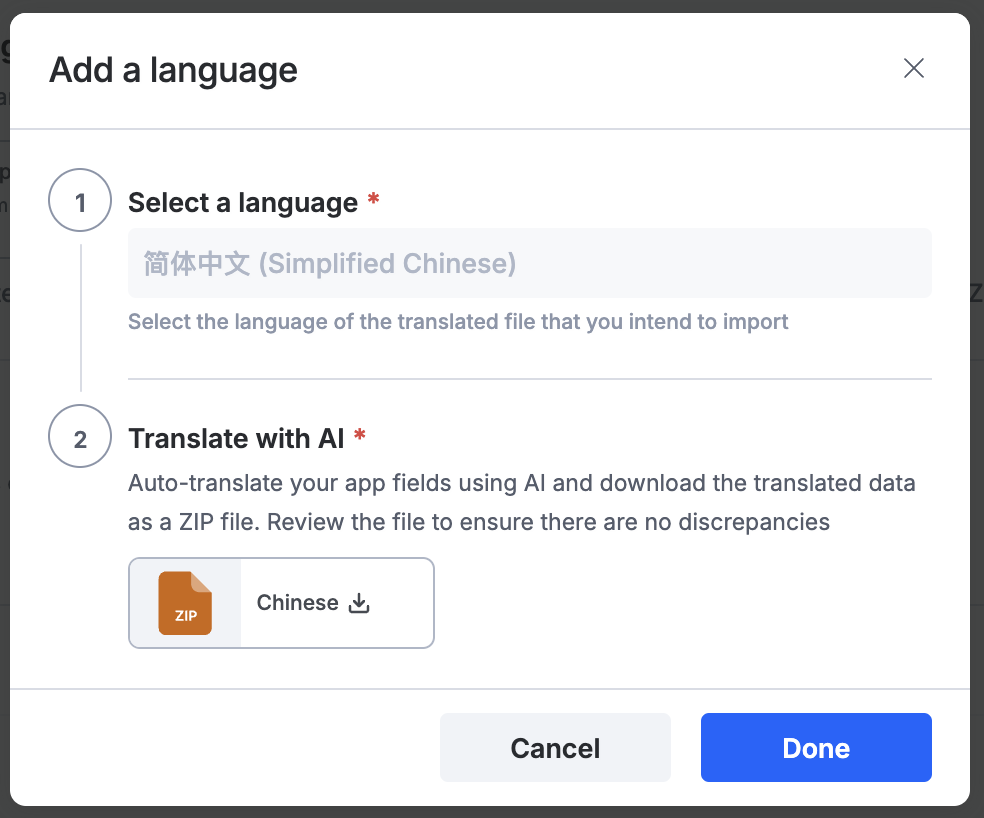
Under Languages, click Auto-translate.
In the popup that appears, select the language of your choice, click Auto-translate, and Done when it is complete.
All the available fields will be auto-translated using AI and added to the languages list.
Under Languages, you can see the list of languages enabled and other details like how many fields have been translated and uploaded by which user.
Replace and retranslate
Click the More Actions icon (
Replace file
If you want to modify the translated fields, download the file from the menu, edit the JSON locally, and upload the revised version as a zip file using the Replace file option. The abovementioned file verifications take place at this step as well.
Retranslate with AI
You can also use the AI translation feature to retranslate the manually translated fields. This operation will translate any field that is left untranslated during earlier attempts but will not overwrite existing translations.
Under more actions, click Retranslate with AI.
In the popup that appears, click Retranslate. Once the process is complete, the existing translation will automatically be replaced.
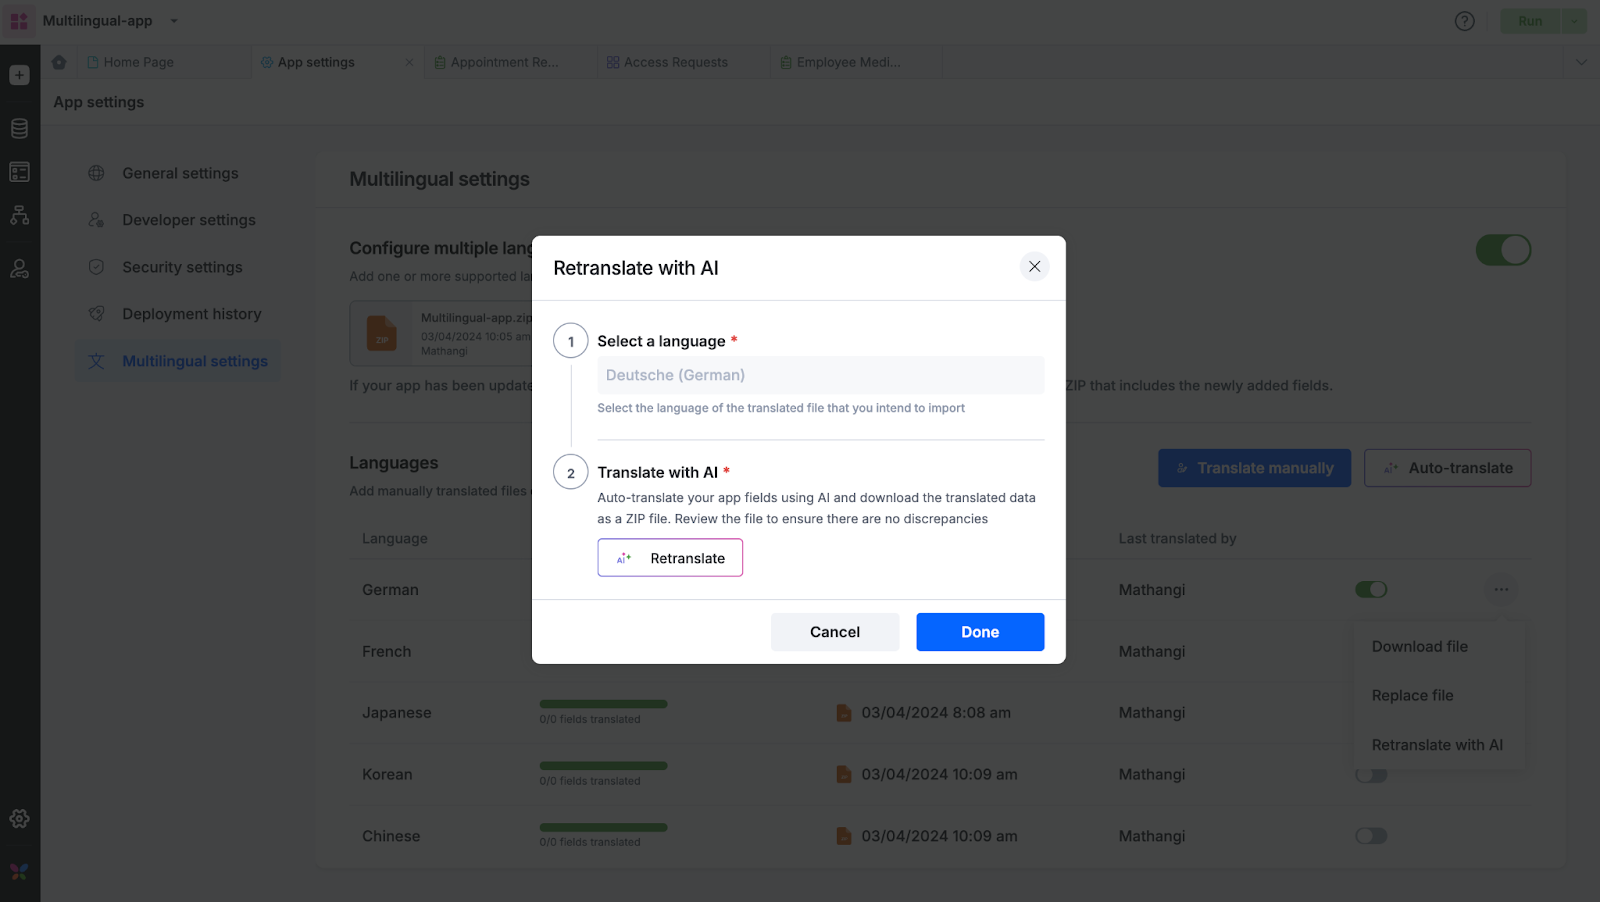
Note: The selected language cannot be changed at this step.
Multilingual translations for Apps
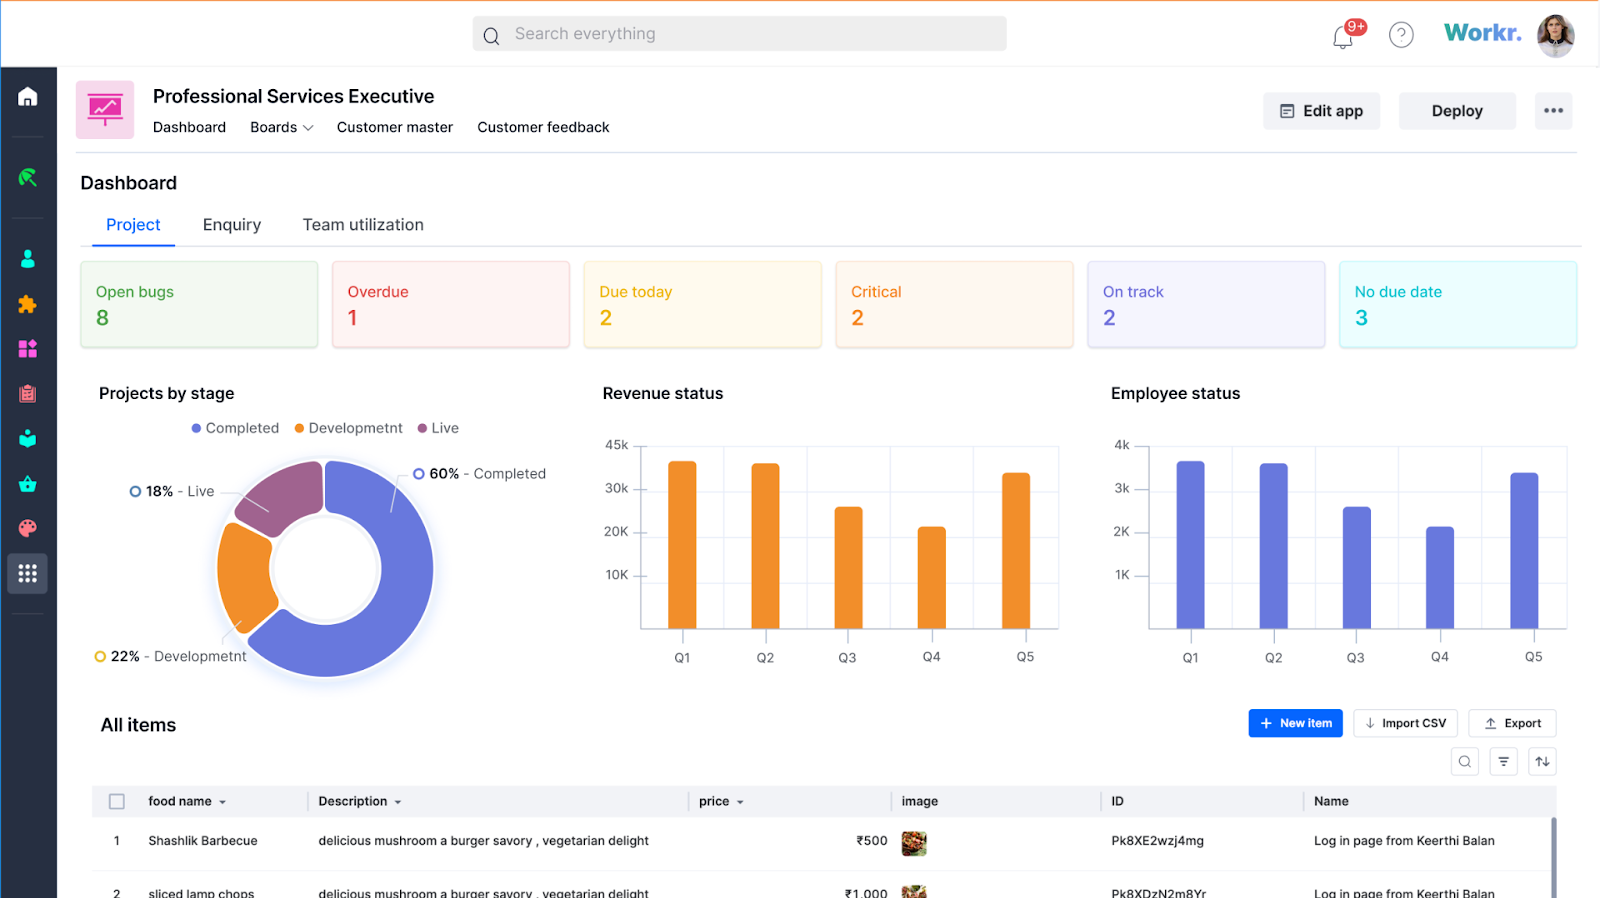
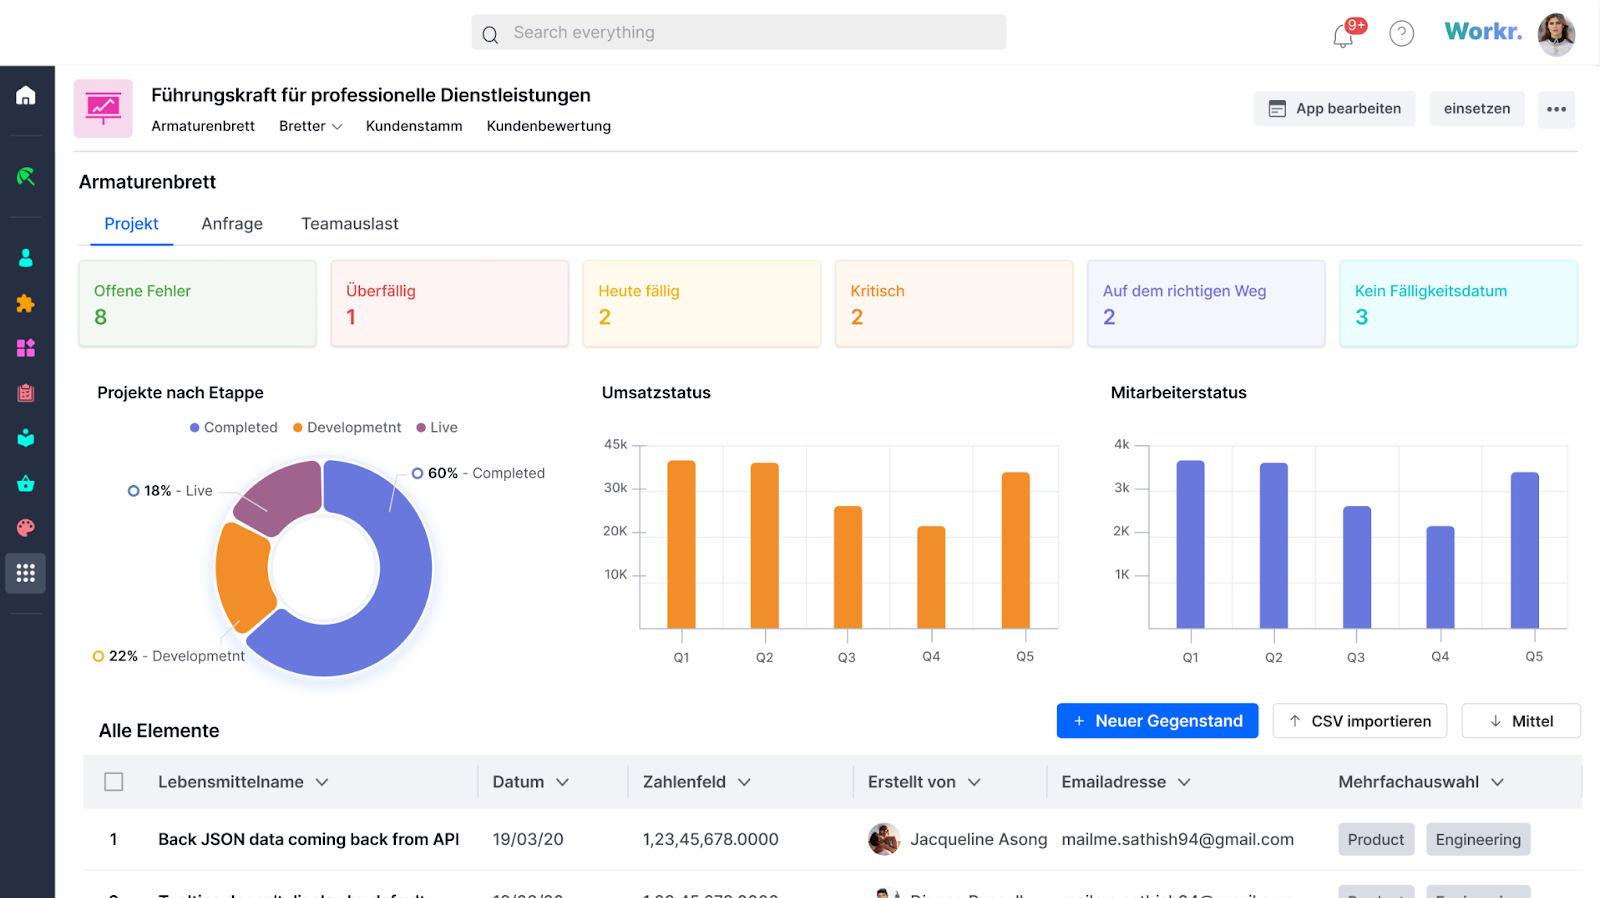
Once the app is deployed, users can view the fields in the language selected in their profile if the same is also enabled for the app under Multilingual settings.
For Portals and public forms within apps, end users will have a dropdown with a list of languages enabled in the Multilingual settings. From here, they can select the required language and view the portal or form in it.
Disabling multilingual settings
If you no longer wish to support multiple languages for your app, portal, or public forms, you can disable individual languages or all the languages using the toggle buttons in the settings page. You can enable the settings again at any time, but if you have added any new fields in the meantime, click Run to apply the changes to the app and click check for updates to get the updated zip file for further translation.