
 User guide
Notifications in apps

You can create and customize notifications in the development environment of an app to stay informed about important updates or ensure timely communication within your team.
You can also select the notification channels (email, web app, and push) through which you want to receive notifications by clicking the More options button () > Notification channels.

There are two types of notifications available within Kissflow Apps:
Item notifications - These notifications are related to item transactions of any process, board, or dataform within the app. You can create and customize item notifications apart from the predefined notifications to ensure that you stay updated on relevant activities and changes.
App management notifications - These are app-level notifications that are specifically designed for app developers and intended to provide them with important updates and notifications related to managing apps. They can only be toggled on or off.
Note:
You cannot customize notifications in the testing and production environments, but can only toggle them on or off.
If you have made any changes to the notifications, you must re-deploy the app for the changes to reflect in the production environment.
Creating item notifications
To create an item notification inside apps,
Click the Settings button (
) located in the left panel of the app and click Notification settings.
Click + New notification to start creating a new notification.
Select flow type and flow - Choose the type of flow (process, board, or data form) for which you want to create the notification and click Next.

Configure details -
Select the notification event and conditions for triggering the notification.
Select recipients to whom the notification should be sent. Click Next.
Note:
If there’s a user field type in the form and a user has been selected, the user’s name will be shown in the recipient drop-down box.
Note:
Changing the notification event after configuring the conditions and recipient will reset those configurations.
5. Customize and preview long and short content -
Long content is for email notification channels where you have a large space to convey information comprehensively and provide more details for recipients to understand the notification fully. This has a character limit of 500.
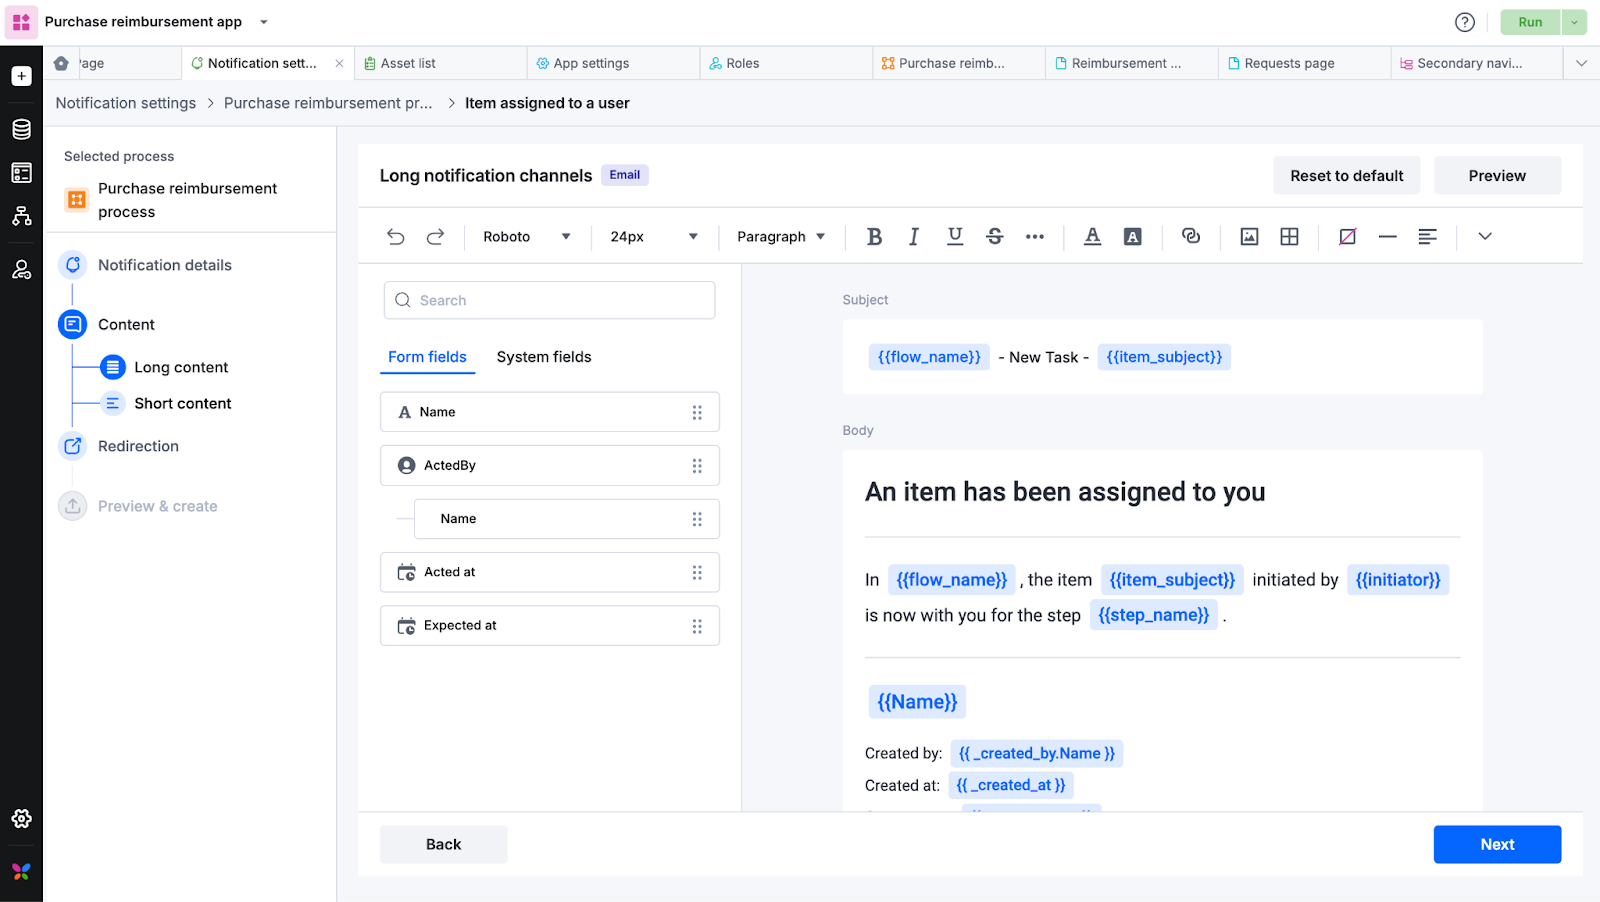
Short content provides a concise summary or snippet of the notification message ideal for channels like web app and push notifications, where characters are limited to 300.
Click Next.
6. Redirection - Choose the app page or popup that should open upon clicking the notification.

Optionally, you can select System default to redirect to a default page.
Click Next.
7. Preview - Have a preview of both long and short notifications, and click Create. In the popup that appears next, you can choose to change the system-generated notification name and give a desired name.
