Field settings
You can select the field in the editor, access its settings by clicking the Gear icon ( ) or modify its settings directly from the Field properties panel.
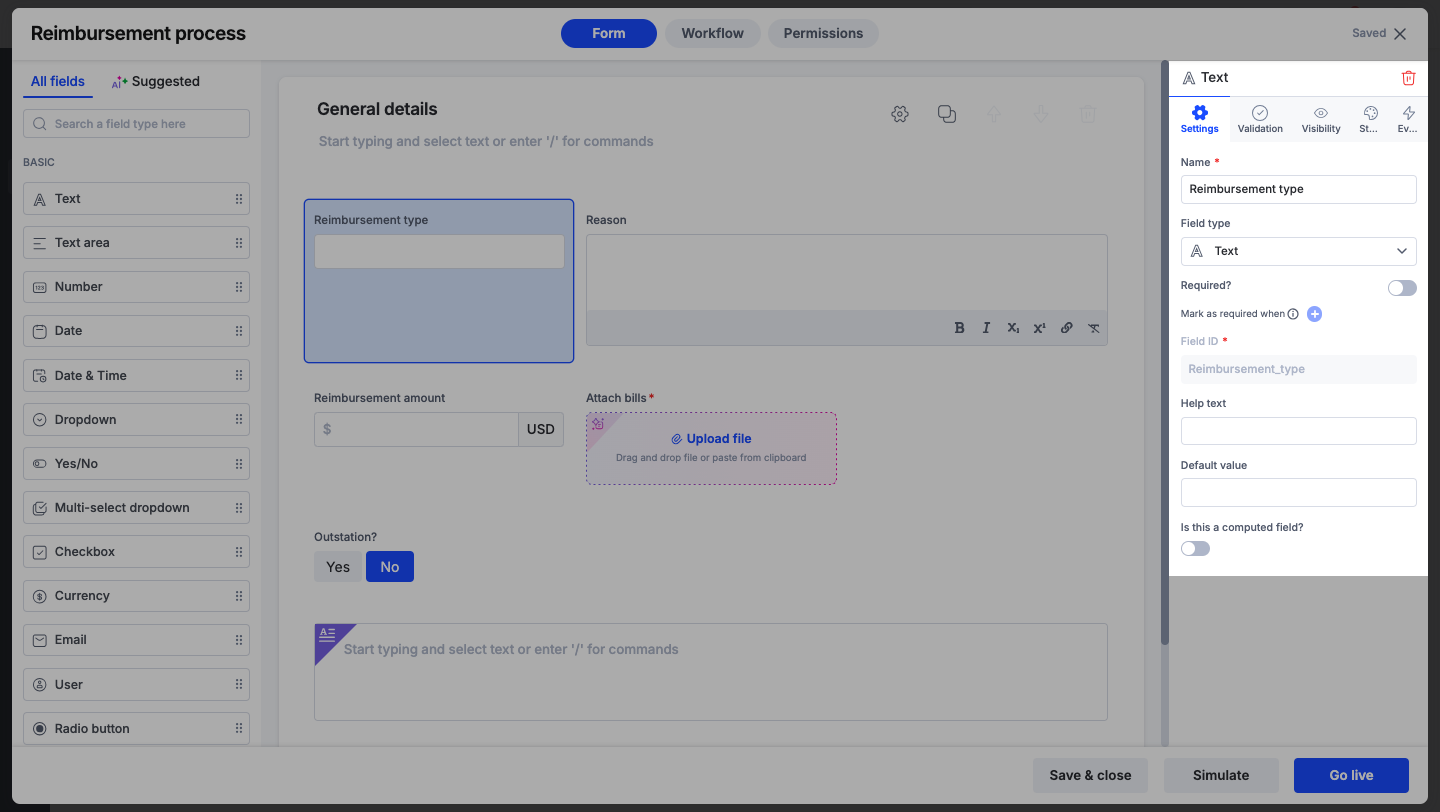
Name and Field ID
Enter the name of the field under Name. It is a mandatory field. The field type is the field's data type. It denotes the nature of the data that's stored in the field. Learn more about field types here.
The field ID is a unique string mapped to the field automatically. You'll need it when creating expressions.
- Kissflow will automatically assign a field ID that is identical or similar to the field name.
- You can customize the field ID when creating the field, but you cannot change it after publishing the form.
- Field IDs cannot have spaces. Underscores will be added automatically if you press the spacebar.
- There are a few restricted names like Status that you cannot use as the field ID.
Required
When you mark a field as required by enabling the Required? toggle, it must have a value at the first step where it becomes editable.
For example, if a field is required but hidden in the first two steps and only becomes editable in the third, the error message will appear at the third step if the field is left empty.
Note:
Required fields will have a small red asterisk beside them on the live form.

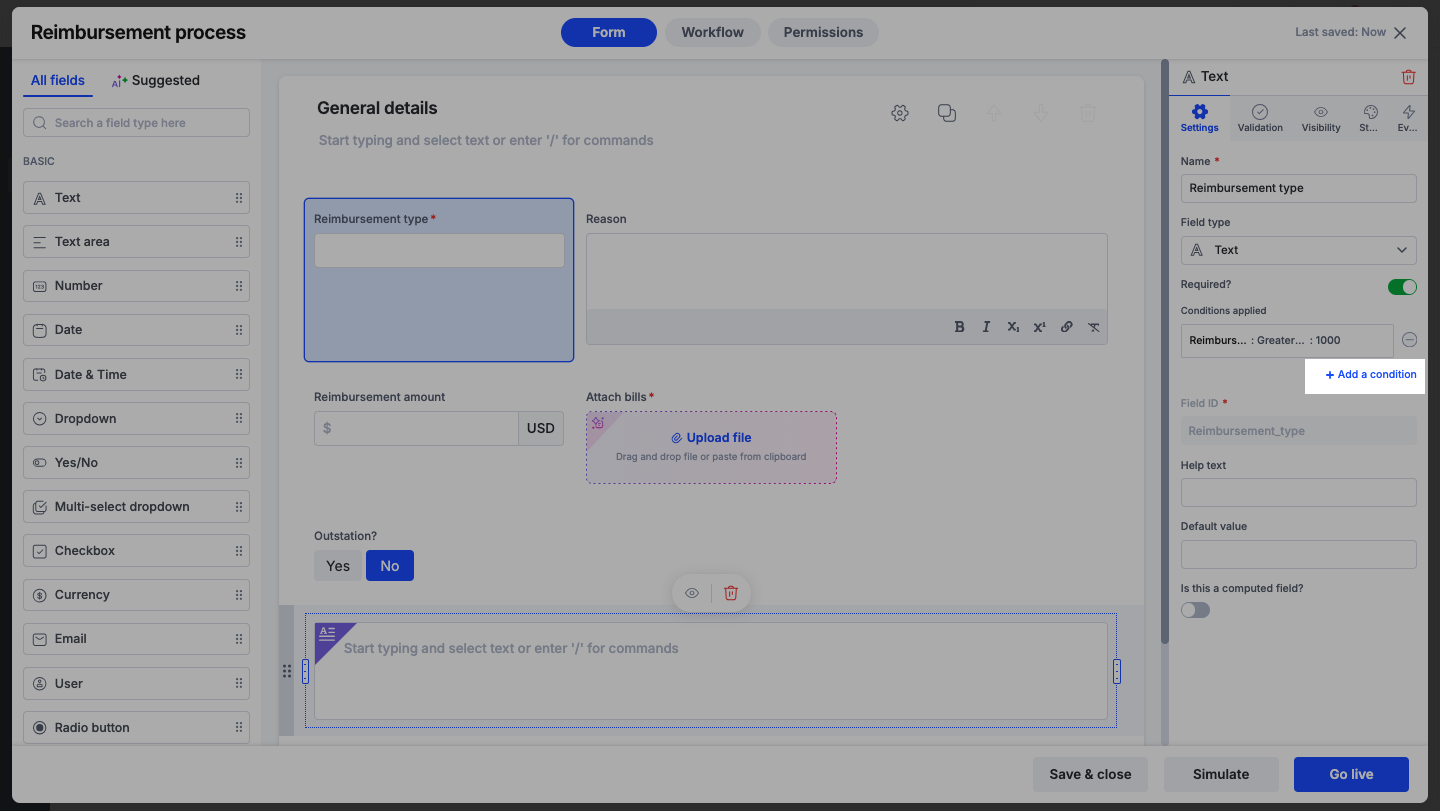
Adding conditions to required fields
You can mark a field as required based on specific conditions using values entered in other fields.
To set this up:
Turn on the Required? toggle for the field.
Click the + icon next to Mark as required when. The Add conditions popup will appear.
Add the conditions that should trigger the requirement.
You can set multiple conditions and choose whether all must match (Match all) or any one (Match any).
Click Done to apply the condition.
For example, you can configure the Attach bill field to be required only when the Reimbursement amount is greater than $1000. This helps keep the form clean for smaller transactions while enforcing data collection for larger ones.
Adding more conditions
To add more conditions at any time, go to the field’s settings. Below the list of existing conditions, click + Add a condition. The Add conditions popup will appear, where you can define the required conditions.
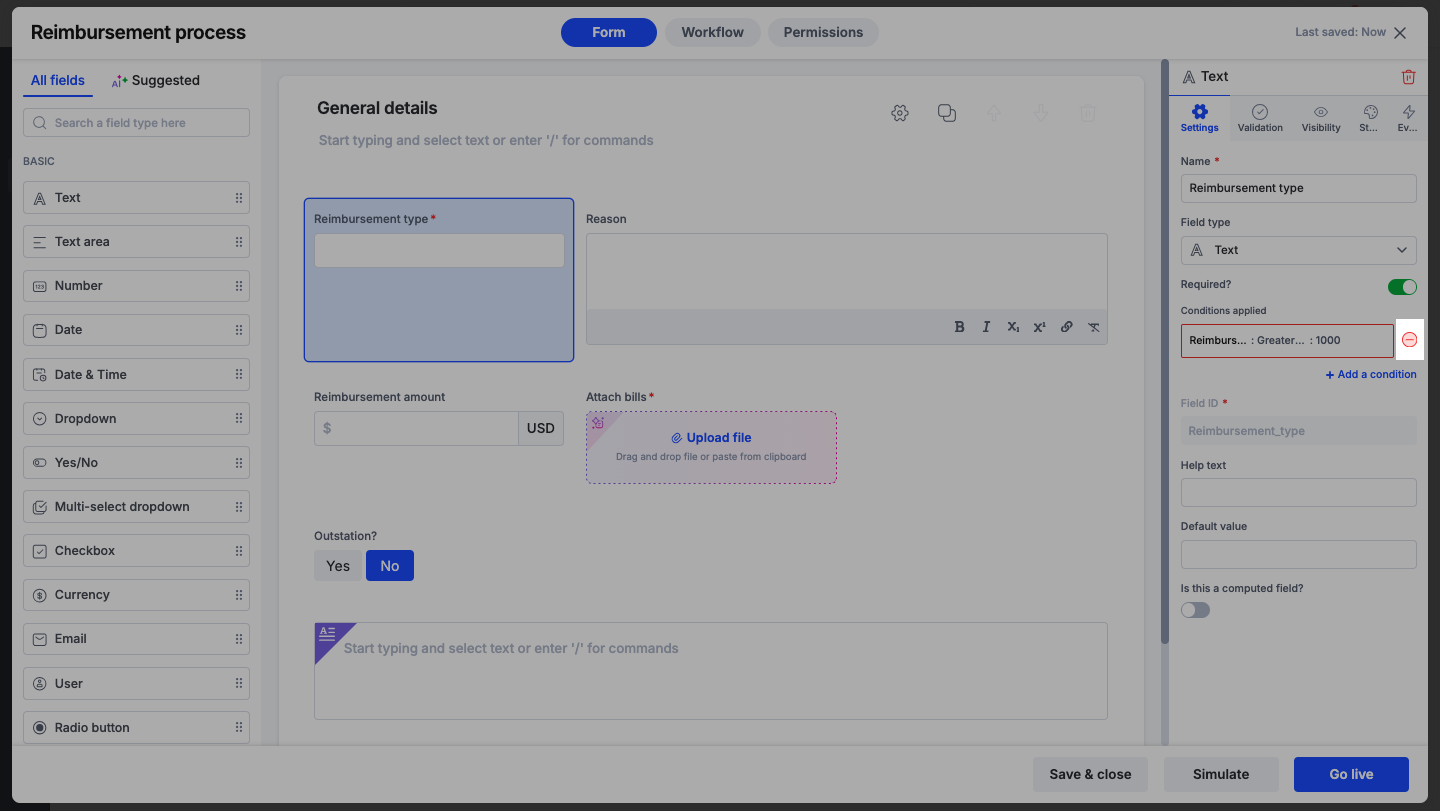
Removing a condition
To remove a condition, simply click the remove (-) icon next to the applied condition.
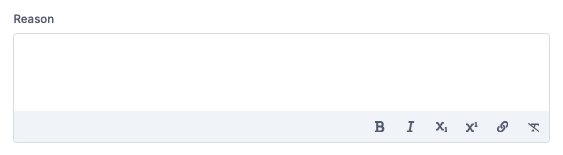
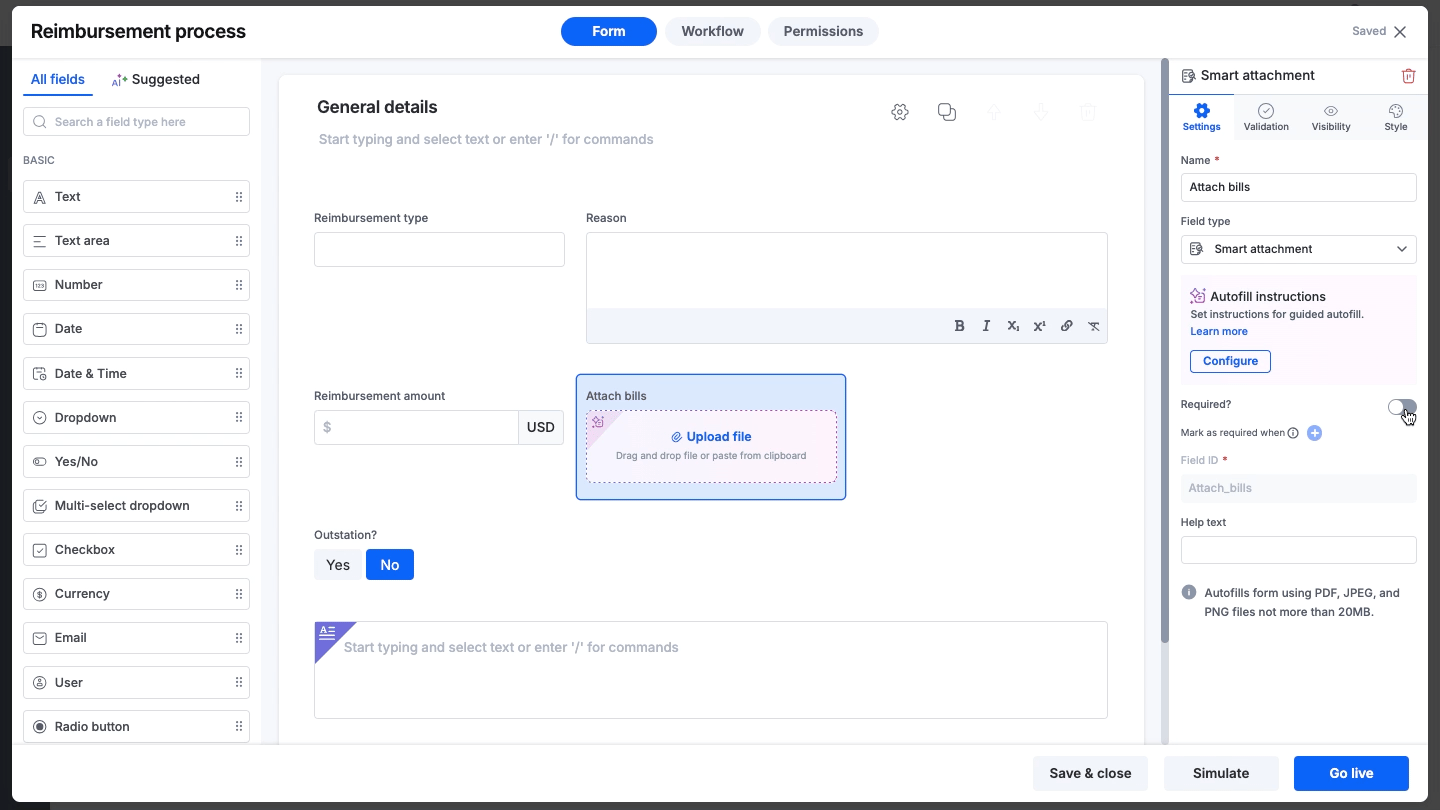
Help text
Help text appears underneath the field and helps users know what to enter.

Default value
This is a placeholder value that displays in the field before a user enters any information.
Computed field

Some fields allow you to use an expression to load data onto the field. Learn more about expressions.
Field type
There are 20 different types of fields to use on your form. Each field is strongly associated with a certain data type. The data type is very important if you are going to use it in any expression. The field type also determines if you can have a default value, and what validations and appearance options you have.
Name |
Data type |
Usage |
Example |
Default value? |
Expressions? |
More info |
Text |
Text |
Enter a short amount of data on a single line. |
|
Y |
Y |
|
Text area |
Text |
Enter a larger amount of formattable data on multiple lines. |
|
N |
N |
|
Text |
Collects valid email addresses. |
|
Y |
N |
||
Number |
Number |
Enter only numbers. |
|
Y |
Y |
Uses commas for thousands, millions |
Currency |
Number |
Enter a number displayed as currency. |
|
Y |
Y |
|
Date |
Date |
Pick a date. |
|
Y |
Y |
Formatted based on your locale |
Date & Time |
Date |
Pick a date and time. |
|
Y |
Y |
Based on your timezone |
Yes/ No |
Boolean |
Choose yes or no. |
|
Y |
N |
|
Image |
None |
Upload and view an image. |
|
N |
N |
|
Rating |
Number |
Give a rating of 1-5 stars. |
|
Y |
N |
|
Dropdown |
Text |
Select one option from a list. |
|
Y |
N |
|
Checkbox/Multi-select checkbox |
List |
Select more than one option from a list. |
|
N |
N |
|
Slider |
Number |
Select a number on a slider. |
|
Y |
N |
|
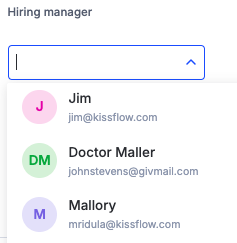
User |
User |
Select a user in your system. |
|
N |
N |
|
Checklist |
List |
Check off items. |
|
N |
N |
|
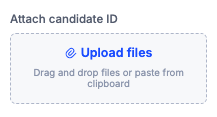
Attachment |
Attachment |
Attach files. |
|
N |
N |
|
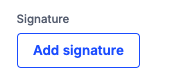
Signature |
Image |
Draw your signature. |
|
N |
N |
|
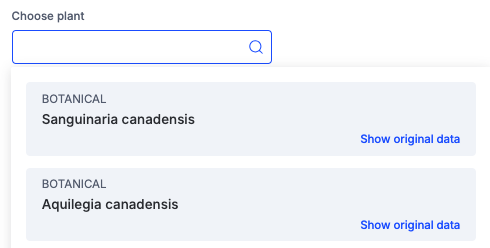
Lookup |
Reference |
Select items found in other flows. |
|
N |
N |
|
Remote lookup |
Text or JSON |
Retrieve real-time data from a third-party system. |
|
N |
N |
|
Rich text |
None |
Add static formatted text and media to your form. |
|
N |
N |
|
Aggregation |
Text or Number |
Aggregate table data. |
|
N |
N |
|
Sequence number |
Text |
Add a recurring serial or sequence number to each item in your process. |
|
N |
Y |