
Oracle NetSuite connector
Oracle NetSuite is a cloud-based suite of business management applications, including Enterprise Resource Planning (ERP), Customer Relationship Management (CRM), and more, catering primarily to small and medium-sized businesses (SMBs).
About Kissflow's NetSuite integration
The NetSuite connector of Kissflow Integration facilitates the seamless connection and synchronization of NetSuite modules with various third-party and Kissflow apps. To integrate with NetSuite, users must possess a valid NetSuite account and be a paid Kissflow customer.
Let’s assume you are managing a B2B clothing business. With Kissflow's NetSuite integration, you can automate processes such as updating a purchase request in NetSuite whenever a sale has been finalized with a customer. This integration is achieved by utilizing the webhooks trigger in Kissflow and configuring the NetSuite connector as the action.
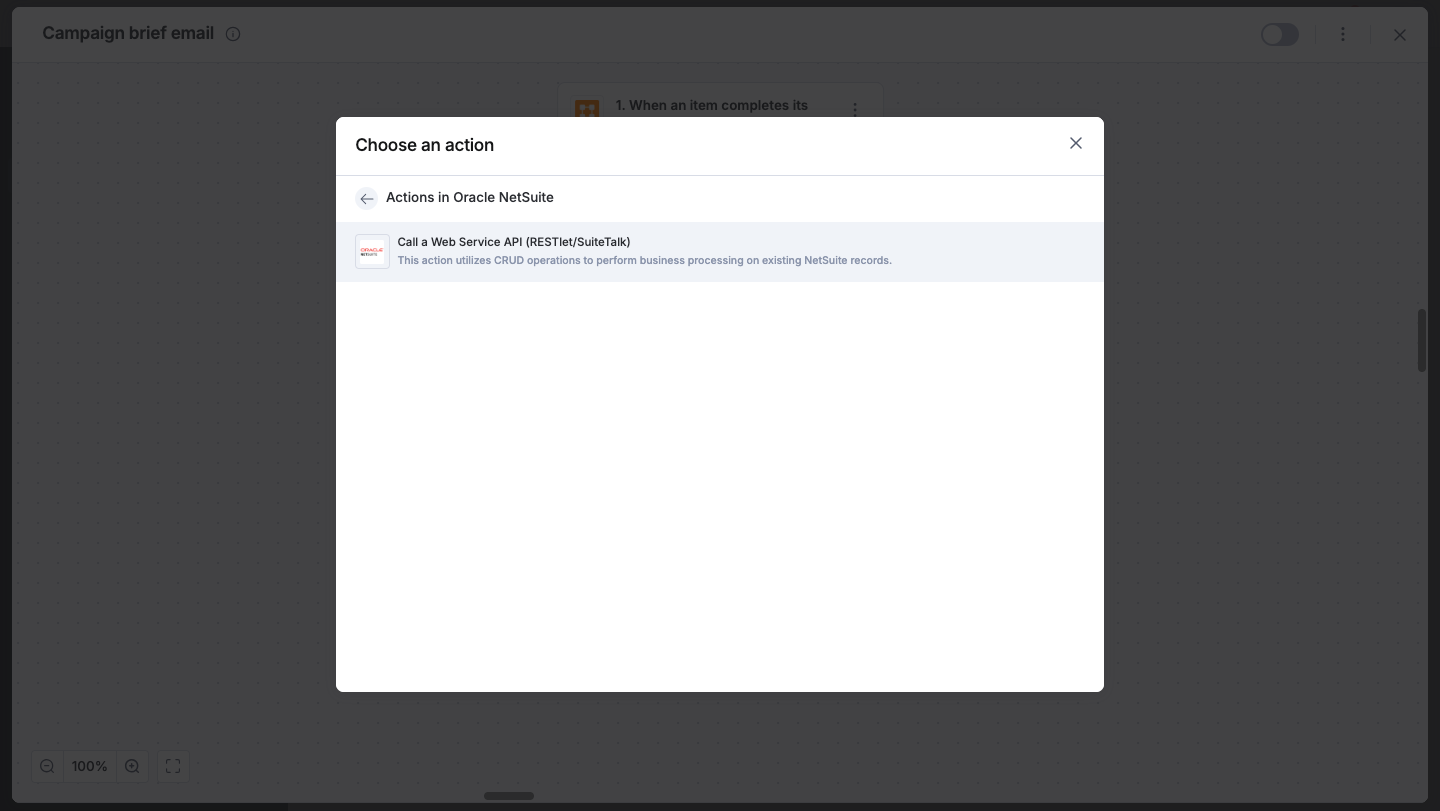
Actions in NetSuite connector
Action |
Description |
Call a Web Service API (RESTlet/SuiteTalk) |
This action utilizes CRUD operations to perform business processing on existing NetSuite records. |
Setting up your NetSuite account
1. Setting up TBA Authorization Flow: Log in to your NetSuite account and click Setup > Integration > Manage Integrations > New. Specify the integration details and under Authentication, enable TBA Authorization flow.
2. Adding Callback URL to the Application: Add the following callback URL to the integration https://accounts.kissflow.com/integration/2/Account001/connection/Co8sTsibVz7b/1.0.0/auth/oauth1/callback
3. Completing NetSuite setup: Note down the Consumer Key and Consumer Secret and click Save. You have successfully created an integration inside NetSuite.
Setting up an integration in Kissflow
1. Authenticating your NetSuite account inside Kissflow: To authenticate your NetSuite account within Kissflow you need the below details
Account ID: It is found in the beginning of your NetSuite accounts URL. For example, if the URL is https://1234567.app.netsuite.com/, your account ID is 1234567
Realm ID: The realm ID is the NetSuite Account ID, Obtain your NetSuite account ID by clicking Setup > Company > Company Information. Please capitalize all letters and replace hyphens with underscores when entering the realm ID. For example, <67893>-sb1 should be entered as <67893>_SB1.
Consumer Key and Consumer Secret: Under client credentials, you will find the Consumer Key (client ID) and Consumer Secret (client secret).
2. Complete Authentication: Click +Add an account and fill in the required fields for authentication. Authenticate by logging in to the NetSuite account, choosing the role, and click Allow to complete the process. Kissflow uses NetSuite’s OAuth for authentication.
3. Select the desired NetSuite action which is Call a Web Service API (RESTlet/SuiteTalk) and configure the corresponding fields. Then, provide a valid REST API. For example, if you want to read a vendor bill, use the following endpoint: GET {{COMPANY_URL}}/services/rest/record/v1/vendorBill/{{id}}?expandSubResources=true.
Next, choose the appropriate HTTP method to perform the CRUD operation needed. If necessary, add query parameters and headers. In case you opt for the POST method, use the dynamic field to map the JSON payload. You can also map fields from your trigger step or previous action steps.
4. Click Next.
5. After a successful configuration, test whether your NetSuite action step is set up correctly by clicking the Test button. The connector will pull field data from your selected NetSuite account and display it as a JSON output. Errors are notified to you right away. Fix them before retesting the action step.
Executing the NetSuite connector
After creating a custom workflow with your NetSuite connector's action steps, switch ON the toggle button to activate the integration run. Once a trigger event occurs, the selected NetSuite action is activated and changes are reflected in your NetSuite account.
To ensure your integrations are properly configured and tested, review our best practices guide for tips on building robust and maintainable solutions.