
Create a custom action via Smart link
When a native connector is unavailable for your preferred application, Smart link bridges the gap. By leveraging AI, Smart Link translates plain-English descriptions into fully functional custom actions, ensuring your workflows remain uninterrupted.
Creating an action via Smart link
Initiate Smart link
Click the (+) icon in the integration builder to add a new step.
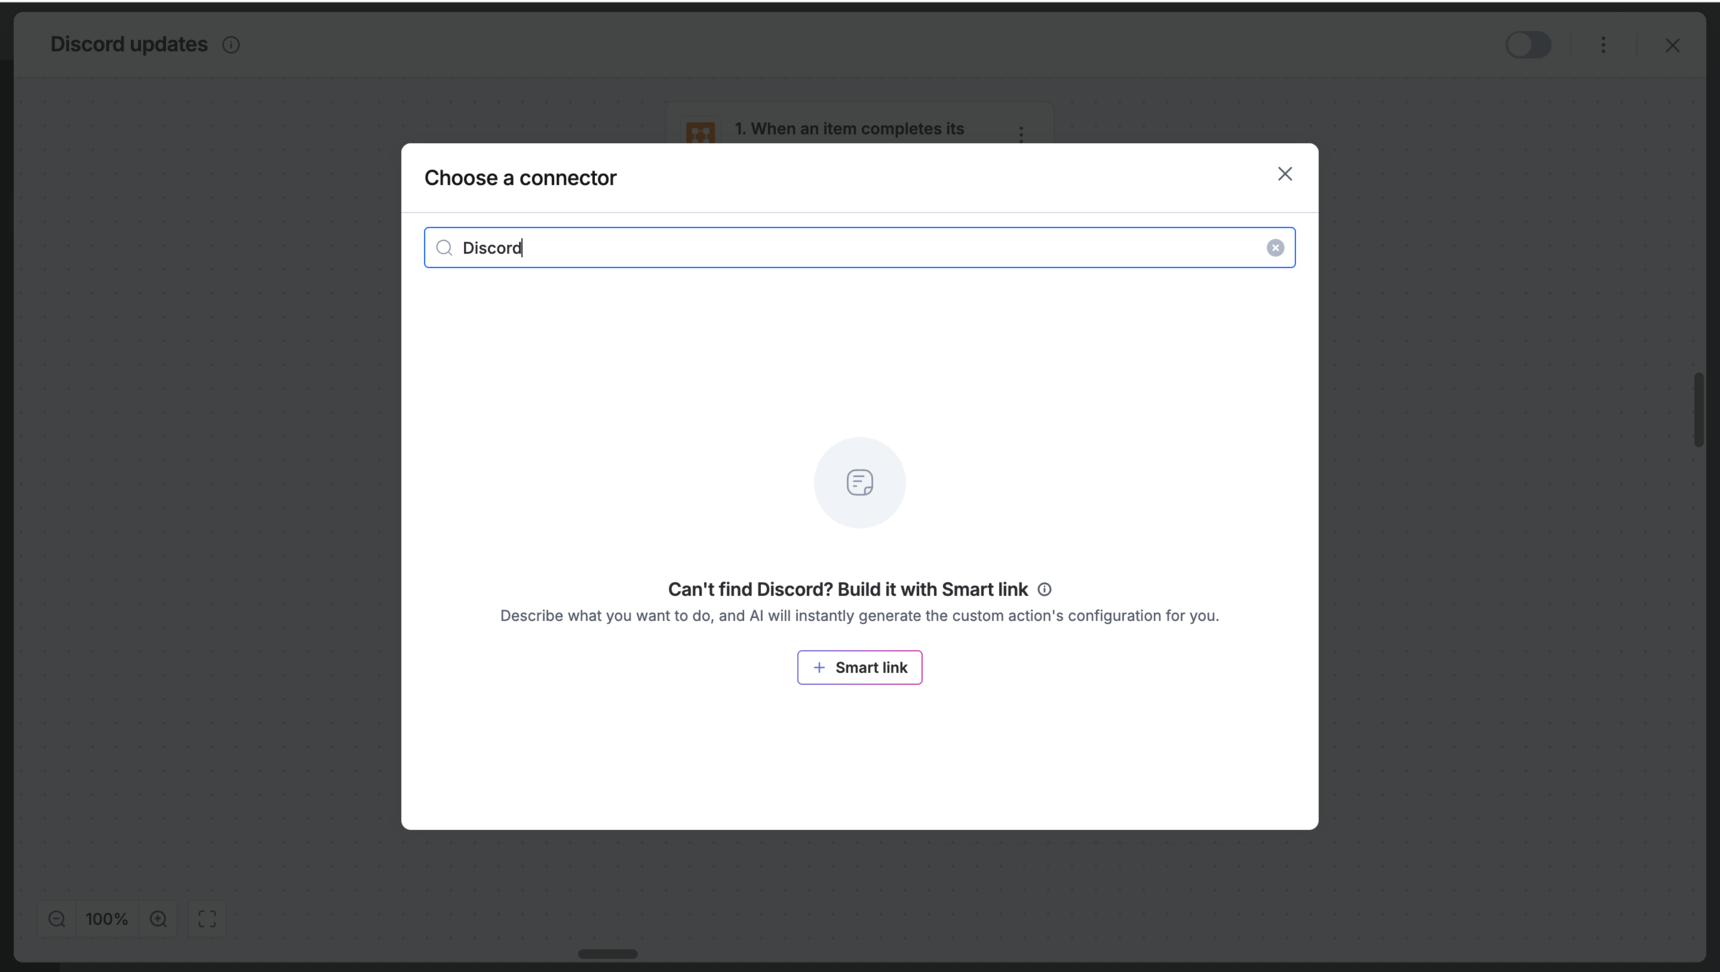
Search for the app name (For example, Discord).
If no connector appears, click + Smart link at the bottom of the popup window.
Note
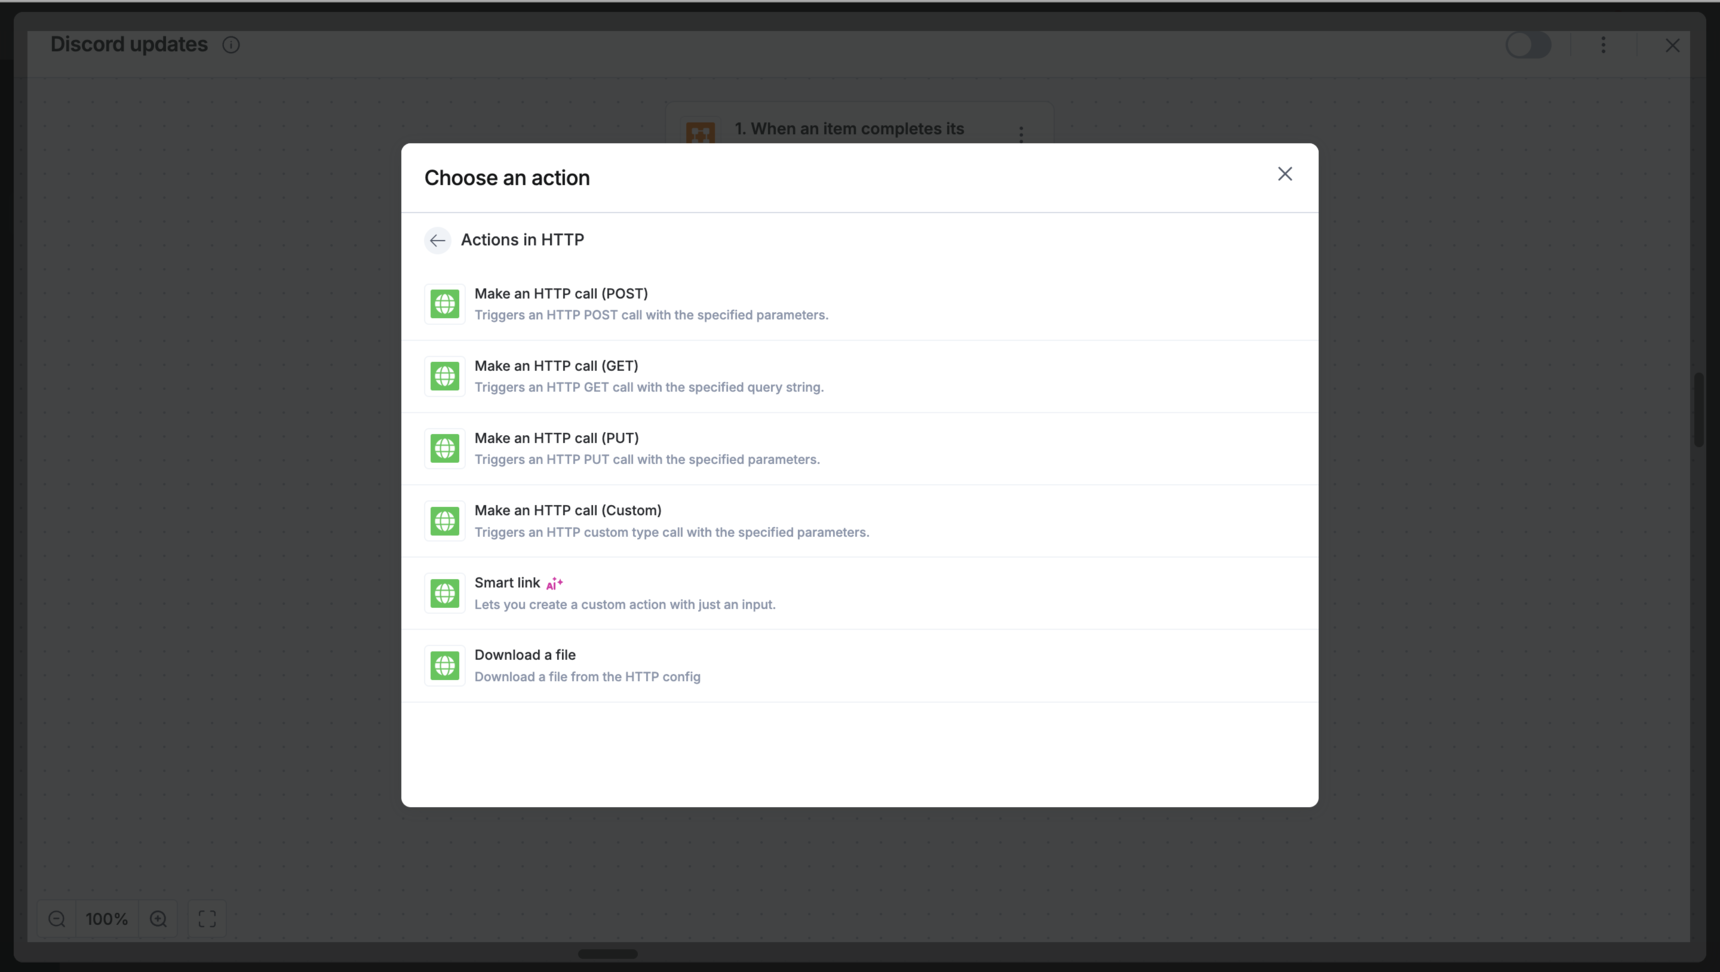
Alternatively, you can also find Smart link under HTTP connector in the connector list.
Describe and generate the action
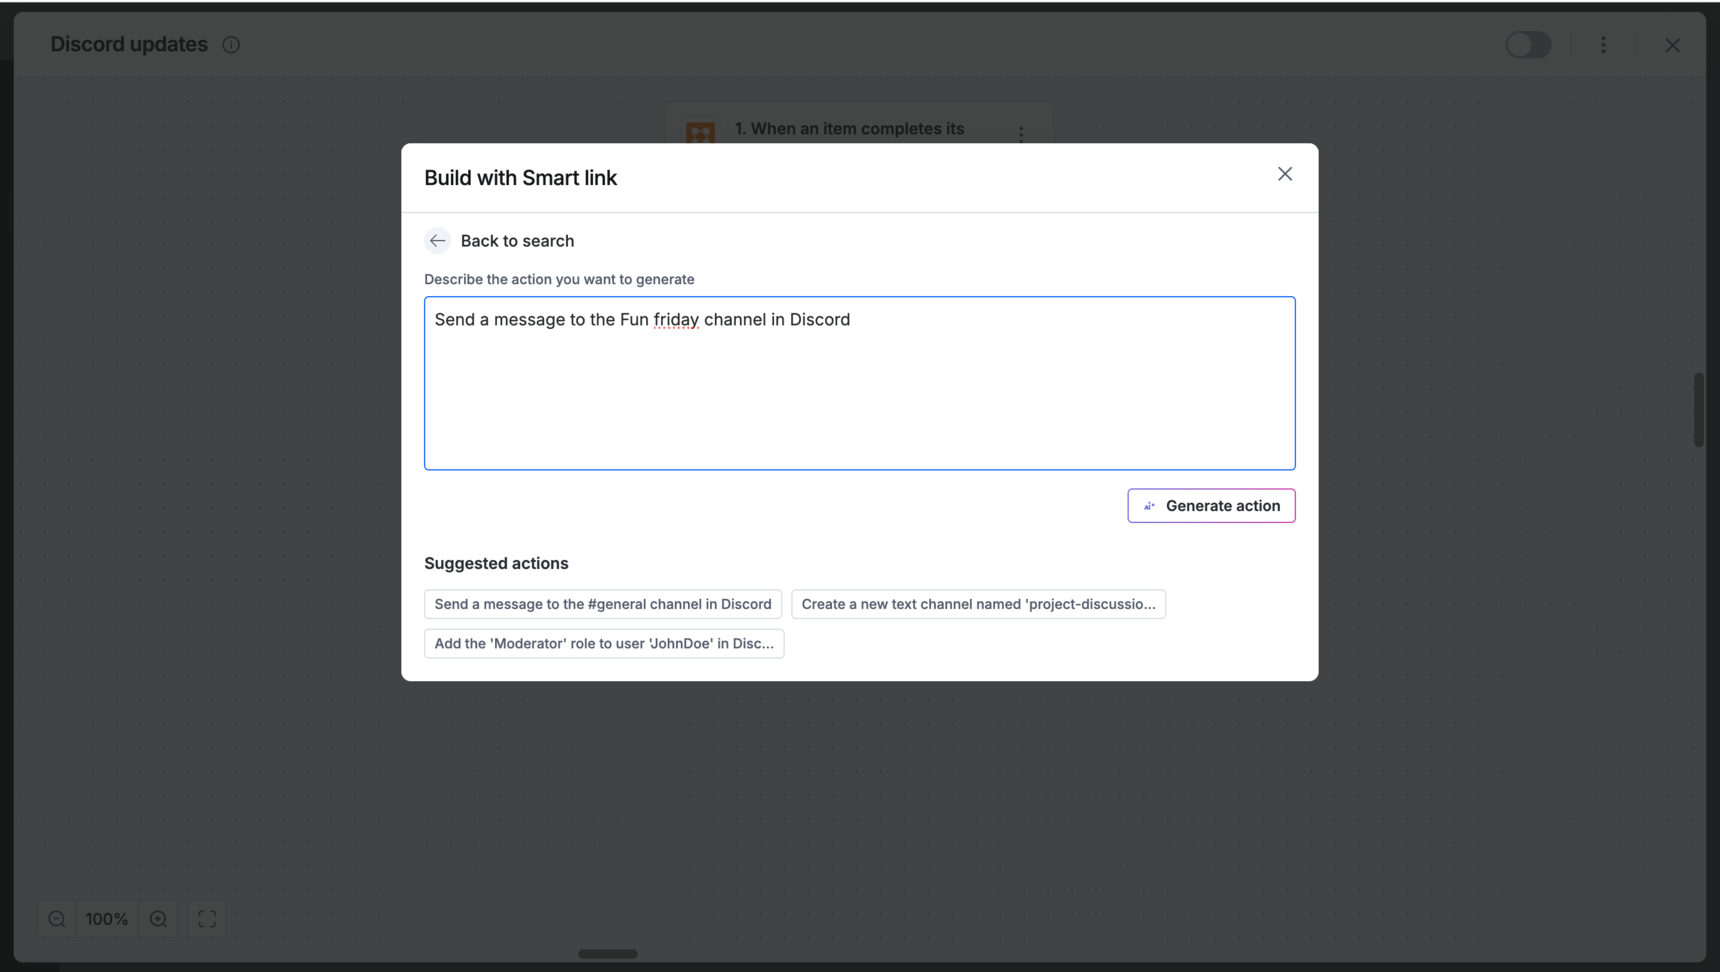
Define the action: In the input box, describe your goal in plain English. For example, Post a message to a Discord channel.
Use suggestions: Alternatively, you can also select a recommended action provided below.
Click Generate action.
Review technical configuration
AI will automatically populate the necessary technical details:
Method: Such as POST, GET, PUT.
Endpoint URL: The specific API destination.
Payload: The data structure to be sent.
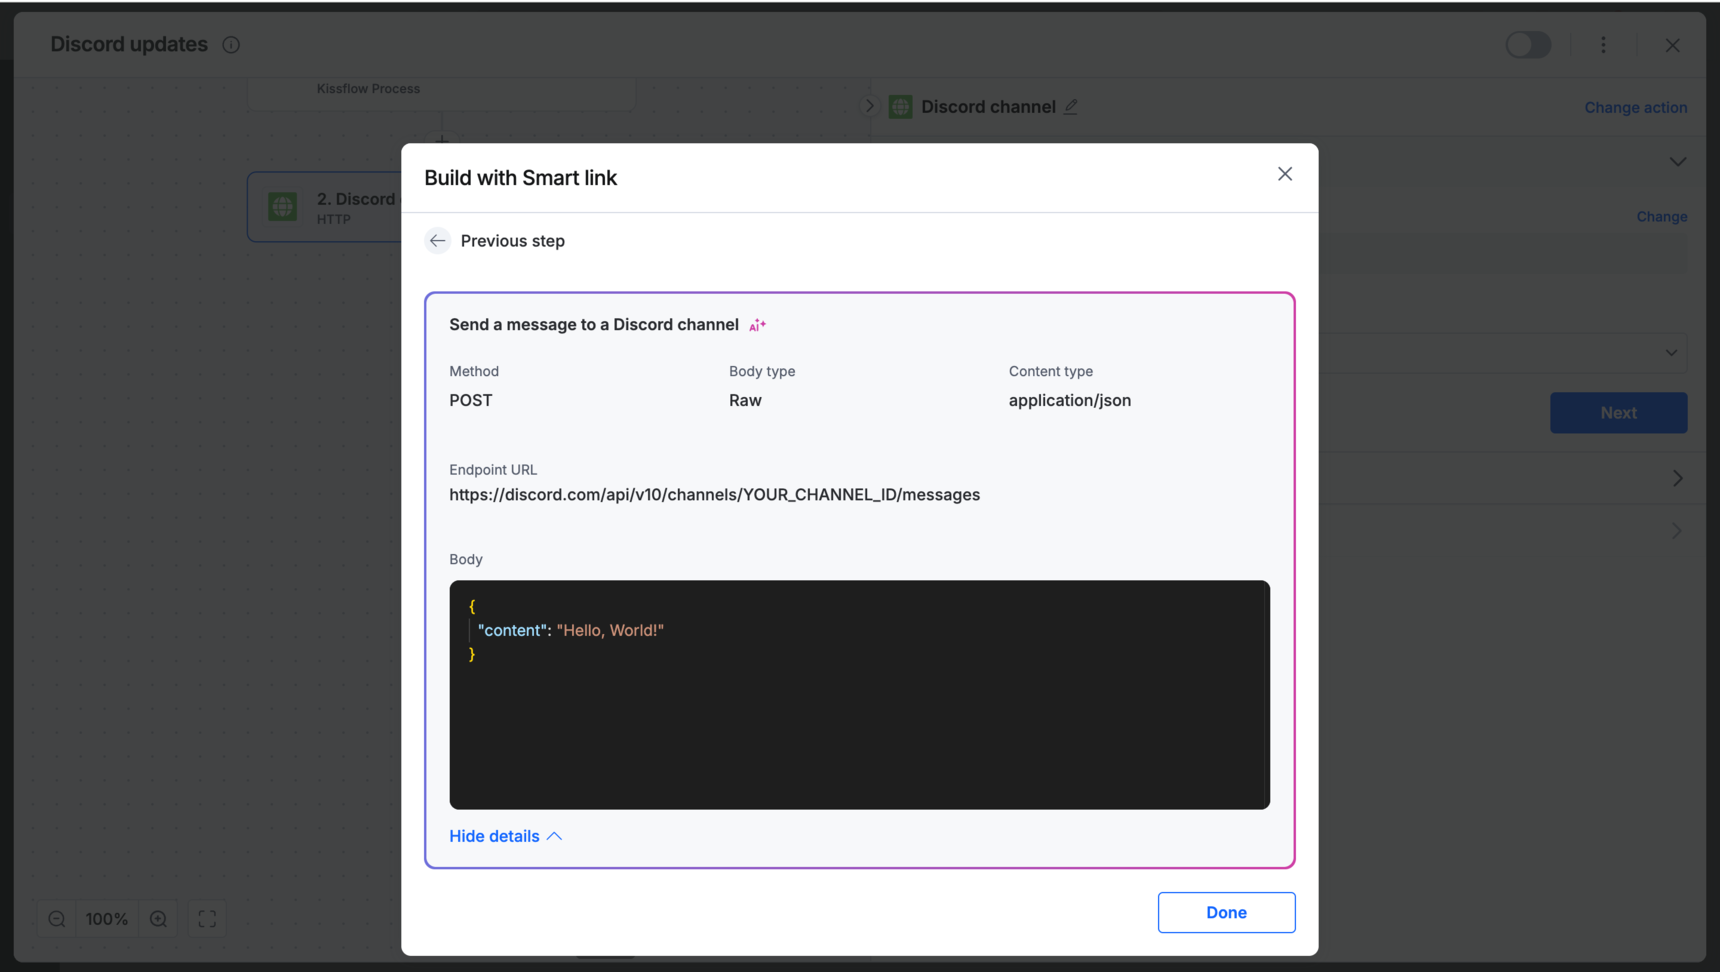
You can select Show request details to review advanced headers or parameters. Click Done to add this as an HTTP action step.
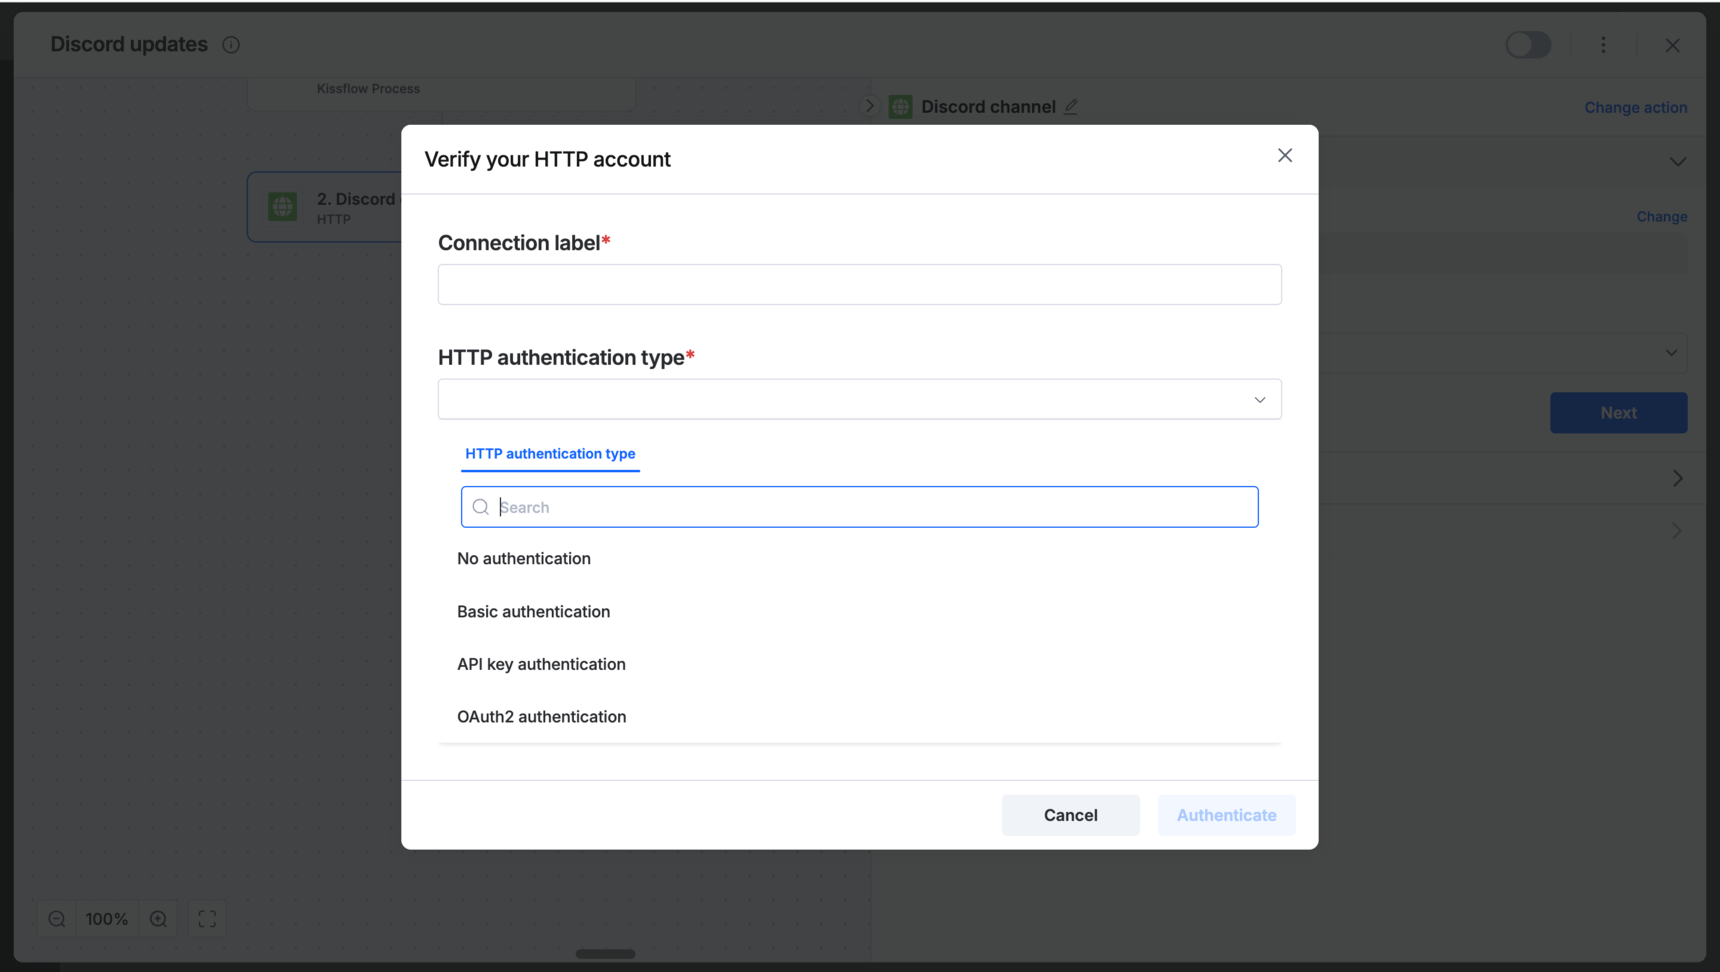
Authenticate the connection
To allow Kissflow to communicate with the external app, choose one of three authentication methods:
No authentication: Doesn't require any authentication.
Basic authentication: Requires you to enter a username and password.
API key authentication: Requires a unique, long string of characters, a key, provided by the external app to identify requests.
OAuth2 authentication: Requires you to supply details like:
Access token: Used to authorize and authenticate while gaining access to resources on the OAuth provider application.
Callback URL: The Kissflow URL to which the redirection happens after a successful authorization. This will be auto-populated and can't be modified.
Authorization URL: The API authorization endpoint of the OAuth provider.
Access token URL: The endpoint for authorization server. This is used to exchange the authorization code for access token.
Client ID: The unique alphanumeric string that you received from the OAuth provider while registering Kissflow as a client.
Client secret: The secret string that was obtained by Kissflow during the client registration process.
Scope: The OAuth scope that Kissflow might need to request for the access of the OAuth application.
State: An optional value that is used for preventing cross-site request forgery.
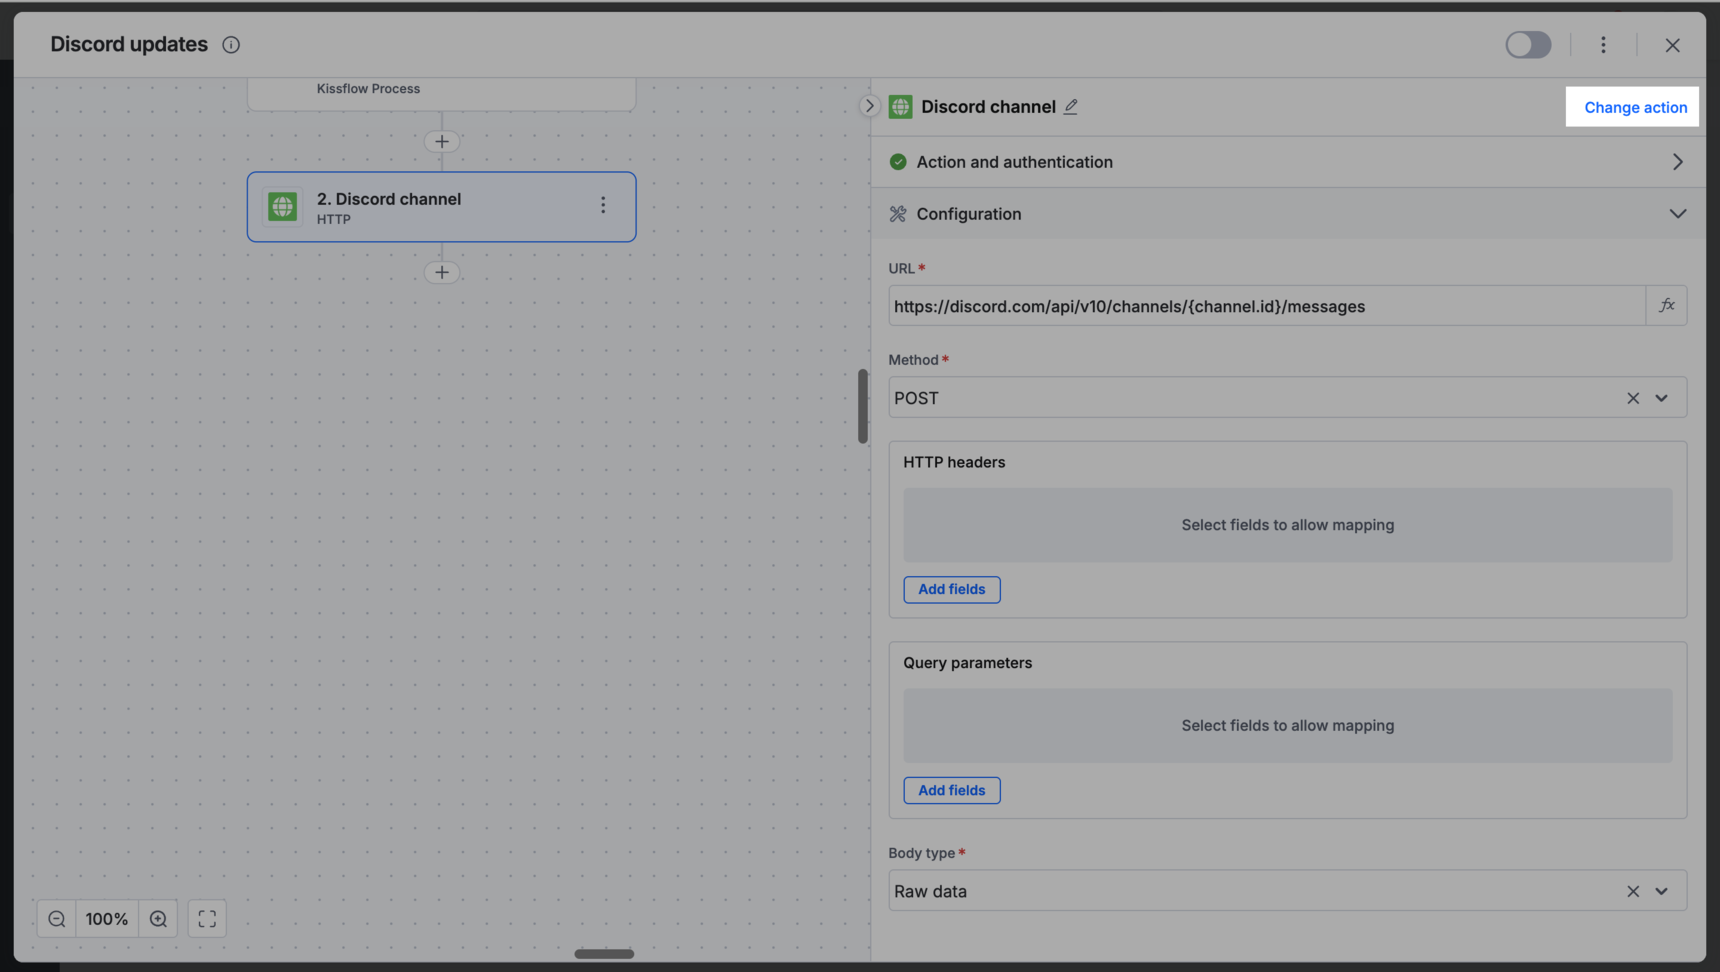
Reviewing an action’s configuration
Once authenticated, you can review and edit the request details of your integration within the Configuration tab.
Review the URL field and ensure it includes the correct endpoint required by your external application.
Add parameters: If your request requires specific metadata, click add fields under HTTP headers or Query parameters to include them.
Review the Method, Body type, and Content type. Check the Content area to verify the JSON payload.
Note
Click the Payload description badge next to Content to view a reference guide. This guide details the field names, data types (like string, integer, boolean), and examples needed to format your request correctly.
Finalize and test
Click Test action to verify the connection and ensure the third-party application receives the data successfully.
Renaming an action
You can rename the AI-generated action to better fit your workflow's naming conventions:
Click the Pencil icon (

) next to the action title.
Enter your preferred name.
Click anywhere outside the text box to save the change automatically.
Refining or changing an action
If the AI-generated result isn't exactly what you need, or if your integration requirements change, you can:
Click Change action in the top right corner to return to the prompt screen.
You can either re-enter your previous description with additional details to sharpen the output, or enter a completely different prompt to switch the app, integration's context, and functionality entirely.