
Send in-app notification connector
What is Kissflow Notification?
Kissflow Notification is a native feature that allows you to send real-time alerts to users directly within the Kissflow platform. These in-app notifications inform users about important events, updates, or required actions related to their workflows, ensuring timely communication and engagement.
About Kissflow's Notification connector
The Kissflow Notification connector from Kissflow Integration enables you to send customized in-app notifications automatically as part of any integration workflow. You must be a paid Kissflow customer to use this feature. This connector's primary purpose is to act as an action step; it does not support trigger events.
For example, you can have a purchase order request process, and upon its final approval, use the Kissflow Notification connector to notify the finance team and let them know the purchase order is ready for payment.
Action in Kissflow Notification connector
Action |
Description |
Send an in-app notification |
This action sends a notification to a specified user inside the Kissflow platform. |
Kissflow Notification connector as an action step
- In your Kissflow account, click the Create button in the left navigation panel and select Integration from the list. Enter a unique name and description for your integration and click Create.
- Once inside your editor, set up a trigger step, such as a Kissflow Process, and select an event: When an item completes its workflow.
- After setting up your trigger step above, click the Add button (+) next to it to set up your action step. Search for Send in-app notification action
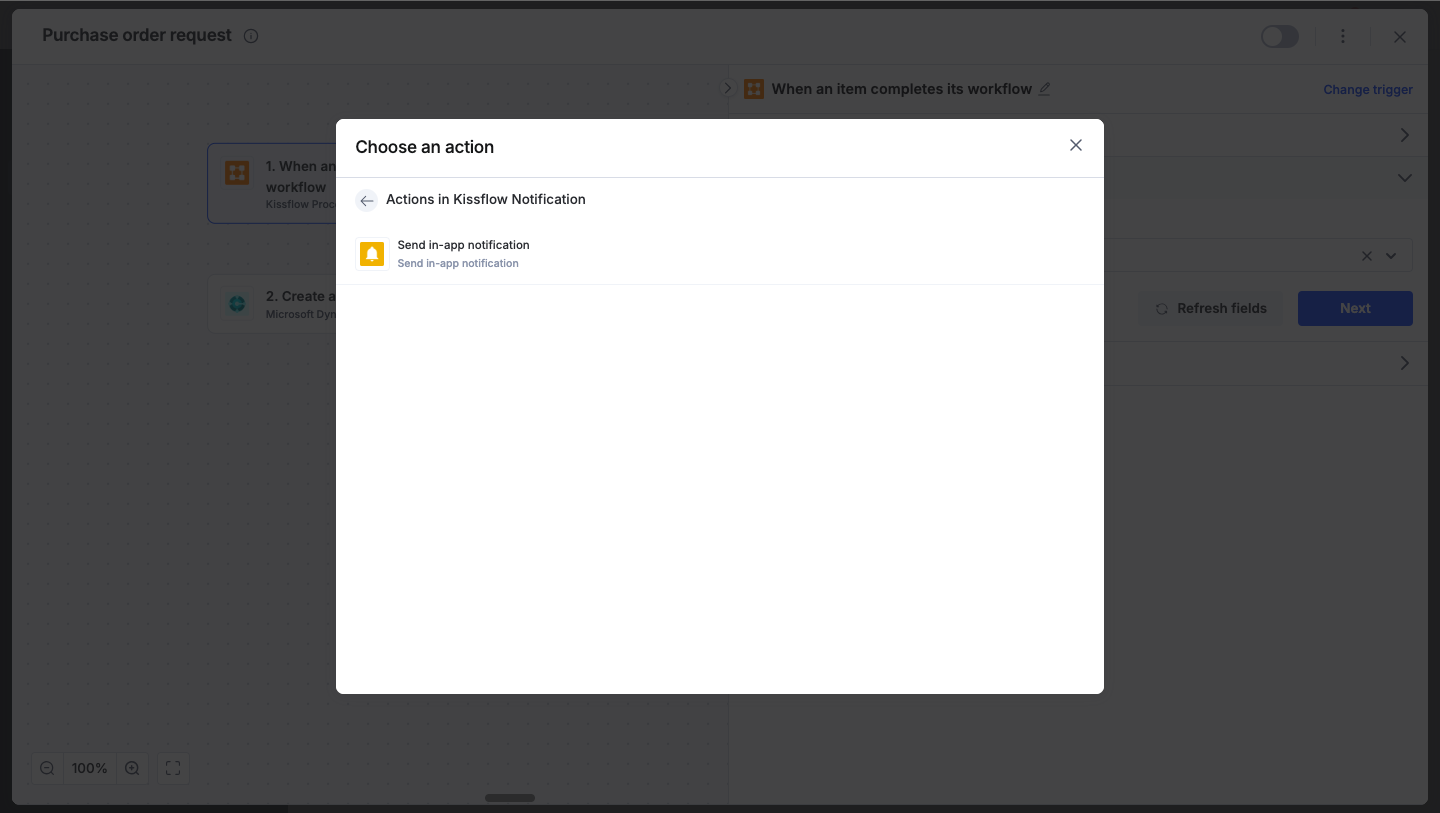
- After choosing your action event, you can immediately configure it. As Kissflow Notification is a native connector, no separate account authentication is required.
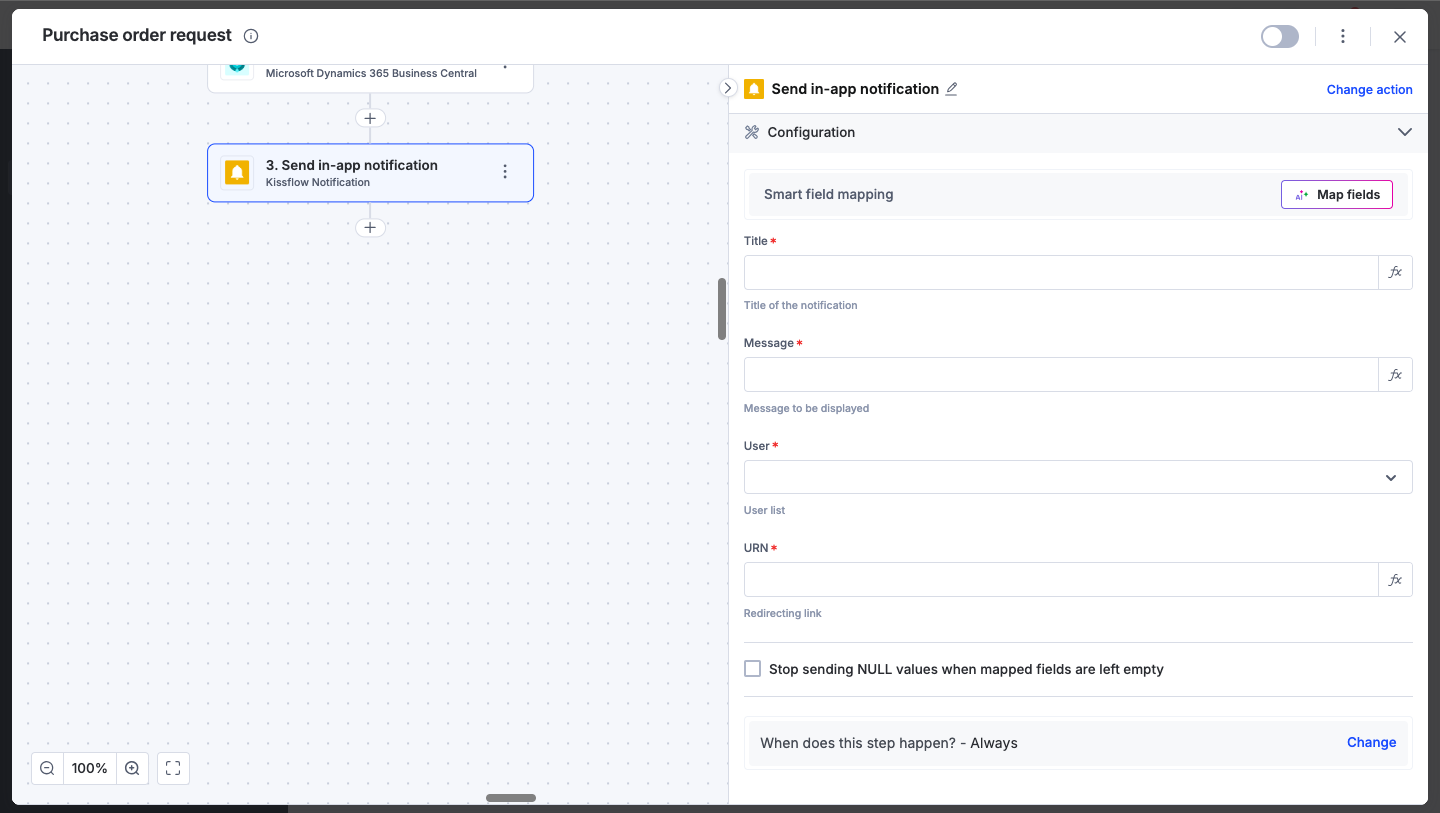
- After selecting the action, configure the required fields:
- Title: The title or subject line of the notification.
- Message: The main content or body of the notification message.
- User: The specific user or list of users who will receive the notification.
- URN: The Uniform Resource Name that acts as a redirecting link. When the user clicks the notification, they will be taken to this link, for example, the specific item that triggered the notification.
To redirect to a process or board item, open the item and copy its URL.
From the copied URL, use only the path, excluding the instance ID and activity instance ID.
Replace the instance ID with the
_idfield from a previous action in the integration. For example, if your URL ishttps://xyz.kissflow.com/view/process/Lookup/form/PkAz3RYizOyC/PkAz3RsKW4YL, copy only this part into the URN field:view/process/Lookup/form/Then, map the dynamic_idfield from the previous action.
- You can hit Refresh fields to view any updates. You can also map these fields from your trigger step or from previous action steps. These values will be automatically used to generate the notification after the action is executed.
- After a successful configuration, test whether your action step is set up correctly by clicking the Test button. The connector will attempt to execute the action and display a JSON output of the result. Similar to the trigger step, errors are notified to you right away. Fix them before retesting the action step.
Setting up a Kissflow Notification connector
After creating a custom workflow with your Kissflow Notification connector's action steps, switch on the toggle button to activate the integration. Once activated, a new in-app notification will be sent to the specified user every time the trigger event occurs.
To ensure your integrations are properly configured and tested, review our best practices guide for tips on building robust and maintainable solutions.